ADwin-Pro module with USB interface
ADwin
48 ADwin Installation, manual version 2.1, December 2005
Here the device manager finds the file <ADUSB.INF>. You can connect up to
8 ADwin systems with USB interface to the PC.
Driver update If the driver installation has not been successful, you can activate the driver
later in the Windows startmenu: Settings Control panel System. Start
the "Device Manager" under the tab "Hardware".
The device manager marks every device which is recognized, but not installed
properly with a question mark or a prohibitory sign. Select the corresponding
ADwin hardware. In the next screen: "Properties…“ select: "Driver" and
then: "Update driver“. Continue as is described above.
ADconfig Now call the program ADconfig under the Windows start menu: Programs
ADwin, in order to allocate a Device No. to your ADwin system. More detailed
information about the program can be found in the online help of ADconfig.
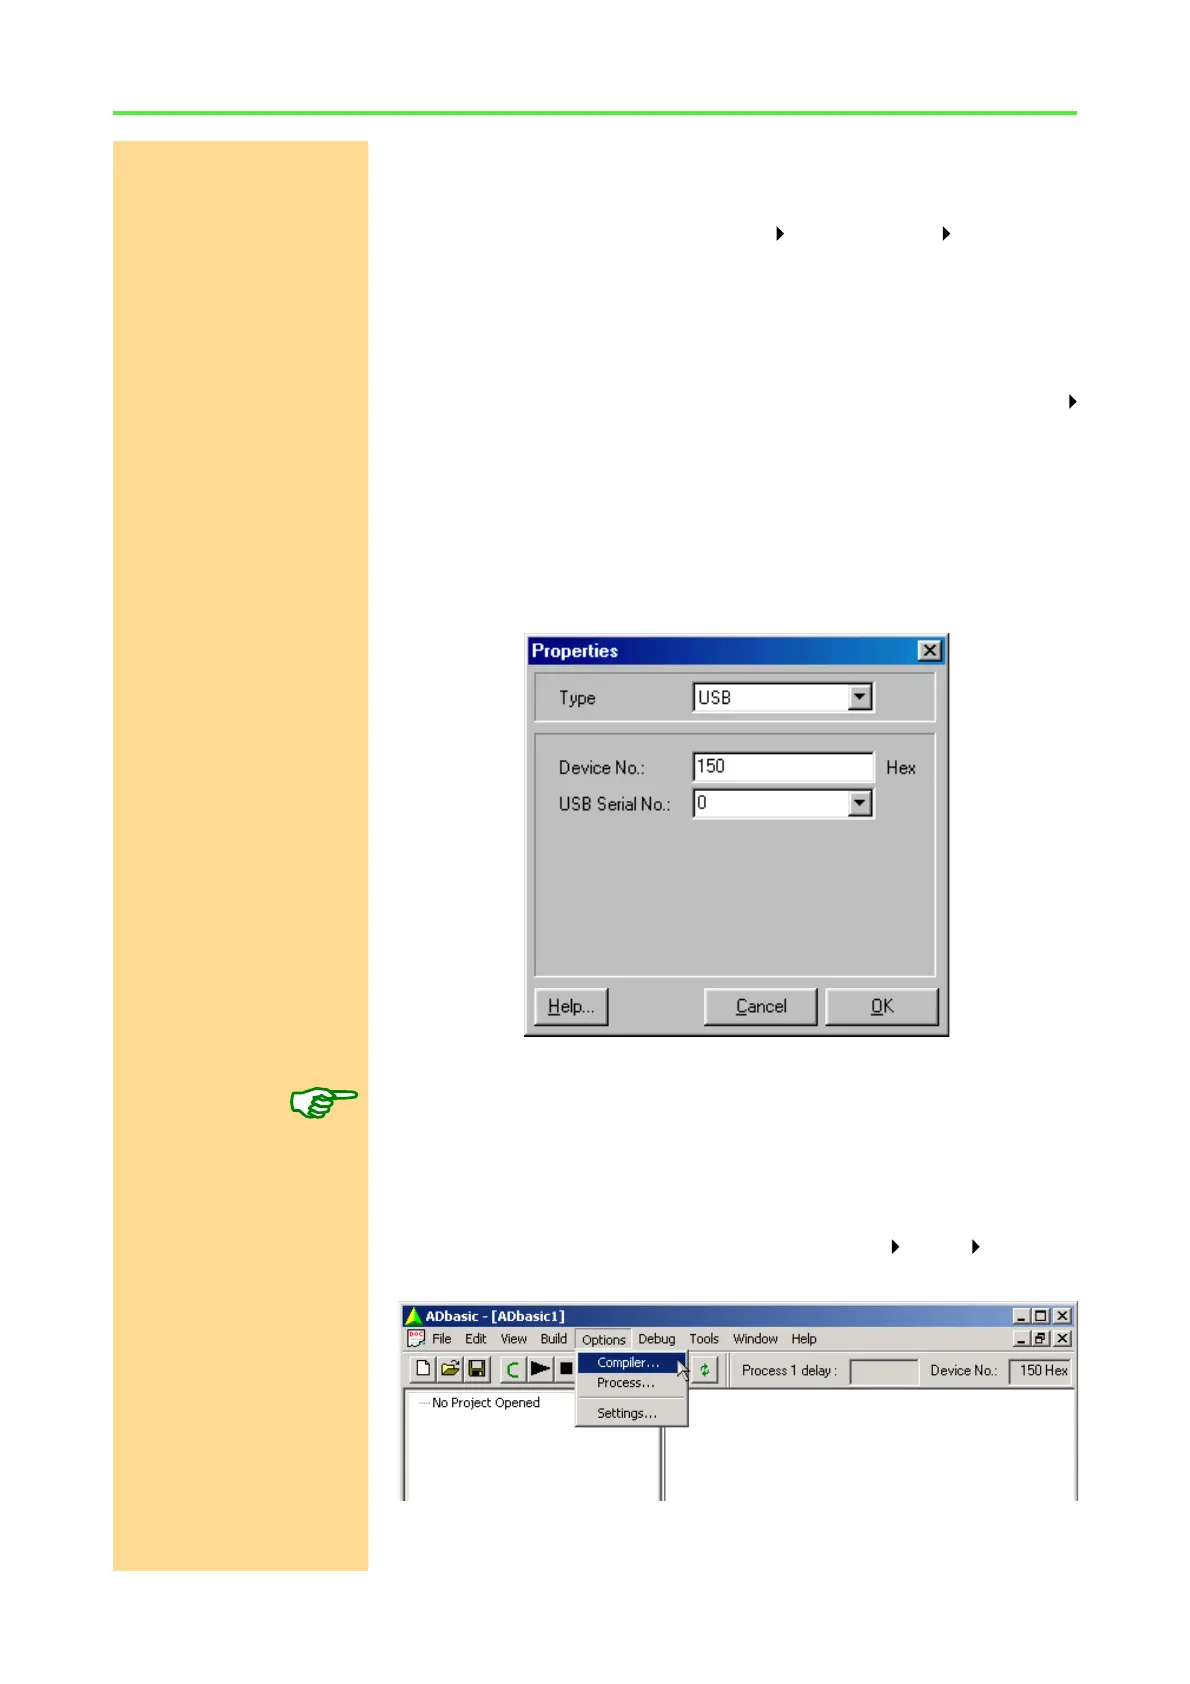
USB-Serial No. Open the pull-down list on the screen "Edit/Properties“ at "USB-Serial
No.“. The serial numbers of all connected ADwin USB systems are listed
there. Select the number of the ADwin system you want to work with. You find
the serial number on a label on every ADwin USB adapter or on every ADwin
USB system. The serial number can also be entered manually, if for instance
the ADwin system is not connected.
Device No. Choose a "Device No.". The recommended Device No. 150h should be used
to easily use all example programs.
Your ADwin-Pro system is now ready for operation.
Power-up After power-up the green LED is blinking (if not, please check the connections).
Checking the settings in ADbasic
Open ADbasic (in the Windows start menu: Programs ADwin ADbasic)
and check first the settings in the dialog window "Options\Compiler".
Set the options in the window: "Compiler Options" from top to bottom