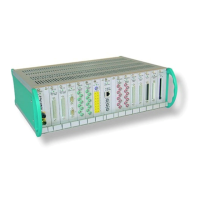
ADwin ISA link interface
ADwin
6 ADwin Installation, manual version 2.1, December 2005
3.1 Installation of software and configuration of the PC
3.1.1 Windows 9x, NT and ME
For these operating systems you don’t need additional software. You just have
to choose a suitable base address and should reserve it on your PC.
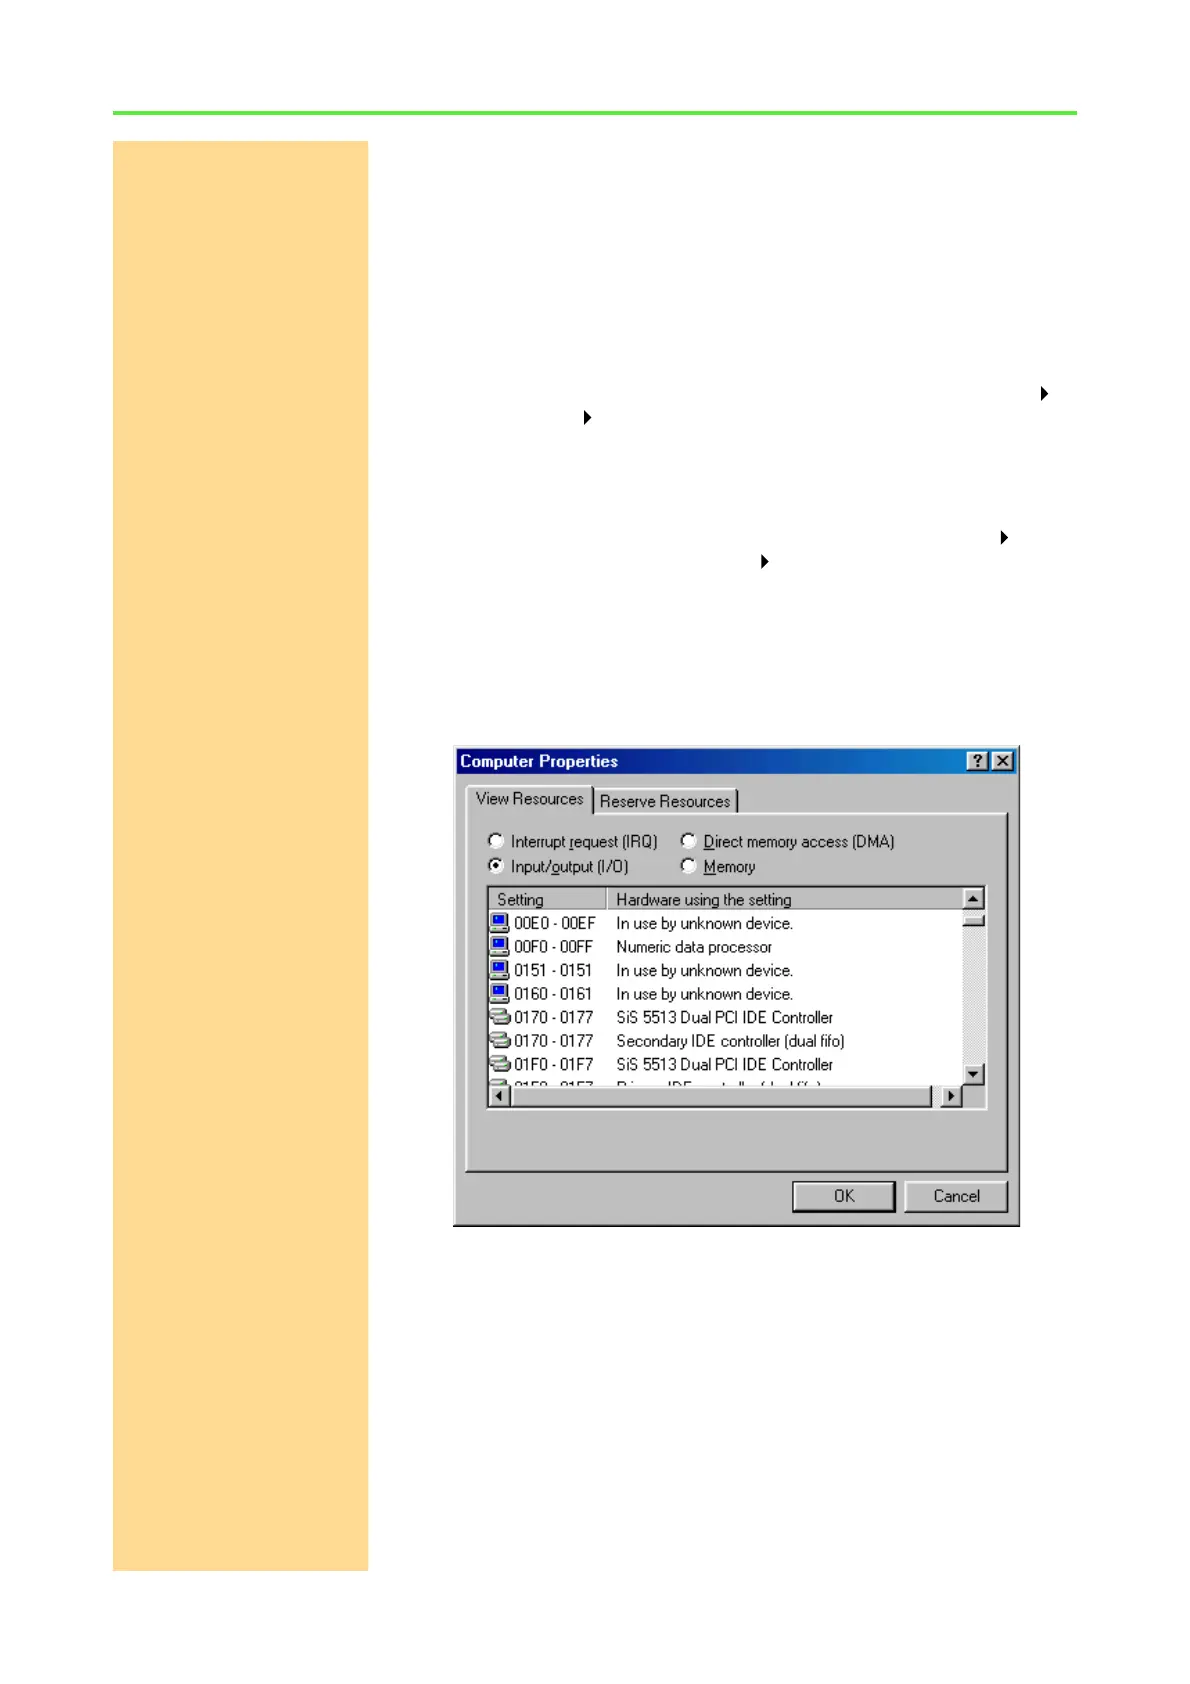
Checking the I/O address
assignment of the
hardware
In any case it is recommended to check first which addresses are already allo-
cated.
– Windows 9x, ME
Call the device manager from the Windows start menu: Settings
Control panel System. Double click the field "Computer" in the
"Device Manager". Under "View Resources" set the display to "In-
put/Output (I/O)".
– Windows NT
Under Windows NT call from the Windows start menu: Programs Ad-
ministrative Tools (Common) Windows NT Diagnostics;
choose the tab „Resources“ and then the button „I/O Port“.
Please pay attention to the fact, that devices using an ISA interface are not
always recognized and registered by Windows. Even the display: "Used by
unknown device“ does only appear, if a communication has been effected
via this address after start-up of the computer! If necessary, check the hard-
ware manual of the device, which may cause address conflicts.
Reserve base address
(link address)
If you have found an address which is not allocated (pay attention to addresses
which are allocated twice), you should reserve it in the device manager. Thus
you are avoiding any address conflicts with other devices which allocate
addresses automatically. Proceed by setting the display to "Input/Output
(I/=O)" under "Reserve Resources". Enter under "Add" the selected
address ("Start value" = base address; "End value" = base address
+13h).
Note the base address If you do not wish to set the base address (= link address) to the standard
address 0150 (= 150h), as described in the example above, please make a
note of it. You have to set this address on the ADwin board, ADwin-light board
or ADlink-PC-ISA board per DIP switch.