ADwin System with Ethernet Interface
ADwin
56 ADwin Installation, manual version 2.1, December 2005
AC
LI
ST / BU
BU
ST
LI / ST
9.2.2 The DIL switches
ADwin-Pro only The settings of the DIL switches are part of the specified features of ADwin-Pro
systems only and can there be changed by the user.
For all other ADwin systems please refer to Jäger Computergesteuerte
Messtechnik GmbH or the corresponding representative in your country.
For Pro modules there are 2 types of Ethernet interfaces, where the DIL swit-
ches are set differently.
You can differentiate between the 2 types by their firmware version:
– Up to firmware version 2.5: ENET-1
– From firmware version 2.6 onwards: ENET-2
To do a version check start the program <ADethflash> (from Windows start
menu: Programs ADwin). Choose the appropriate module and the option
"Display the status …" and confirm with "Next". The next window shows
the software version of the module.
ENET-1 Now change the DIL switches. (For the allocations and functions, see below).
The change of the DIL switches will only become active at the next power-up
of the ADwin Ethernet interface.
Place the module with the front plate to the left side, so that the handle is closer
to you.
This description refers to the DIL switch block at the lower right of the ADwin
Ethernet interface printed circuit board (only with the older Pro module
T9+ENET: the DIL switch block at the upper right must not be changed).
Abb. 1 – DIP switch numbers ENET-1
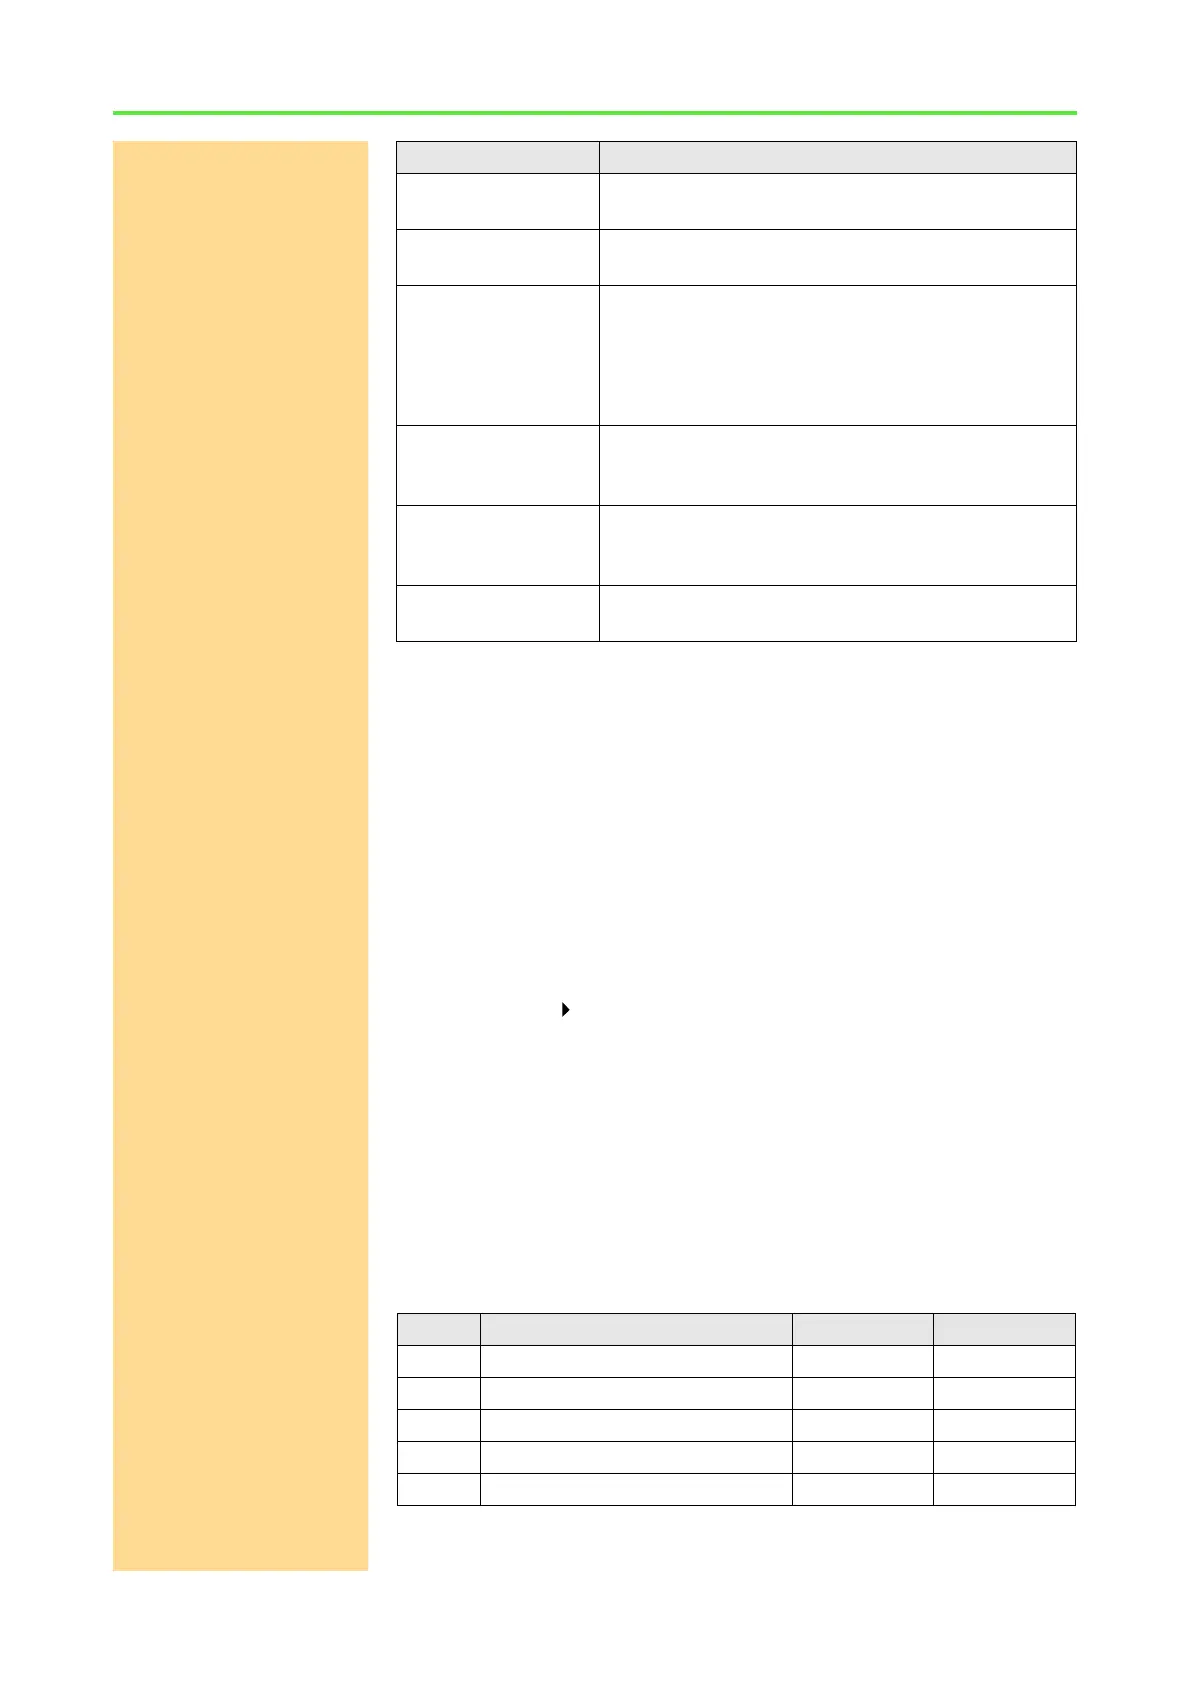
Mode of operation LED display
Ethernet Interface is
sending
LED AC is lighted.
Physical connection
recognized
LED LI is lighted.
Restart (the Ethernet
interface)
LED ST is off. LED BU is lighted for approx. 5 seconds
and then is switched off.
The LED ST is now switched on and off quickly, i.e.
you see a more glowing light. Now the Ethernet inter-
face is ready for operation.
Access The LED BU is lighted as long as the ADwin system is
accessed via the Ethernet interface. In parallel the
LED ST changes its blinking rhythm.
Configuration If a configuration is successfully accepted, the LED
ST starts blinking several times before the module
executes a restart with the new configuration.
Ready for operation
(no communication)
LEDs LI and ST are lighted.
DIL no. Description Meaning Default setting
1 Reprogramming the firm ware ON = active OFF
2 Bootloader write-protected ON = yes OFF
3 Bootloader deactivated ON = yes OFF
4 Configuration blocked ON = yes OFF
5…8 No function – OFF