Page 9
ENGLISH
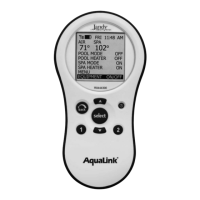
Wireless Handheld Remote | Installation and Operation Manual
1. Turn off all power to the Power
Center.
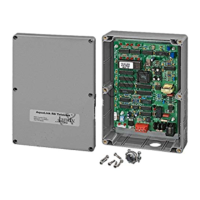
2. Mount the Transceiver J-Box at
least 6’ above the ground and
8’ from air blowers that may be
nearby.
3.
The
Transceiver J-Box antenna
must point towards the sky.
4.
Route the four conductor wire from
J-Box through the Heyco
®
tting
into the Power Center low voltage
raceway.
5. Open the door to the Power Center
and remove the dead panel.
6.
Feed the four conductor wire into
the Power Center through the low
voltage raceway
.
7.
T
rim excess wire.
8. Strip the cable jacket back 6”.
9. Strip the individual wires ¼”.
10. Connect the four conductor wire to
the red terminal bar on the Power
Center PCB.
11. Install the dead panel to the Power
Center.
12. Restore all power.
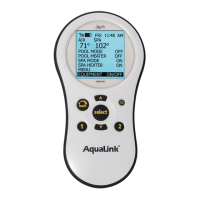
3.2 HANDHELD REMOTE INSTALLATION
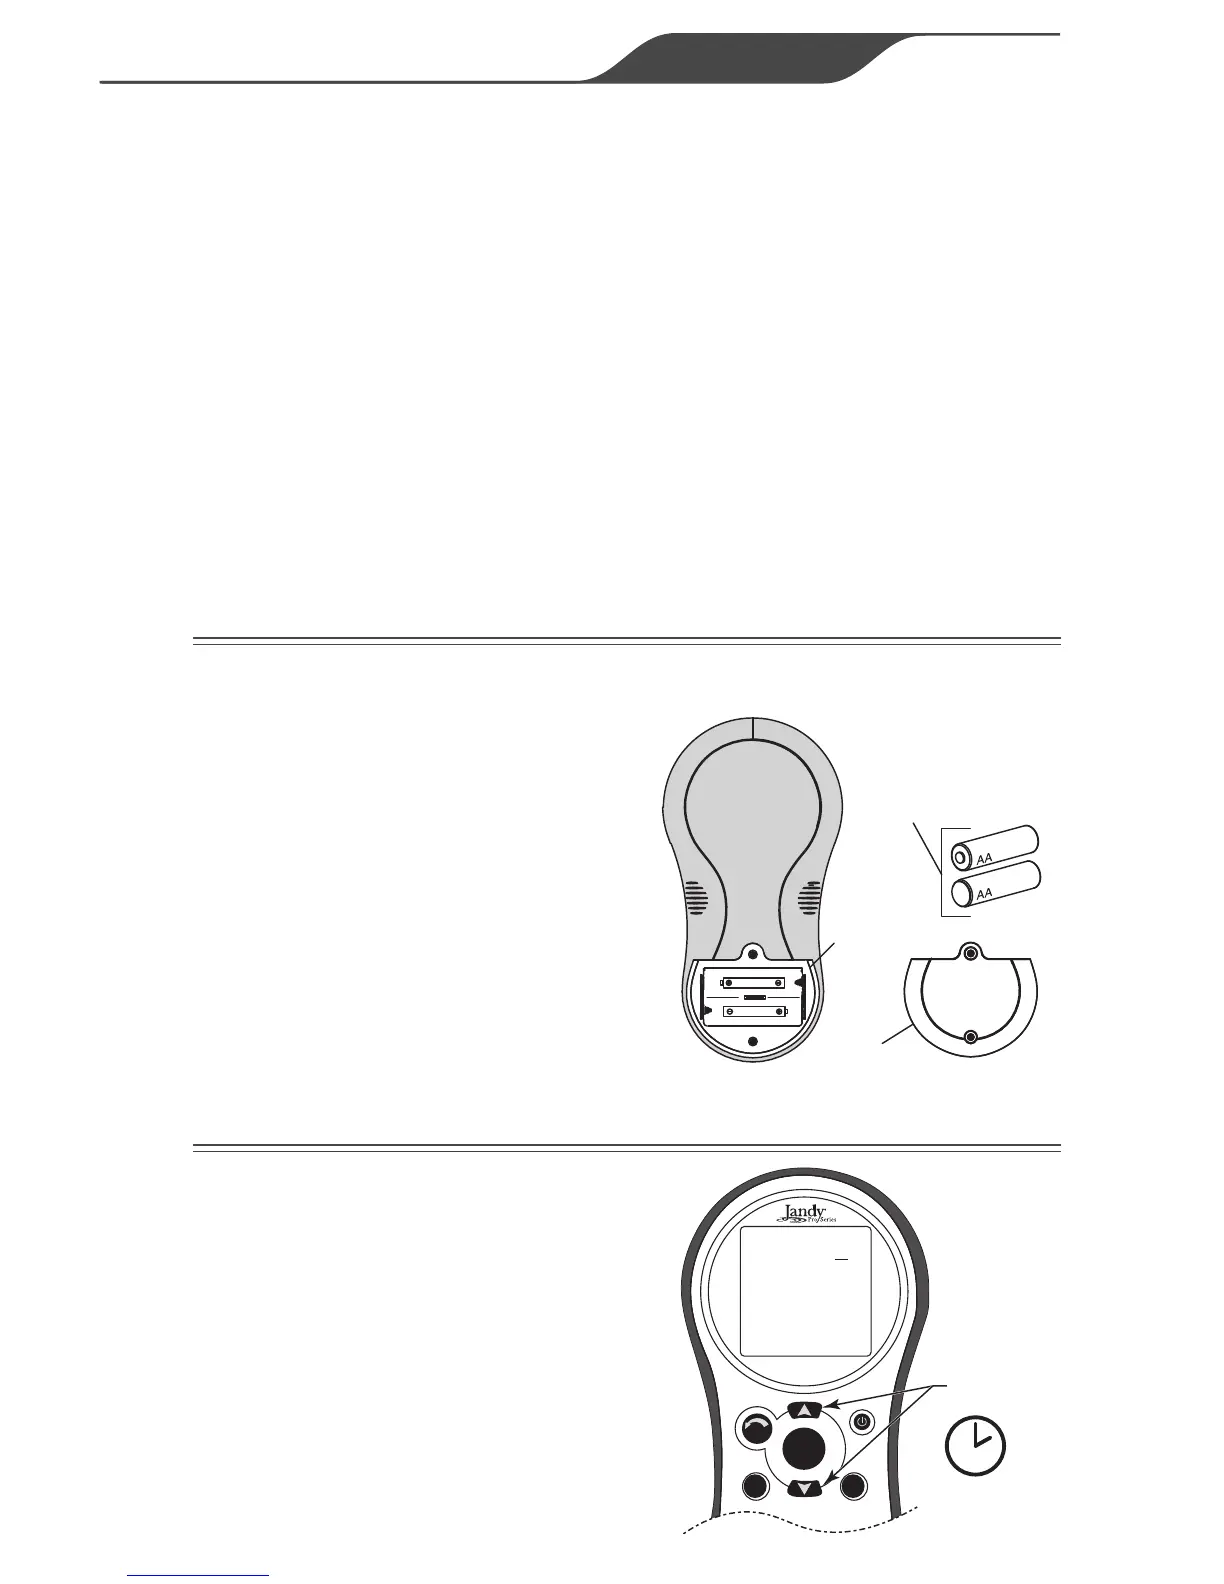
1. Remove the Handheld Remote
from the packaging.
2. On the back of the Handheld
Remote, remove two (2) screws
that secure the cover for the battery
enclosure.
3. Install two (2) AA batteries. Ensure
that the polarity is correct.
4.
Re-install the cover for the battery
enclosure and secure with the two
(2) screws removed in Step 2.
Two (2) AA Batteries
Battery
Enclosure
Handheld Remote
Back View
Cover
UM-3/R6/AA
UM-3/R6/AA
BATTERY
1.5V x 2
3.3 CHANGING THE FREQUENCY CHANNEL
If your AquaLink
®
Handheld
Remote system is operating at
undesignated times, another nearby
remote system may be using the
same or similar channel. To prevent
unintended operation, the channel
for your Handheld Remote system
can be changed. The Handheld
Remote and the Transceiver J-box
must be set to the same RF channel.
1
2
select
back
R0444300
HOLD
3 sec.
SET RF CHANNEL
RF CHANNEL: 1
Use ARROW KEYS
to set the
RF CHANNEL.
Press SELECT to
continue.