15
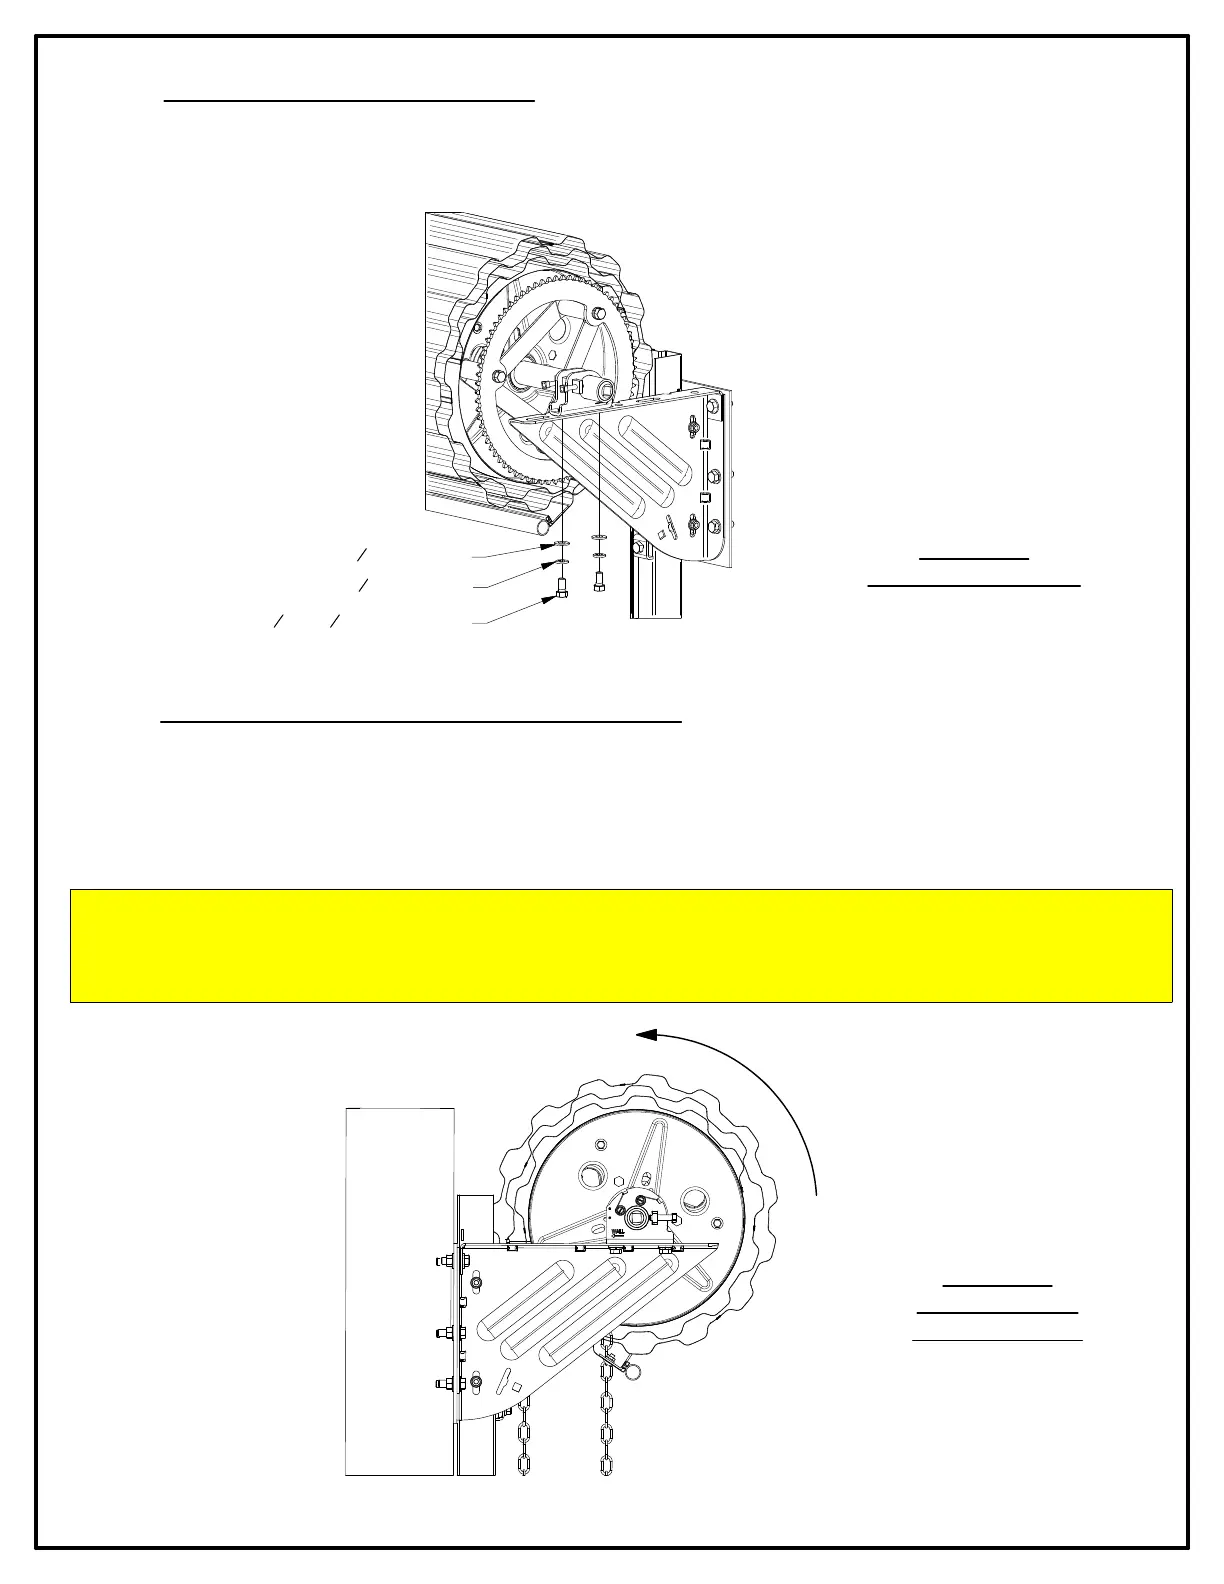
STEP 13: ELECTRIC DRIVE END
►Attach stamped axle support to door bracket using two (2) each 3/8 "- 16 x 3/4" grade 5 hex bolts, 3/8" lock washers
and 3/8" flat washers.
(2)
3
8 "- 16 X
3
4" GRADE 5 HEX BOLT
(2)
3
8" LOCK WASHER
(2)
3
8" FLAT WASHER
STEP 14: SETTING INITIAL SPRING TENSION
►Rotate door two (2) revolutions in the direction that would send the bottom bar down through the guides.
►While firmly holding the door at the bottom bar, cut the tape and plastic wrap that holds the door in a coil.
Direct the bottom bar down into the guides, stopping just past the head stop area.
FIGURE 19:
ELECTRIC DRIVE END
FIGURE 20:
SETTING INTIAL
SPRING TENSION
ROTATE 2 REVOLUTIONS
WARNING!
EXTREME SPRING TENSION CAN CAUSE SERIOUS INJURY OR DEATH. INSTALLATION, REPAIRS AND
ADJUSTMENTS MUST BE MADE BY A TRAINED ROLLING SERVICE DOOR SYSTEMS TECHNICIAN USING PROPER
TOOLS AND INSTRUCTIONS. DOOR MUST BE FULLY OPEN WHEN MAKING ADJUSTMENTS.