JXP720, JXP460, JXP340
JENSEN
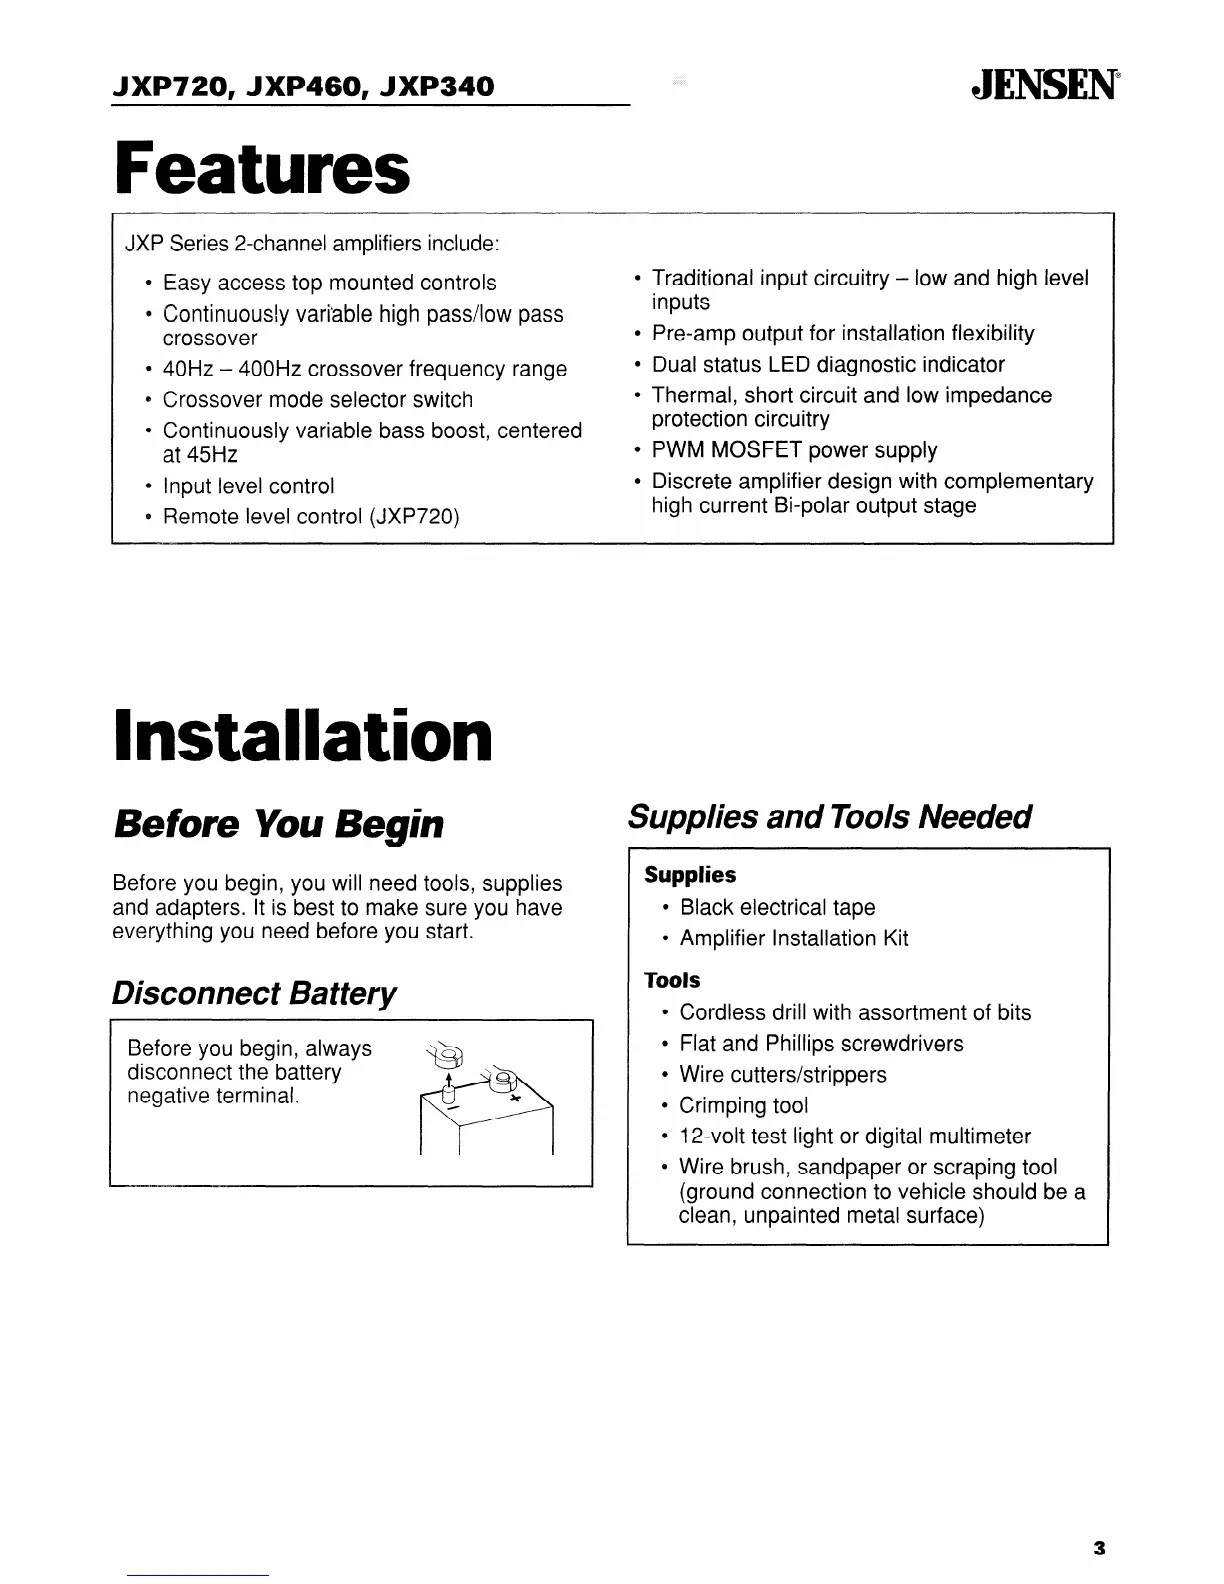
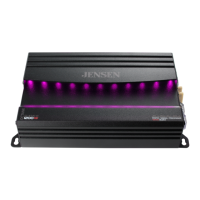
JXP Series 2-channel amplifiers include:
e Easy access top mounted controls
0 Continuously variable high pass/low pass
crossover
0 40Hz - 400Hz crossover frequency range
e Crossover mode selector switch
0 Continuously variable bass boost, centered
at 45Hz
0 input level control
e Remote level control (JXP720)
l
Traditional input circuitry - low and high level
inputs
l
Pre-amp output for installation flexibility
l
Dual status LED diagnostic indicator
l
Thermal, short circuit and low impedance
protection circuitry
l
PWM MOSFET power supply
l
Discrete amplifier design with complementary
high current Bi-polar output stage
Installation
Before You Begin
Before you begin, you will need tools, supplies
and adapters. It is best to make sure you have
everything you need before you start.
Disconnect Battery
Before you begin, always
disconnect the battery
negative terminal.
Supplies and Tools Needed
Supplies
l
Black electrical tape
l
Amplifier Installation Kit
Tools
l
Cordless drill with assortment of bits
l
Flat and Phillips screwdrivers
l
Wire cutters/strippers
l
Crimping tool
l
12-volt test light or digital multimeter
e Wire brush, sandpaper or scraping tool
(ground connection to vehicle should be a
clean, unpainted metal surface)