10
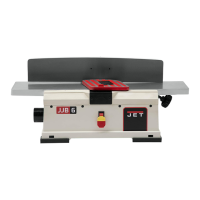
Table Handwheels
Install the two handles into the threaded holes
on the handwheels. Tighten with a 14mm
wrench on the nuts. See Figure 6.
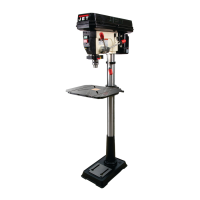
IMPORTANT: The table has been tightened for
shipping purposes. To free the table, loosen the
six hex nuts (A, Figure 7), then slightly loosen
the six set screws inside of them. Re-tighten the
hex nuts (A, Figure 7) while continuing to hold
the set screws to prevent them from turning
during the tightening process. Do this for both x-
axis and y-axis movements of the table. The
table should be loosened just enough to move
smoothly but without binding.
The wing screws (B, Figure 7) will now be used
to lock and unlock the table movement.
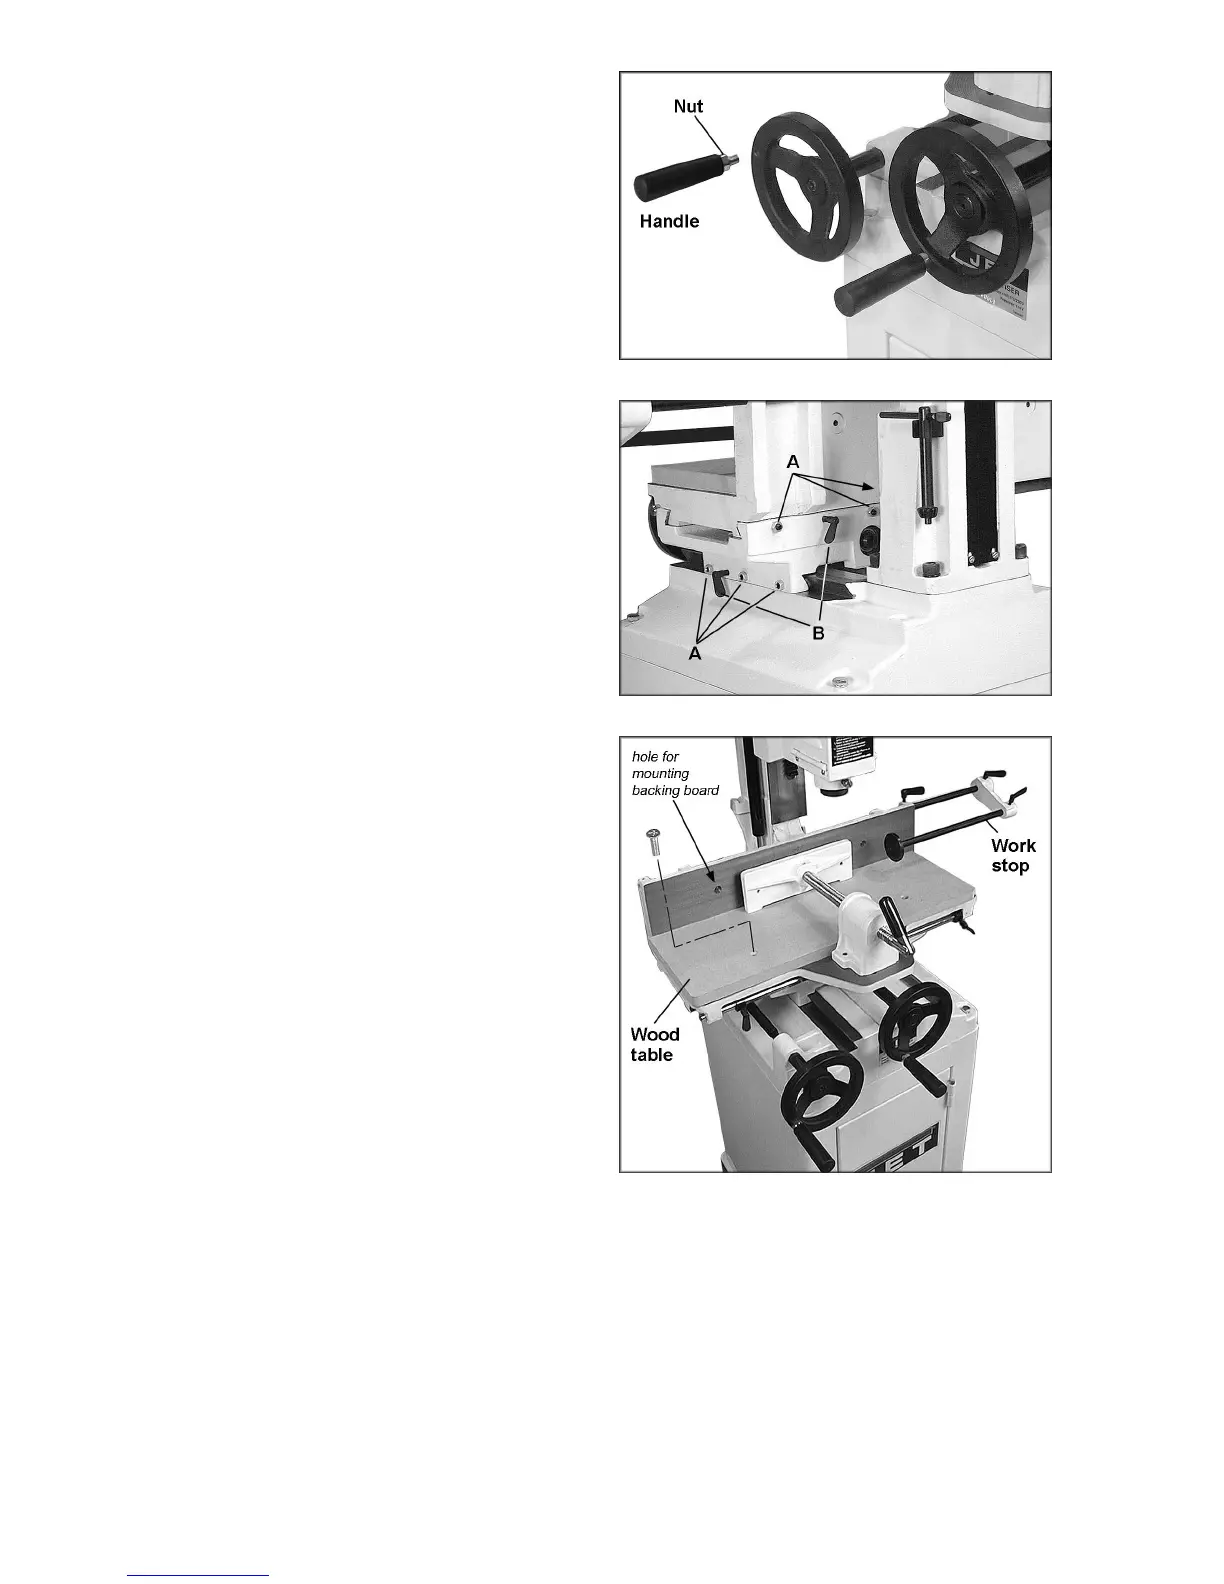
Wood Table
Mount the wood table to the mortiser using the
two flat head screws (Figure 8). Make sure the
countersunk holes in the wood table are facing
up.
The fence also has two countersunk holes for
mounting an optional backing board (not
provided).
Work Stop
The work stop is useful for repetitive cuts of the
same length, and can be mounted to either end
of the fence through the holes. See Figure 8. It
is tightened into place by means of wing screws.
Figure 6
Figure 7
Figure 8
 Loading...