12
P00792Q-rev.2
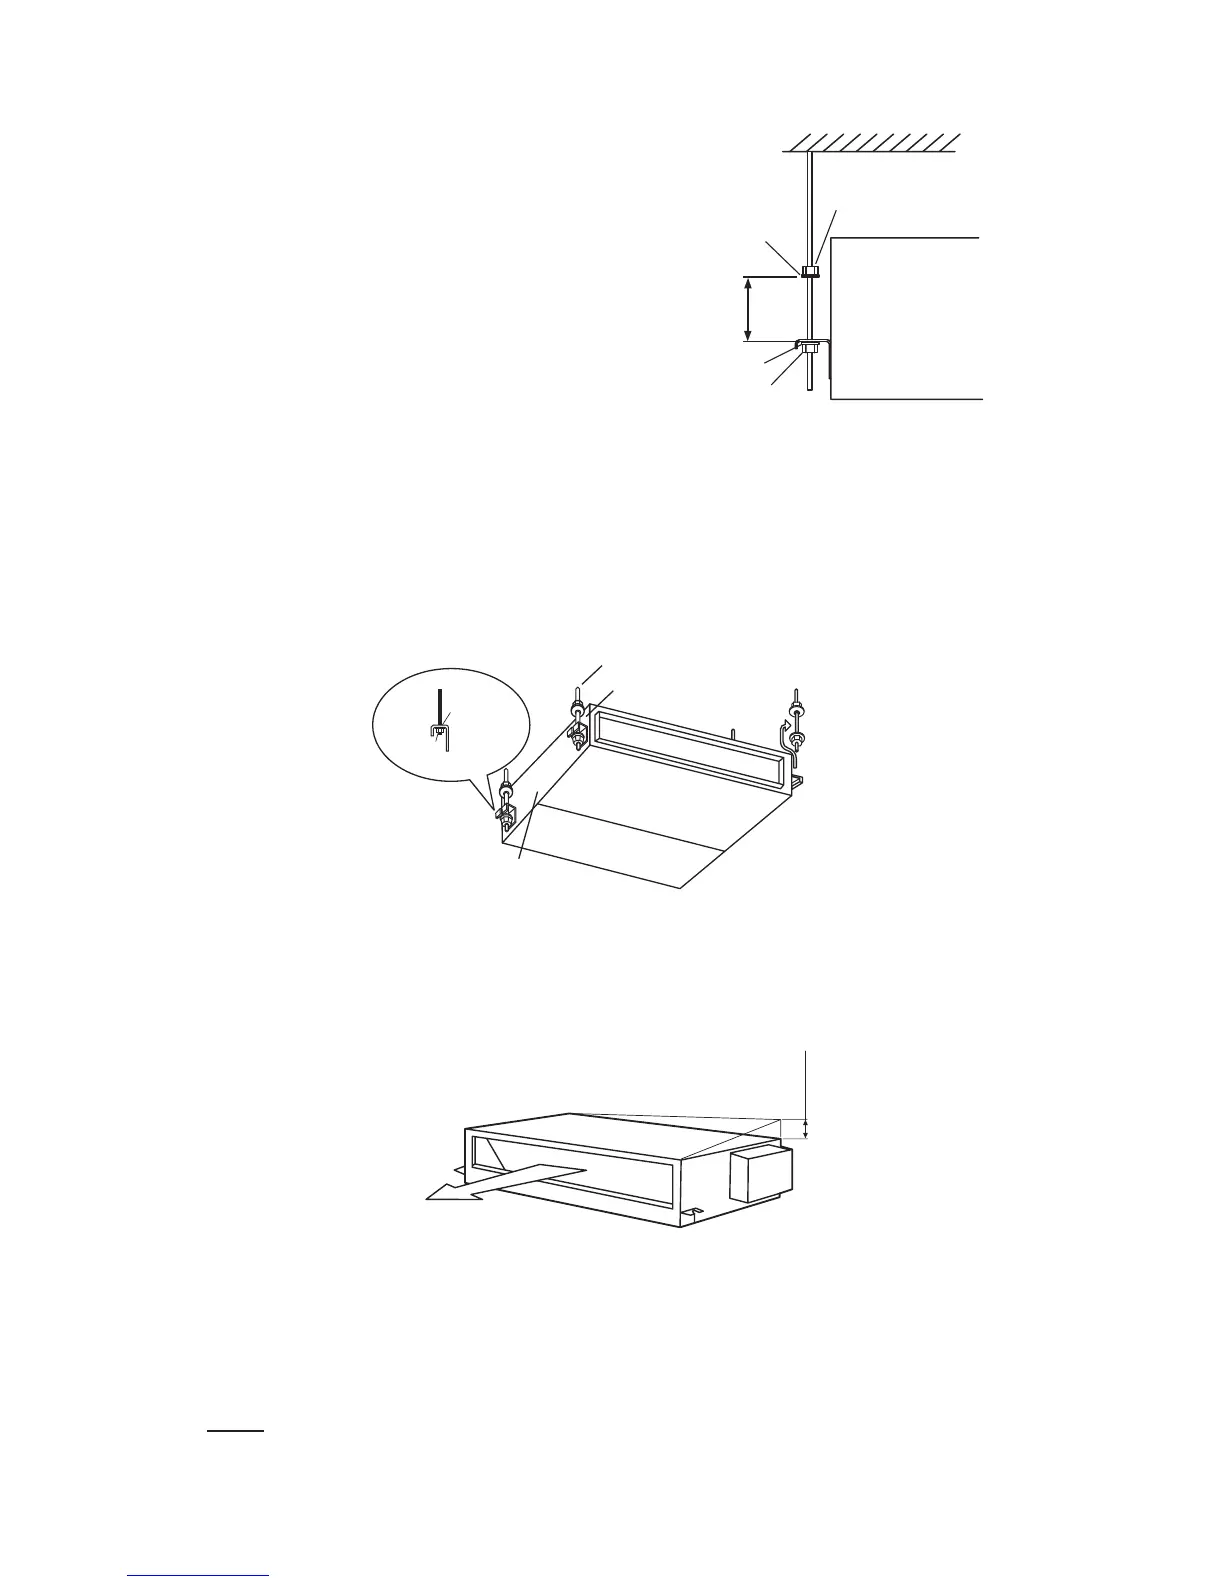
Figure 5.5 Suspended Indoor Unit
(2) Suspending the Indoor Unit
* Hook the suspension bracket to the nut and washer of each hanging bolt as shown, starting at the
opposite side and working over to the service cover side.
* After verifying that the nut and washer are correctly afxed to the retainers on the suspension bracket,
hook the suspension bracket of the service cover side to the nut and washer.
(Install the suspension bolts away from the unit when fastening.)
Figure 5.4 Suspension Bolts and Nuts
(1) How to install Nuts or Suspension Bolts
Install nuts on each of the four hanging bolts,
as shown in Figure 5.4.
Washer
Indoor Unit
Retaining Nut
5.4 Adjusting Level of Unit
(1) Use a level to verify that the unit base is perfectly level with the oor. There should be no degree of
slope present.
3/16 inch
Figure 5.6 Foundation Gradient
(2) The unit should be installed so that the rear side of the unit is slightly (0 to 3/16 inch (0 to 5mm)) lower
than the front side, to allow and promote drainage discharge.
(3) Tighten the bolts of the suspension nuts with the suspension brackets after adjustment is completed.
Special plastic paint must be applied to the bolts in order to prevent them from loosening.
NOTE:
During position the installation process, keep the unit well covered with vinyl cover and related
components covered until it is time to hoist into position.
 Loading...