• Pack fiberglass insulation and a sealing material such
as permagum around refrigerant lines where they
penetrate a wall to reduce vibration and retain some
flexibility.
Additional refrigerant charge
The outdoor unit is precharged with enough R-410A
refrigerant for the outdoor unit, the smallest indoor unit,
and 15 ft of lineset. Additional refrigerant per foot of
additional lineset is 0.38 oz for the 24k and 36k models,
and 0.60 oz for the 48k and 60k models (see Table 2).
Refer to the Tabular Data Sheet for more information on
precharge amount and indoor combinations.
CAUTION
When installing the pipe through the wall, secure a cap
at the end of the pipe. Do not place the pipe directly on
the ground.
Unit installation
If installing the unit on a hot sun exposed roof or a
paved ground area that is seasonally hot, raise the unit
sufficiently above the roof or ground to avoid taking the
accumulated layer of hot air into the outdoor unit, which
can cause the unit to derate prematurely.
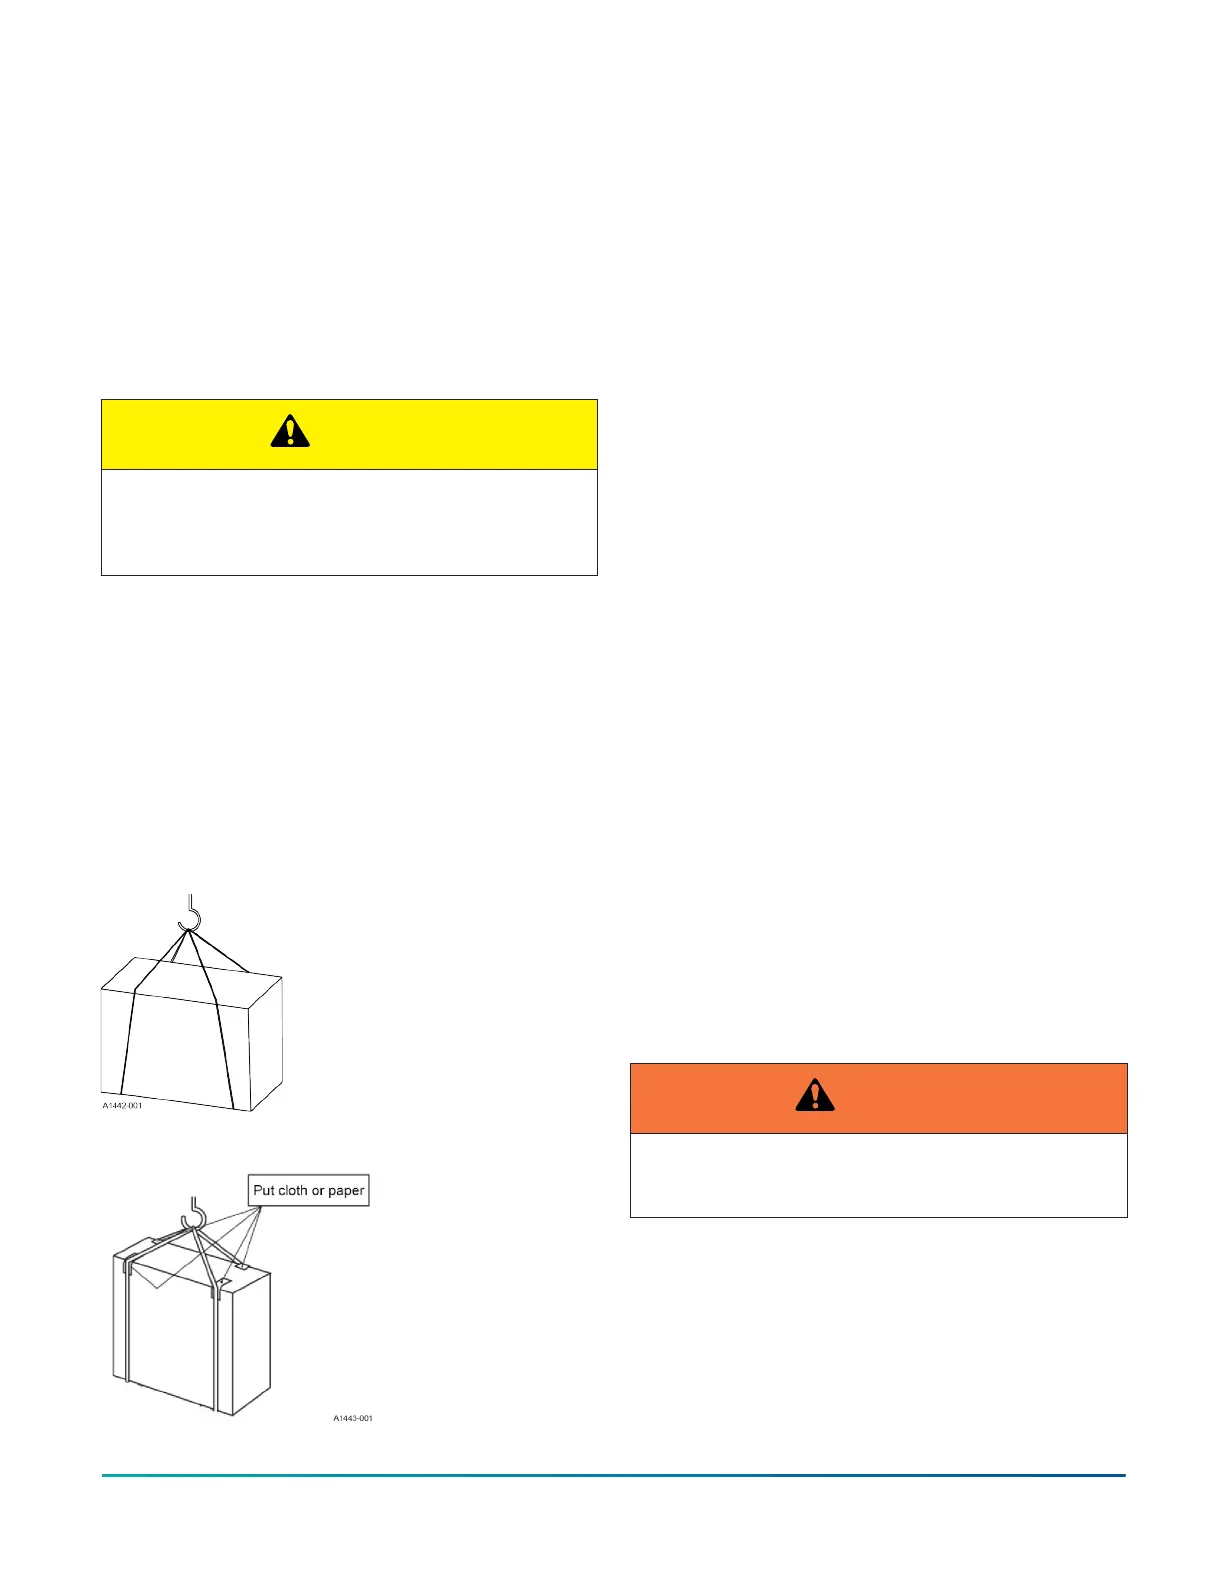
Transportation and handling
1. Route two lifting slings under the unit as shown
in Figure 4. If there are no packaging materials,
protect the unit with cloth or paper. See Figure 5.
Figure 4: Handling with packaging
Figure 5: Handling without packaging
2. Ensure the unit is balanced and, if safe to do so,
carefully lift the unit up.
Selecting a location for installation
Adhere to the following when selecting a location for
installation:
• Install and anchor the unit on a solid base that is 2 in.
above grade and does not shift or settle, which could
cause strain on the refrigerant lines and possible
leaks. Maintain the clearances shown in Figure 6
and install the unit horizontally in a level position.
The base pad must not come in contact with the
foundation or side of the structure because sound
may transmit to the residence.
• Before starting the installation, select and check the
suitability of the location for the indoor and outdoor
units.
• Ensure that the outdoor unit is installed in an
appropriate location that limits exposure to wind,
rain, snow accumulation, and direct sunlight.
• Locate the outdoor unit away from bedroom
windows or other rooms where sound might be
objectionable.
• Provide ample clearance from shrubs to allow
adequate air to pass across the outdoor coil without
leaves or branches being pulled into the fan.
• Ensure that the outdoor unit has sufficient clearance
for air entrance to the outdoor coil, air discharge,
and service access.
• Keep the length of the refrigerant tubing between
the outdoor unit and the indoor coil as short as
possible to avoid capacity and efficiency losses.
Observe all limitations and clearance requirements.
• Elevate the unit sufficiently to prevent any blockage
of the air entrances by snow in areas where snow
may accumulate. Check the local weather bureau for
the expected snow accumulation in your area.
• Isolate the unit from rain gutters to avoid any
possible wash out of the foundation.
WARNING
The outdoor unit must not be installed in an area
where mud or ice could cause personal injury.
Roof installation
When installing units on a roof, the structure must
be capable of supporting the total weight of the unit,
including a pad, lintels, and rails, which must be used to
minimize the transmission of sound or vibration into the
conditioned space.
Installation Manual: HMH7 Series - 17 SEER Horizontal Discharge Modulating Heat Pump8
Johnson Controls Ducted Systems