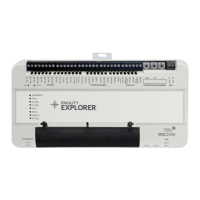
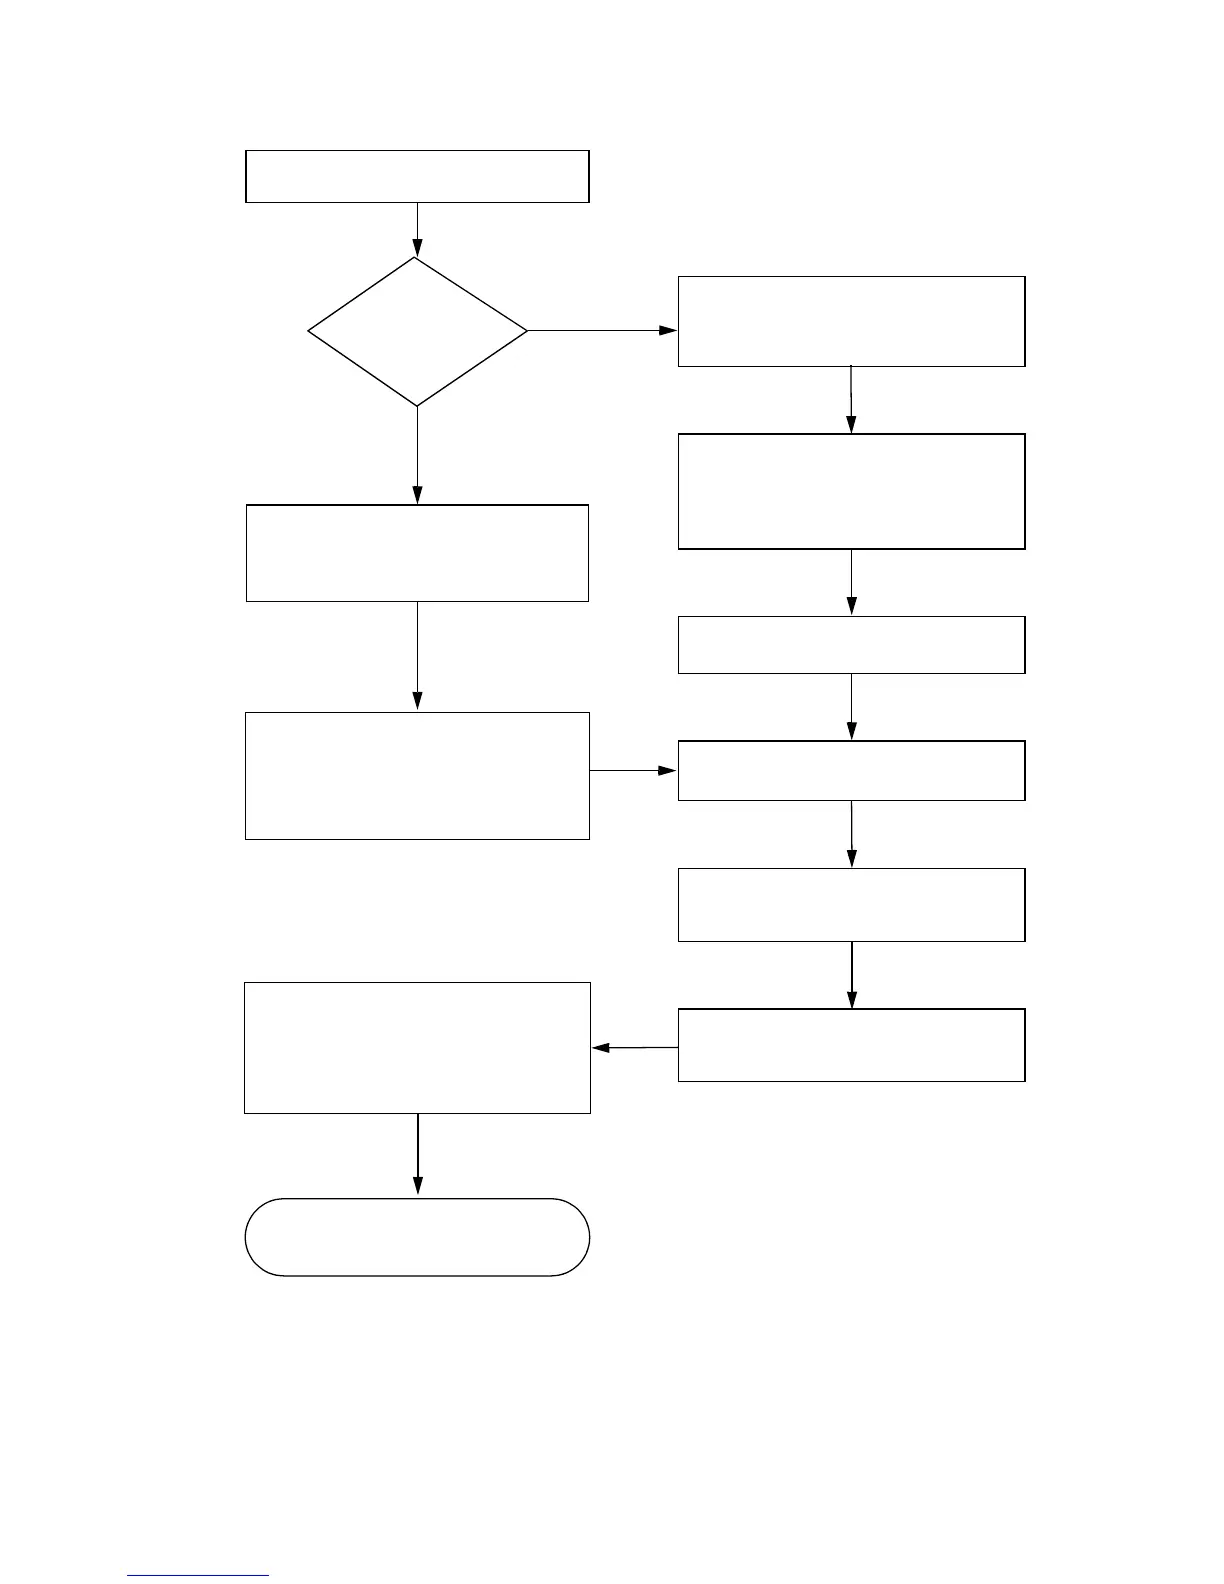
Mount, wire, and power the S321-IP
controller.
Does a DHCP
server exist on
the network?
Install the Lantronix® DeviceInstaller
software utility. Use this utility to
determine which IP address the DHCP
server assigned to the S321-IP.
Log on to the S321-IP user interface.
When logging on, use the IP address
assigned by the DHCP server or the
default controller name “s321ip”
(requires a DNS server on the network).
Log on to the S321-IP user interface
using the default static IP address of
192.168.0.1 or the default controller
name “s321ip” (when DNS service is
running).
Assign a static IP address, network
mask, and gateway to the S321-IP.
In systems with the DNS server,
assign a unique name to the controller.
Configure the following network
protocol settings, as needed: FTP,
SSL, and HTTP.
Define the P2000 host IP configuration
settings on the Configuration page
(Network menu).
Configure the S321-IP controller via the
P2000 software. Refer to the P2000
Software User Manual for instructions.
Note: Do not use local user interface to
configure the device.
You have completed the basic
commissioning of an S321-IP
controller.
Yes
No
Power off the S321-IP. Set DIP
switches #6 and #8 to ON (up). Power
on the S321-IP. Turn DIP switch #6 to
OFF (down).