22
2
Starter unit
503 21 22-01
5. Assemble the starter in the reverse
order to dismantling.
Replacing starter pawls
See chapter 3 ”Electrical system”.
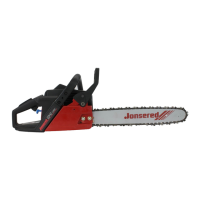
6. Assemble the starter.
Pull out the starter cord a little. Put the
starter in position. Release the starter
cord and check that the pawls grip the
pulley.
Tighten the screws.
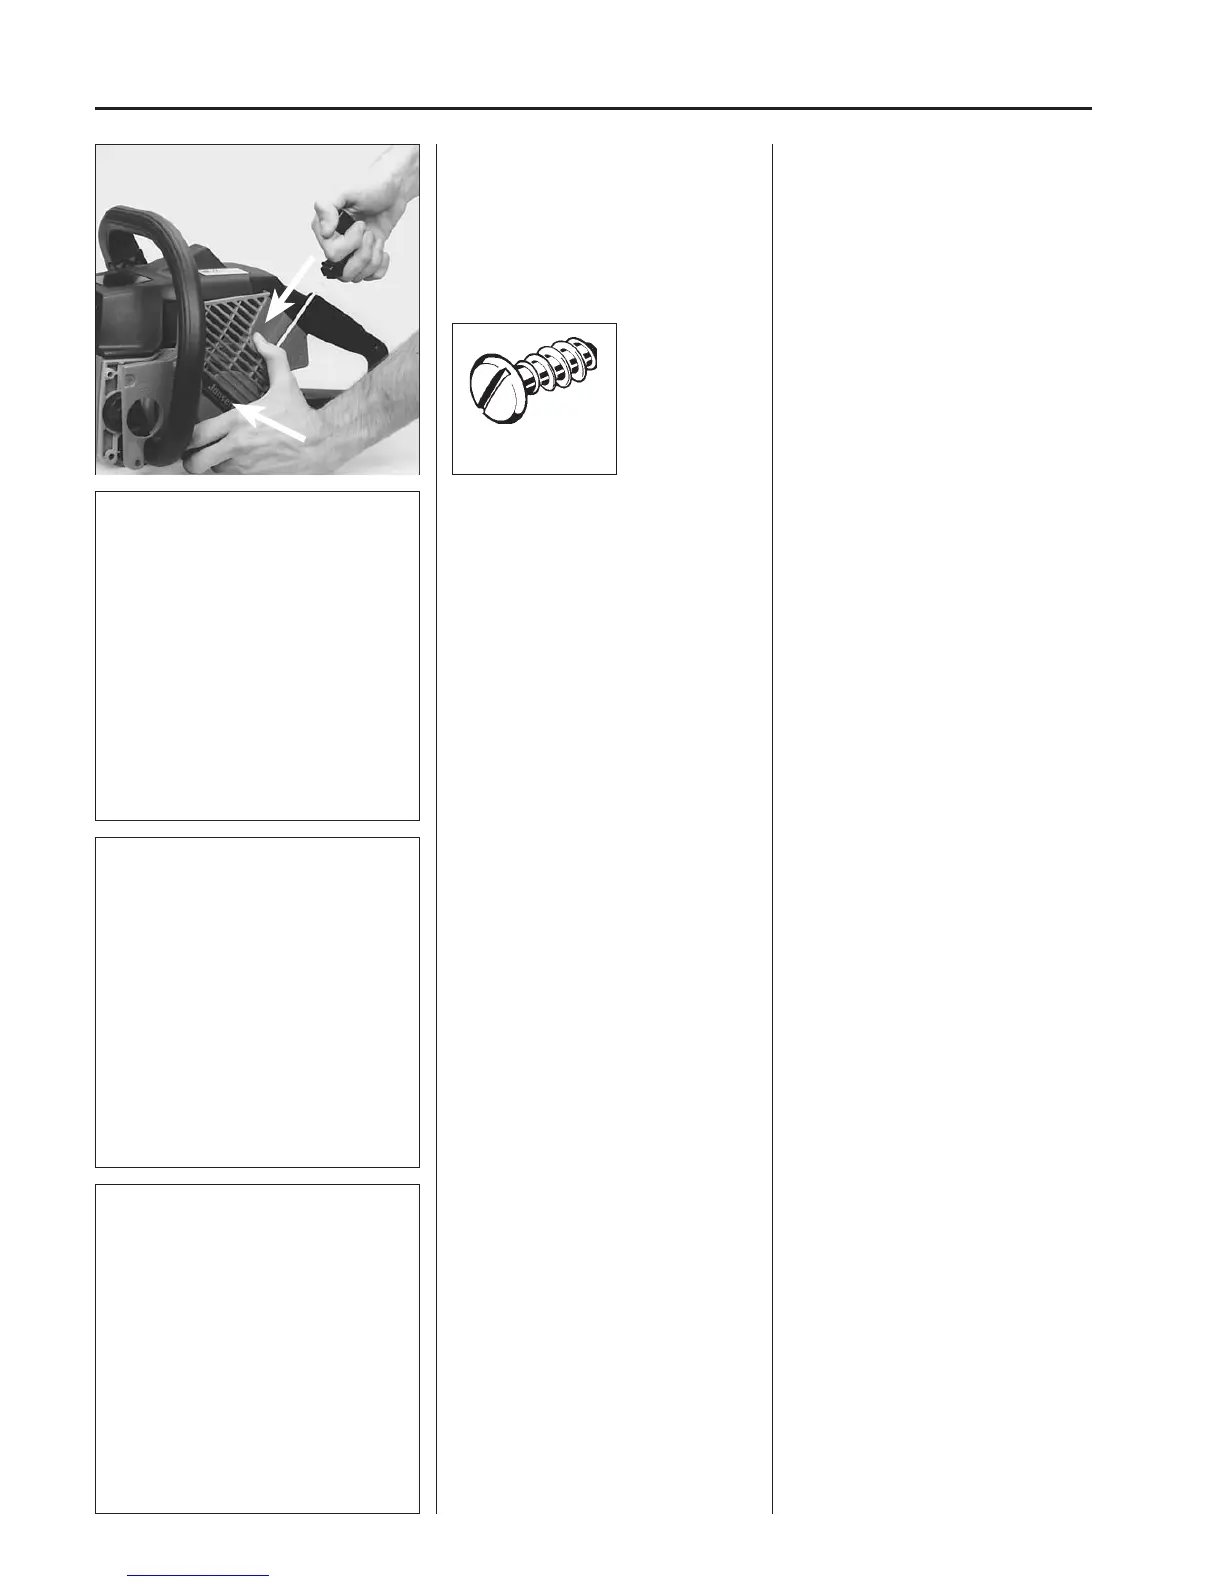
NOTE!
If the threads in the crankcase (made of
plastic) are for any reason damaged an
oversize screw (No. 503 21 22-01) is
recommended.
Replacing starter pawls
See chapter 3 ”Electrical system”.
 Loading...