– 2 –
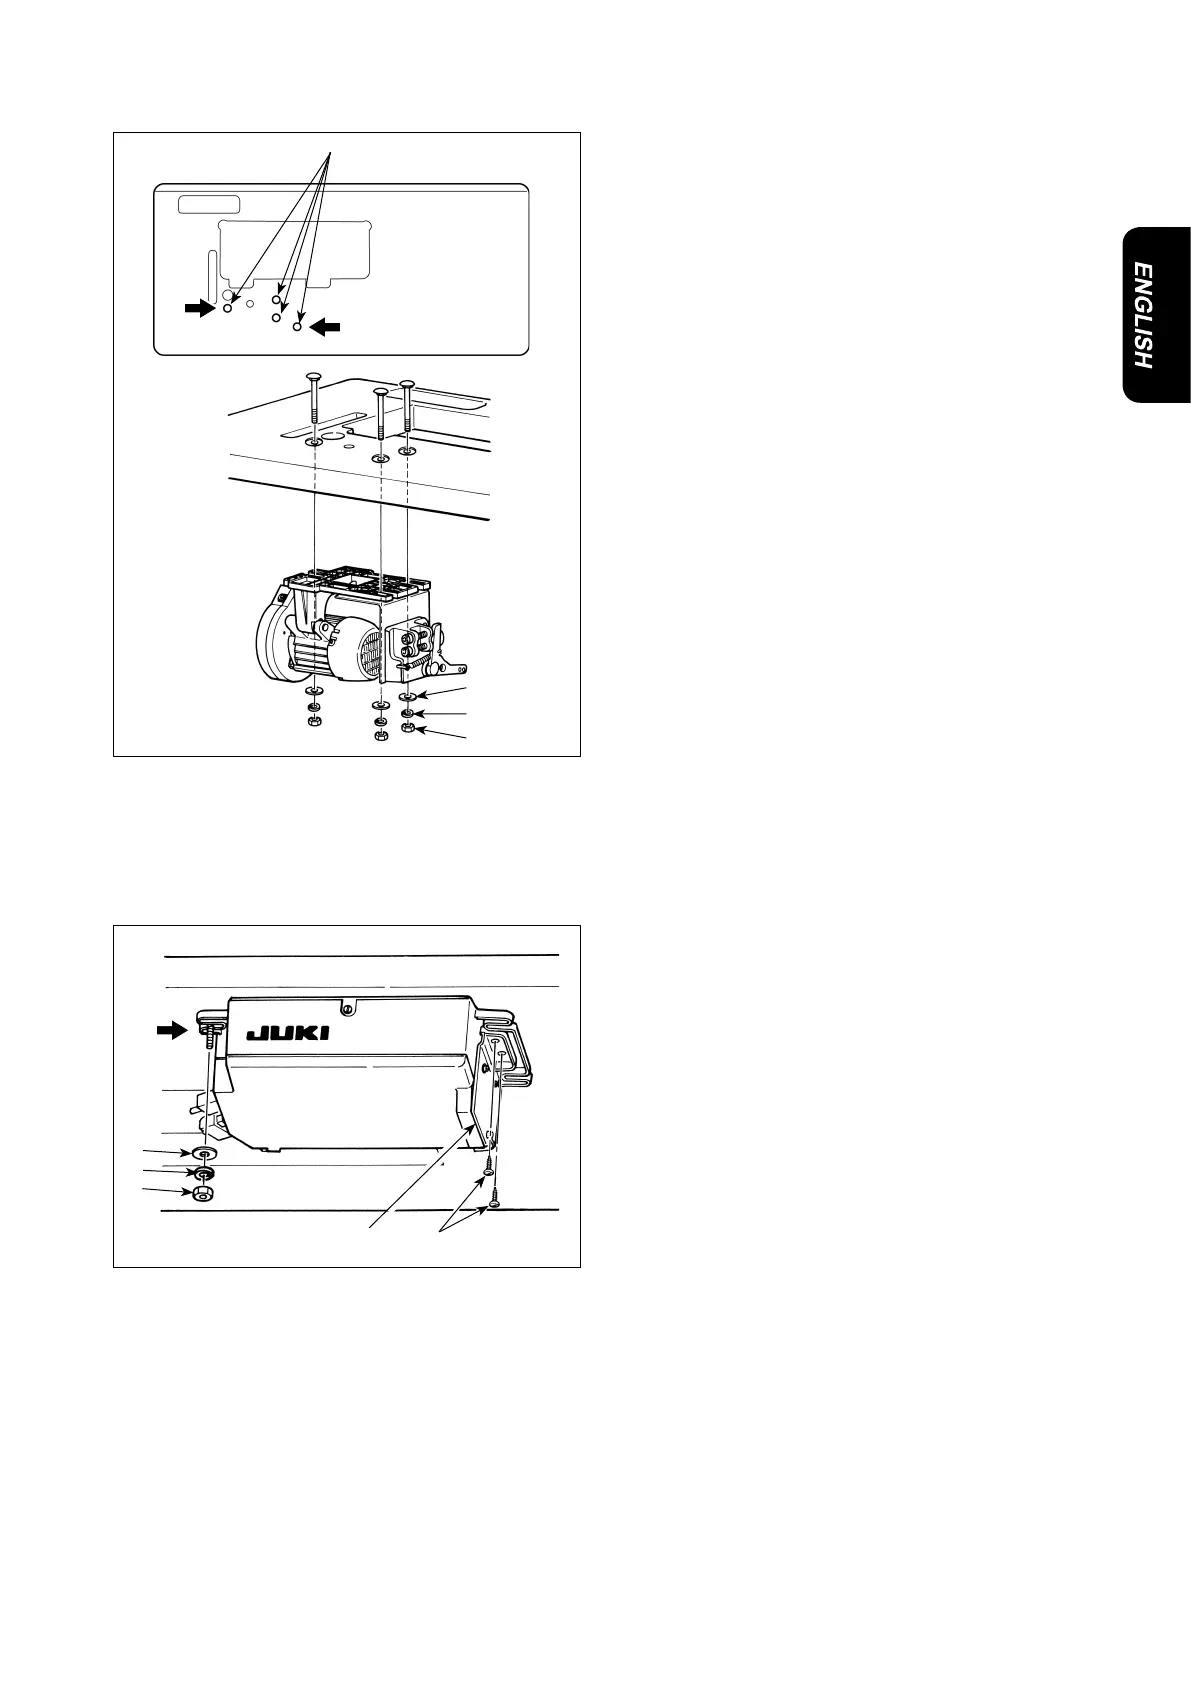
2. Installing the motor
Install the motor unit on the table with the mounting
boltasm.suppliedwiththecontrolbox.
At this time, insert nuts and washers supplied with
theunitasshownintheguresoastosecurelyx
the bolts.
1)Press tfourbolts
supplied with the unit into
hanging bolt holes in the table. (Bolt B is to be
usedforinstallingthecontrolbox.)
2)Temporarilyxthewasher
, spring washer
and nut
supplied with the unit on the bolt which
isttedonAside.Atthistime,insertthewasher
, spring washer
and nut
supplied with the
unitasshownin the gure so astosecurelyx
the bolt.
3) Hooking the motor on the washer which has been
temporarilyxed ontheboltatsectionA,attach
the washers
, spring washers
and nuts
to
the two bolts on the side opposite to A side.
4) Adjust the installing position of the motor. Then,
rmlytightenthenuts.
5)Aftertheadjustmentofthemotorposition,rmly
tighten the two bolts which are used to install the
pedal unit.
3. Installing the control box
1)Temporarilyxwasher
, spring washer
and
nut
on bolt B which comes with the unit and
whichyouhavettedonthetableinprior.
2)Hookingthecontrolboxonthewasherwhichhas
beentemporarilyxed,installthecontrolboxon
the underside of the table by inserting and tight-
ening two wood screws
into holes in bracket
on the opposite side of the washer.
B
A
B