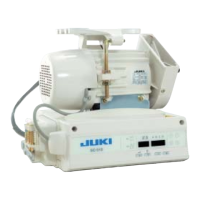
[ Connection of the connector for CP panel ]
Exclusive connectors are prepared for connection of
the connector for CP-160.
Paying attention to the orientation of the connector
!2
, connect it to connector
!3
located on the circuit
board. After connecting, securely lock the connector.
9) After inserting the connector, put all cords togeth
-
er with cable clip band
!4
located on the side of
the box.
(Caution) 1. Fix the cord clamp and the cable clip
band following the attaching procedure.
2. When removing the cable clip band,
remove it while pressing the hook of the
cable clip band.
(Caution) 1. Fix the cable clip band following the attaching procedure as shown in the gure.
2. To remove the cable clip band, push the cable clip band until it comes off while pressing the hook
of the band following the removing procedure as shown in the gure.
How to x cable clip band
!4
Pull
How to remove cable clip band
!4
Push
Pushing the hook portion, push the band to remove it.
Push the hook.
Pull
Push
Push
!2
!3
!4

 Loading...