0999.GB
C 2
3 Wheel arm adjustment
The distance between the wheel arms is adjustable (refer to chapter B).
f
Adjusting the wheel arms must only be carried out be trained service personnel.
4 Moving the truck without own drive
f
This type of operation is prohibited on slopes and inclinations.
If the truck must still be moved after a fault has occurred, proceed as follows:
– Set master switch to "OFF" position.
– Set key switch to "0" position and re-
move the key.
– Secure the truck against rolling away.
– Open and remove front hood
(see chapter F).
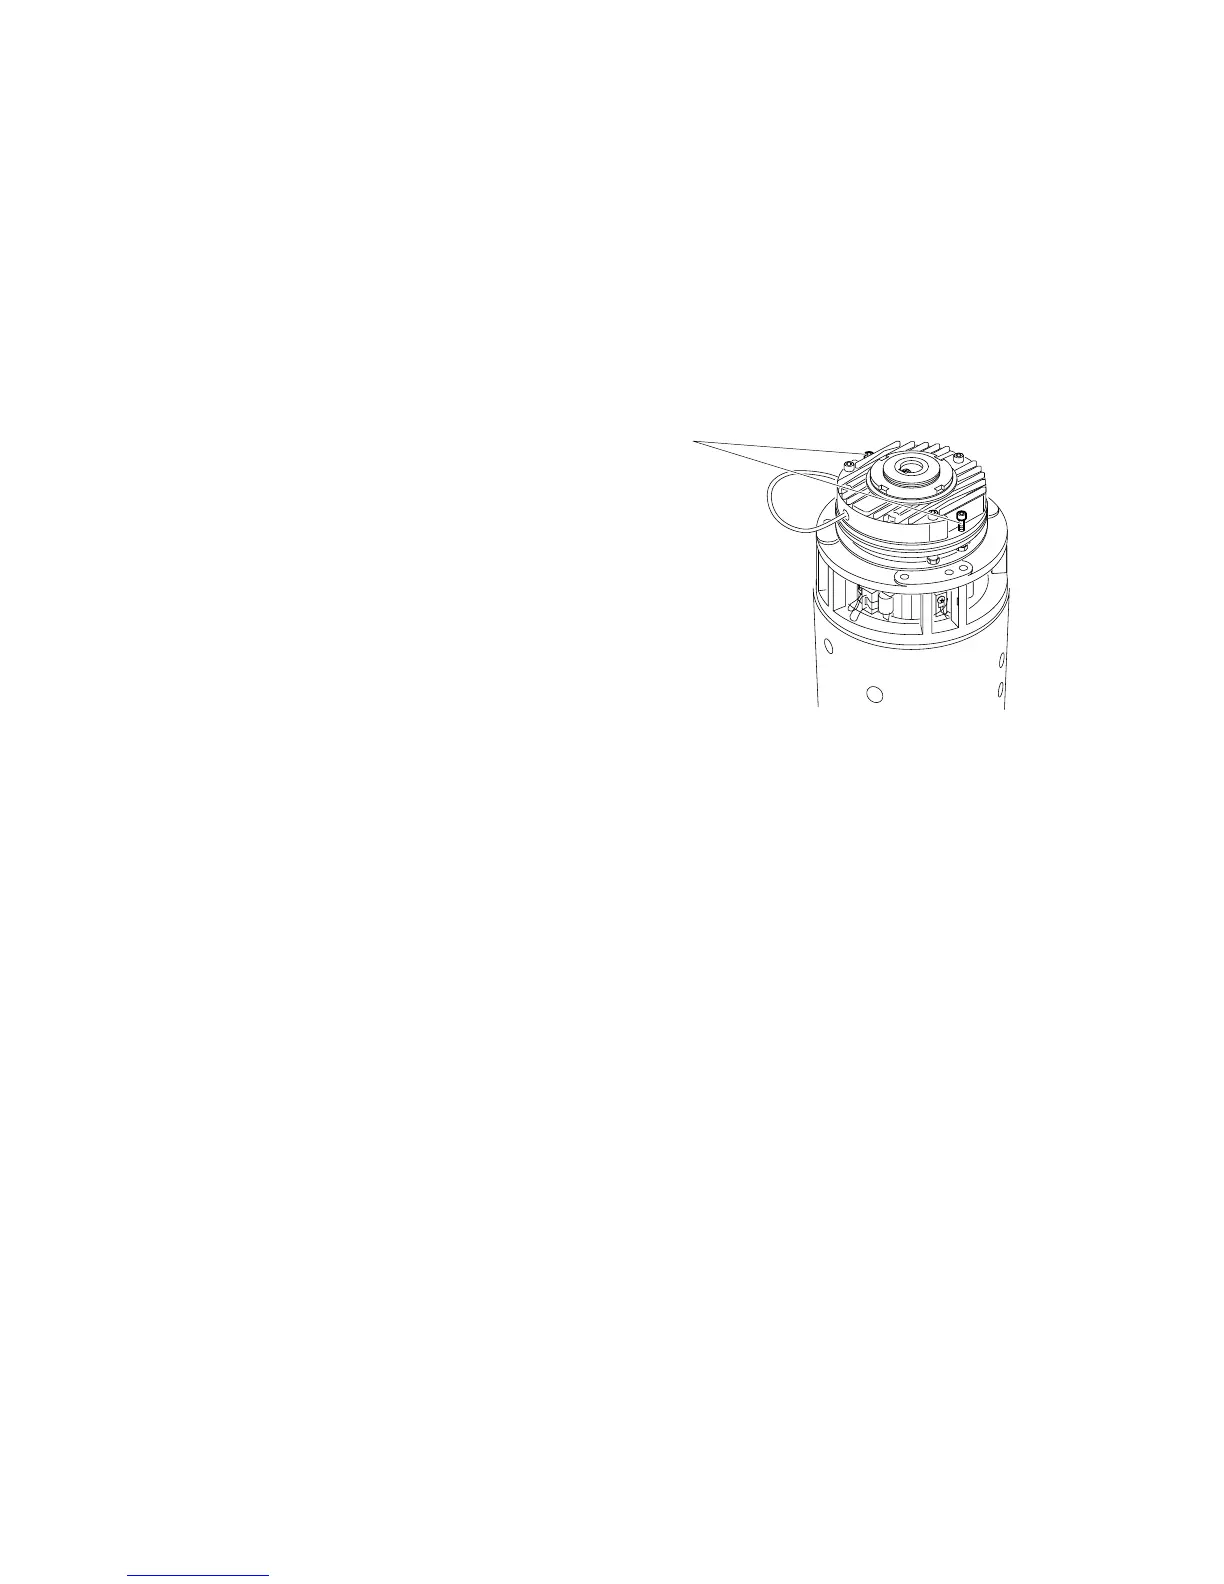
– Turn the screws (2) anticlockwise until
you reach the limit stop.
The solenoid brake is triggered. The
truck can now no longer be moved.
f
If you reached the target location, reset
the brake system to its original condition! The truck must not be parked with released
brake!
– Return the screws (2) anticlockwise until they touch the limit stop.
The original brake condition is restored.
2
0999.GB
C 2
3 Wheel arm adjustment
The distance between the wheel arms is adjustable (refer to chapter B).
f
Adjusting the wheel arms must only be carried out be trained service personnel.
4 Moving the truck without own drive
f
This type of operation is prohibited on slopes and inclinations.
If the truck must still be moved after a fault has occurred, proceed as follows:
– Set master switch to "OFF" position.
– Set key switch to "0" position and re-
move the key.
– Secure the truck against rolling away.
– Open and remove front hood
(see chapter F).
– Turn the screws (2) anticlockwise until
you reach the limit stop.
The solenoid brake is triggered. The
truck can now no longer be moved.
f
If you reached the target location, reset
the brake system to its original condition! The truck must not be parked with released
brake!
– Return the screws (2) anticlockwise until they touch the limit stop.
The original brake condition is restored.
2
 Loading...