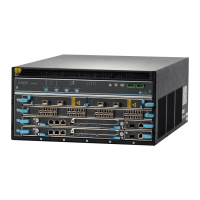
Step 3: Ground the ACX1000 and ACX1100 Router
You must ground the router before connecting to power.
•
Tools Required to Ground the Router on page 10
•
Connect the Grounding Cable on page 10
Tools Required to Ground the Router
To ground the router, you need the following tools:
•
Phillips (+) screwdriver, number 2
•
ESD grounding wrist strap
•
Two SAE 10-32 screws and paint piercing washers (not provided)
•
Grounding lug, Panduit LCD06-10A or equivalent (not provided)
•
Grounding cable, minimum 6 AWG (13.3 mm
2
) 90° C wire (not provided)
Connect the Grounding Cable
You ground the router by connecting a grounding cable to earth ground and then attaching
it to the chassis grounding points. To ground the router:
1. Verify that a licensed electrician has attached the cable lug, which is provided with
the router, to the grounding cable.
2. Attach an electrostatic discharge (ESD) grounding strap to your bare wrist, and connect
the strap to an approved site ESD grounding point. See the instructions for your site.
3. Ensure that all grounding surfaces are clean and brought to a bright finish before you
make grounding connections.
4. Connect the grounding cable to a proper earth ground.
5. Detach the ESD grounding strap from the site ESD grounding point.
6. Attach an ESD grounding strap to your bare wrist and connect the strap to one of the
ESD points on the chassis.
7. Place the grounding cable lug over the grounding points on the front of the chassis
(see Figure 8 on page 11).
8. Secure the grounding cable lug with the washers and screws. The holes are sized for
SAE 10-32 screws. Apply 4.34 lb-in (0.49 Nm) of torque to each screw. Do not
overtighten the screw. (Use a number 2 Phillips screwdriver.)
CAUTION: Ensure that each grounding cable lug seats flush against the
surface of the grounding points as you are tightening the screws. Ensure
that each screw is properly threaded into the grounding points. Applying
installation torque to the screw when improperly threaded may result in
damage to the terminal.
Copyright © 2015, Juniper Networks, Inc.10
ACX1000 and ACX1100 Universal Access Routers Quick Start

 Loading...