1. Wrap and fasten one end of the electrostatic discharge (ESD) grounding strap around your bare wrist, and connect the
other end to a site ESD point.
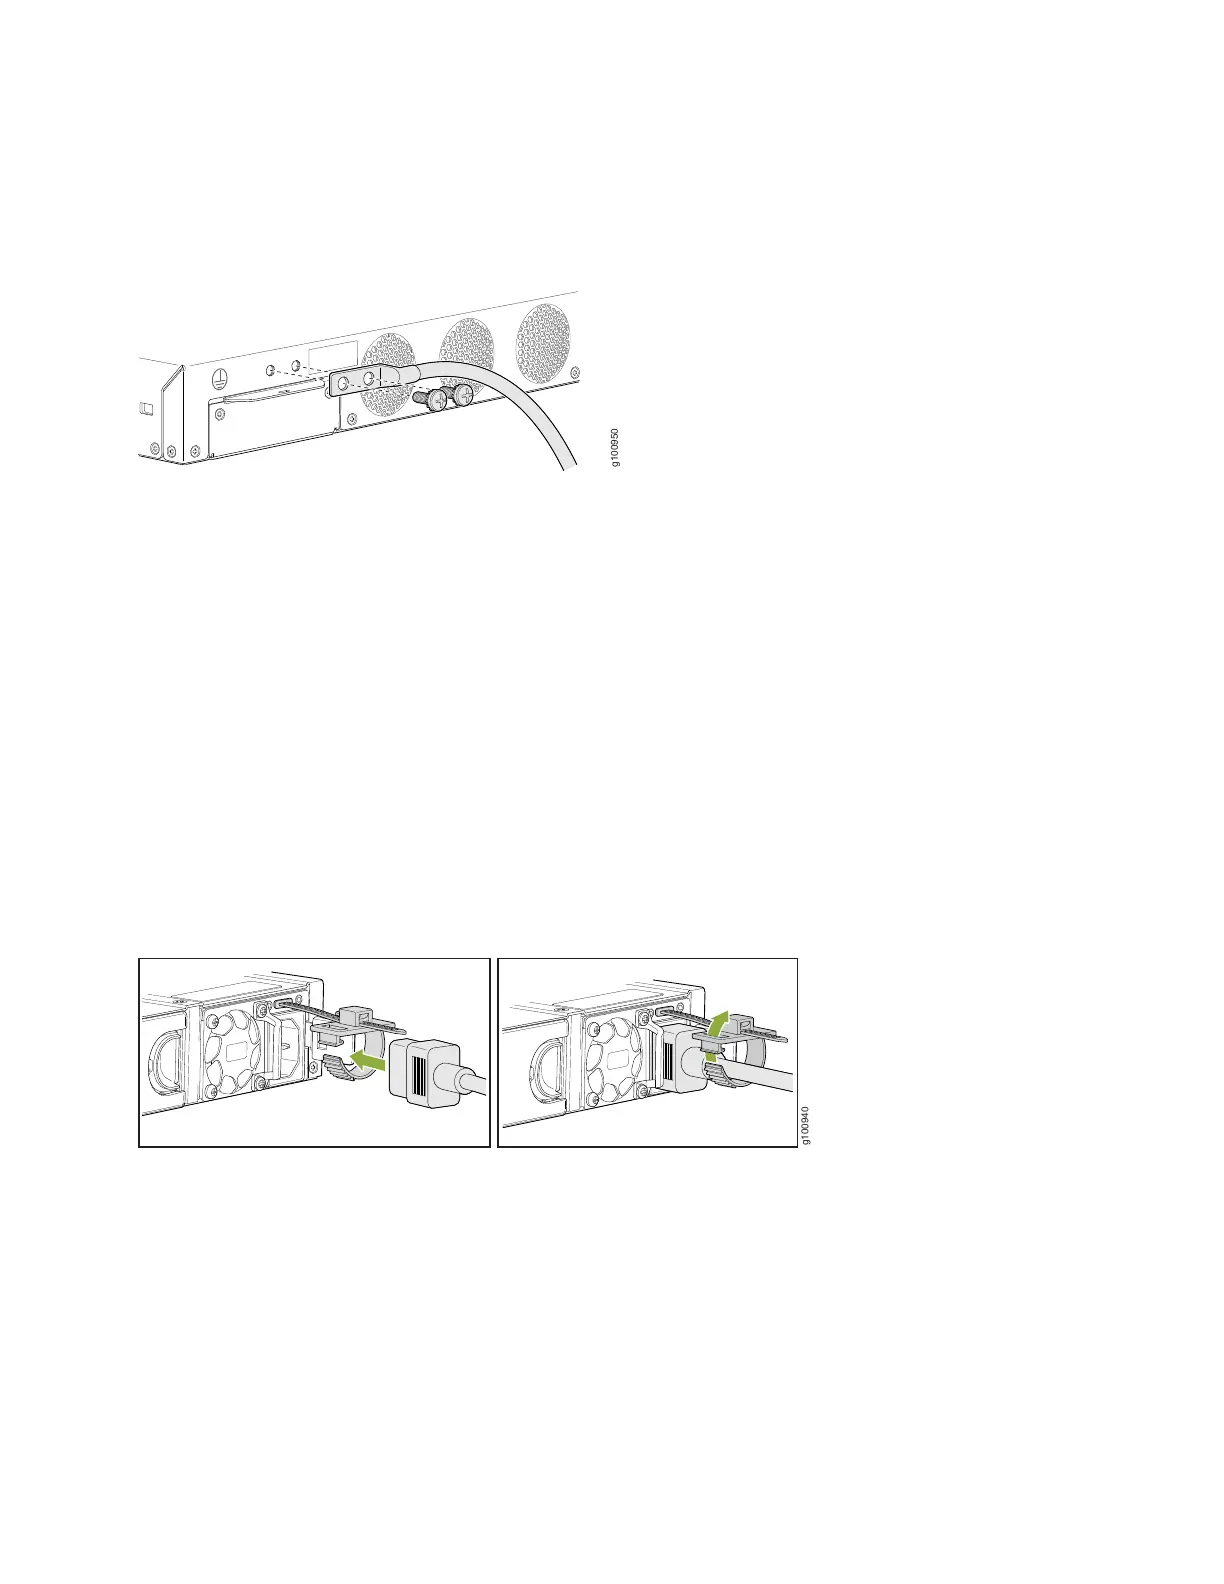
2. Attach a grounding cable to earth ground and then attach it to the SRX380’s grounding points.
3. On the SRX380 rear panel, push the end of the retainer strip into the slot above the power cord socket until the strip
snaps into place.
4. Press the small tab on the retainer strip to loosen the loop.
5. Slide the loop until you have enough space to insert the power cord into the power cord socket.
6. Insert the power cord firmly into the power cord socket.
7. Slide the loop on the retainer strip toward the power supply until it is snug against the base of the power cord coupler.
8. Press the tab on the loop and draw out the loop into a tight circle.
9. If the AC power source outlet has a power switch, turn it off.
10. Plug in the AC power cord to the power source outlet.
11. If the AC power source outlet has a power switch, turn it on.
12. Verify that the PWR LED on the front panel is solid green.
5