Step 2: Up and Running
IN THIS SECTION
Configure Root Authentication | 6
Plug and Play | 7
Customize the Basic Configuration | 8
Now that the SRX380 is powered on, let’s do some initial configuration to get the switch up and running on the network.
It’s simple to provision and manage the SRX380 and other devices on your network. You can choose the configuration
tool that’s right for you:
•
J-Web—This tool comes preinstalled on the SRX380 and includes a Setup wizard that walks you through the configuration.
•
CLI commands
•
Juniper Sky™ Enterprise, Juniper Networks-hosted public cloud-based Software as a Service (SaaS) solution.
NOTE: You’ll need to have a Juniper Sky Enterprise subscription service before you can use it to configure
the SRX380. For more information, check out the Juniper Sky Enterprise Getting Started Guide.
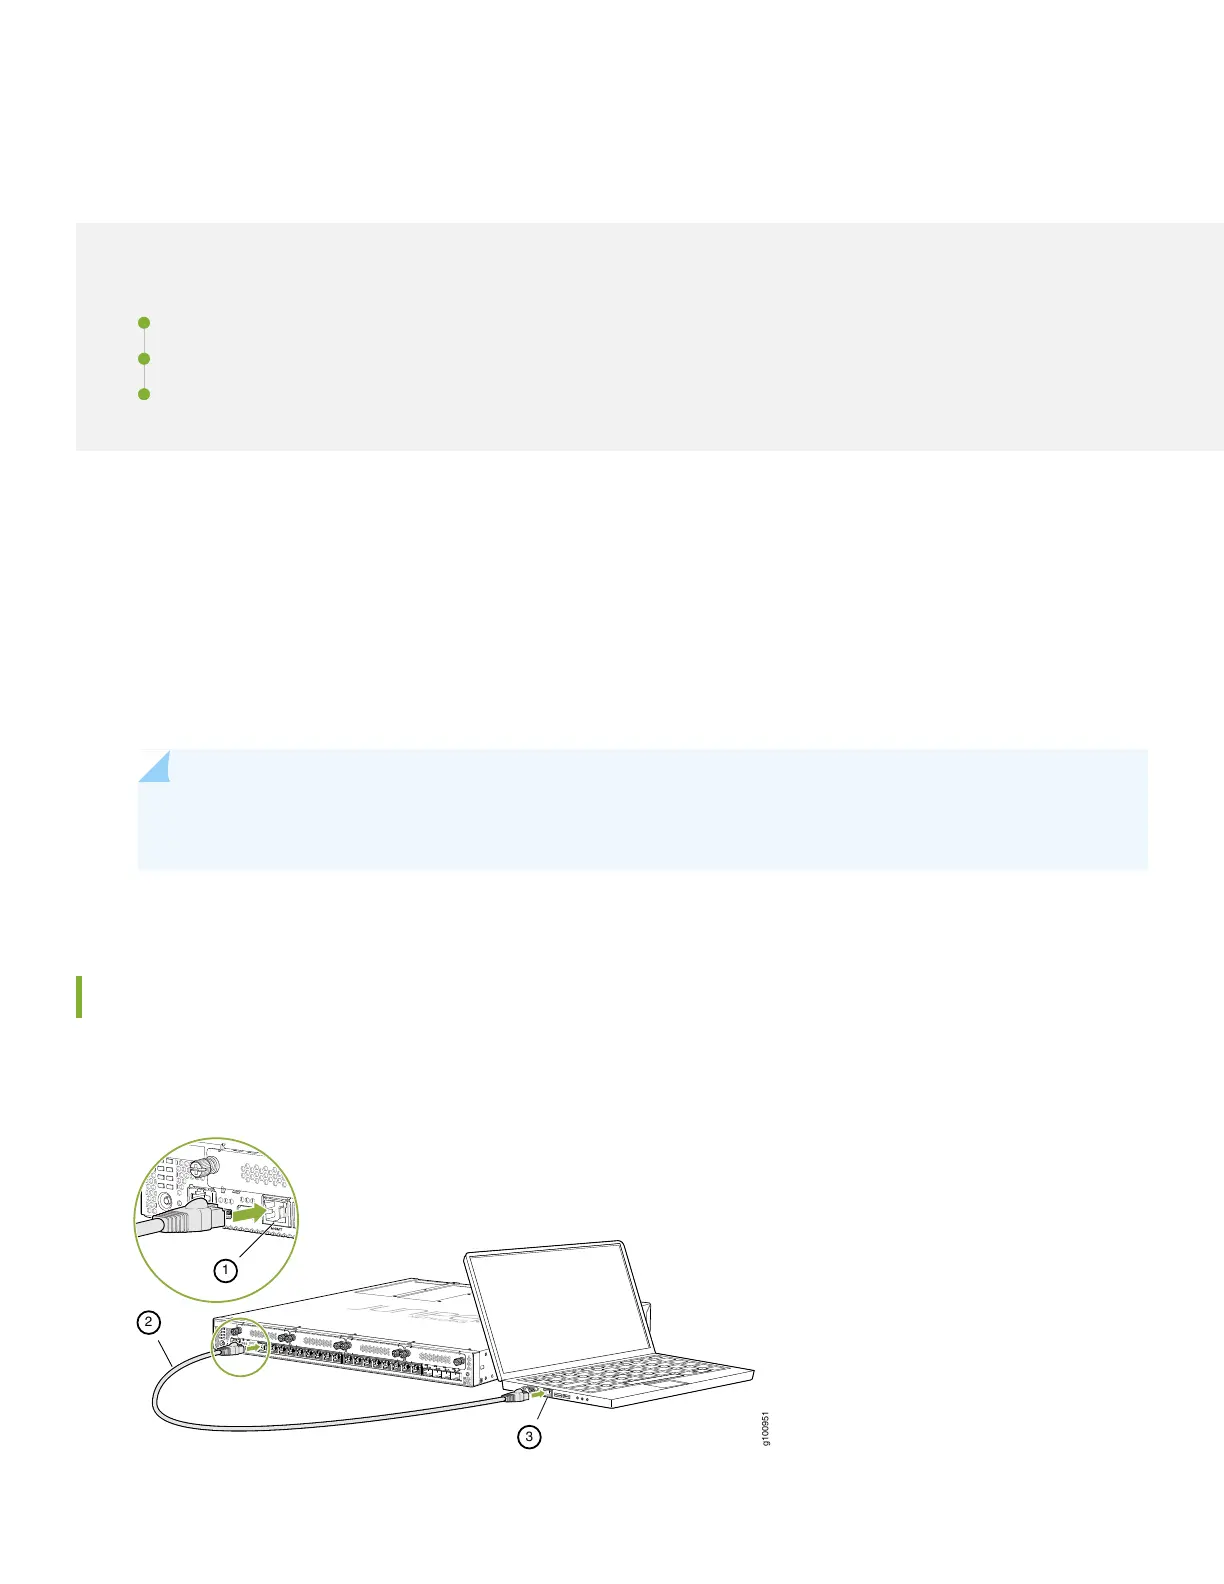
Configure Root Authentication
1. Connect the management port (MGMT) on the SRX380 front panel to the Ethernet port on your laptop.
6