Figure 7: Attaching Front-Mounting Brackets
6. Move the lift away from the rack.
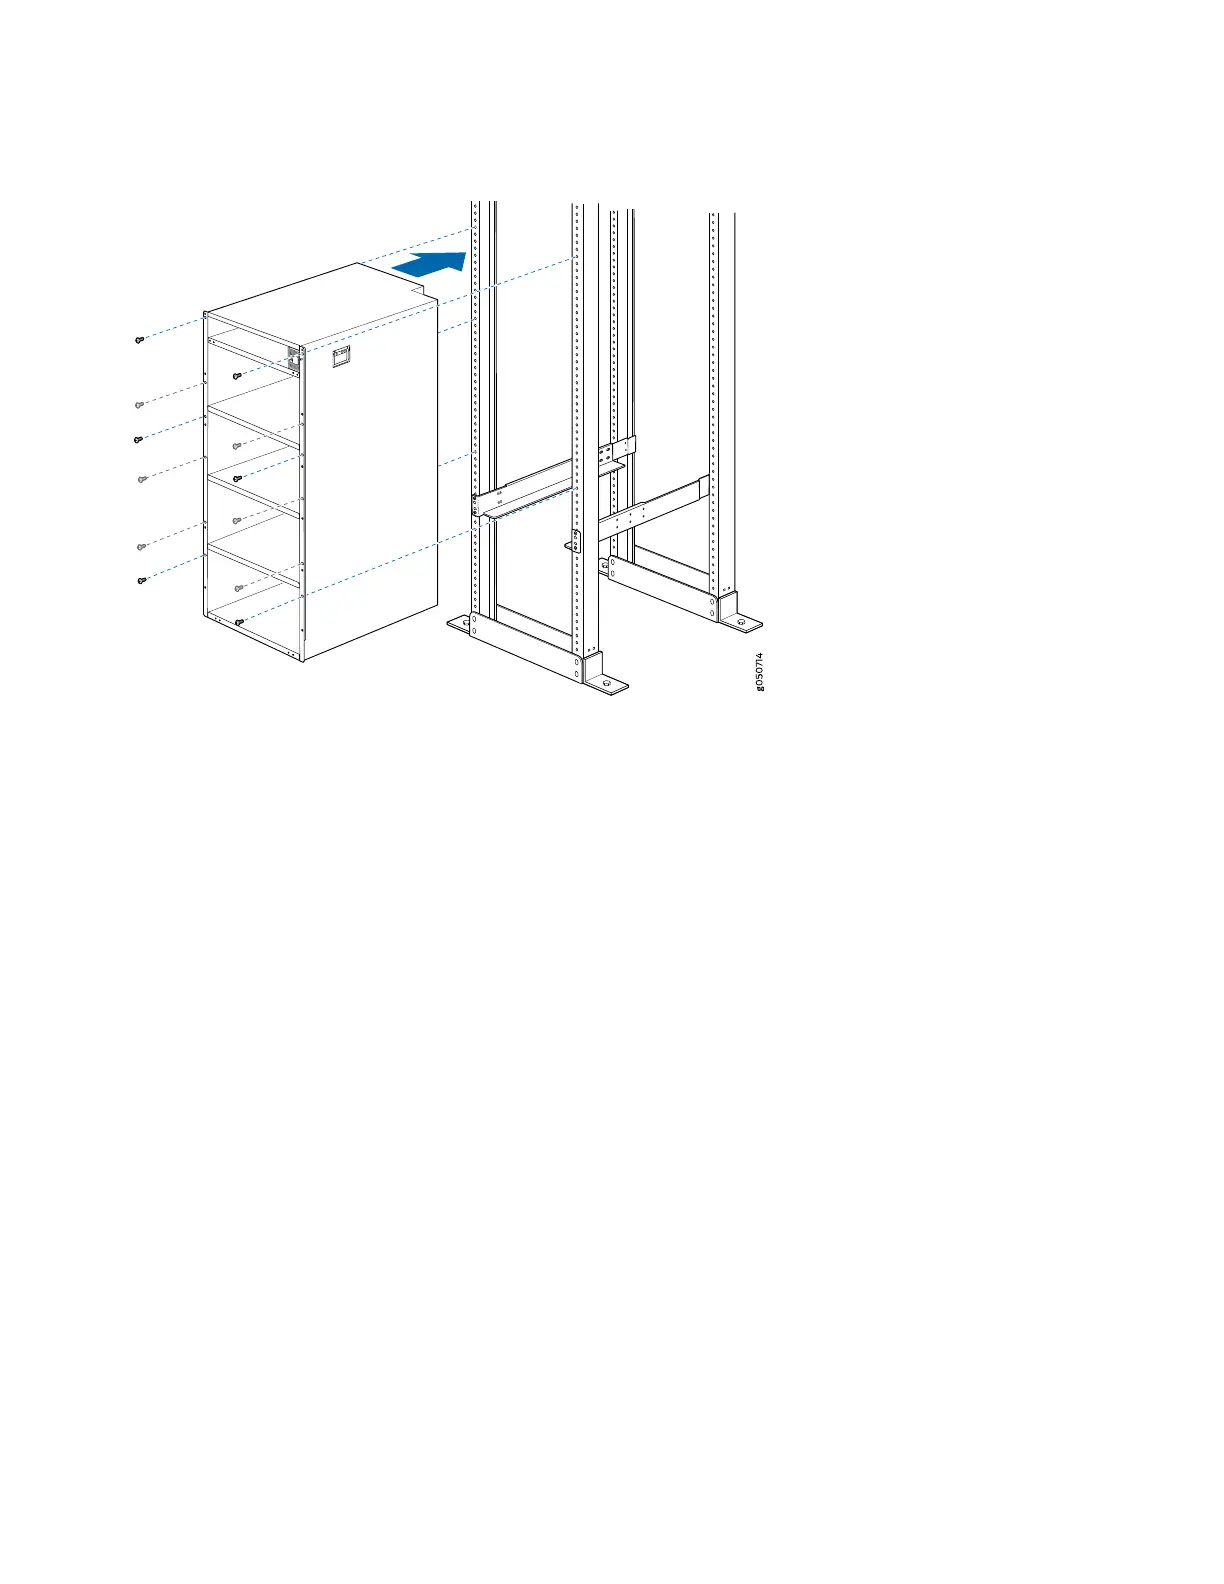
7. Install a mounting screw into each of the open front-mounting holes aligned with the rack, starting from the bottom.
8. Visually inspect the alignment of the router. If the router is installed properly in the rack, all the mounting screws on
one side of the rack are aligned with the mounting screws on the opposite side and the router is level.
9. After ensuring that the router is aligned properly, tighten the screws.
Step 4–Installing Line Cards
MX10016 line cards are field-replaceable units (FRUs) that can be installed in any of the line card slots on the front of the
chassis. The line cards are hot-insertable and hot-removable: You can remove and replace them without powering off the
router or disrupting router functions.
•
Ensure that you have the following parts and tools available to install a line card in the router:
•
ESD grounding strap
11