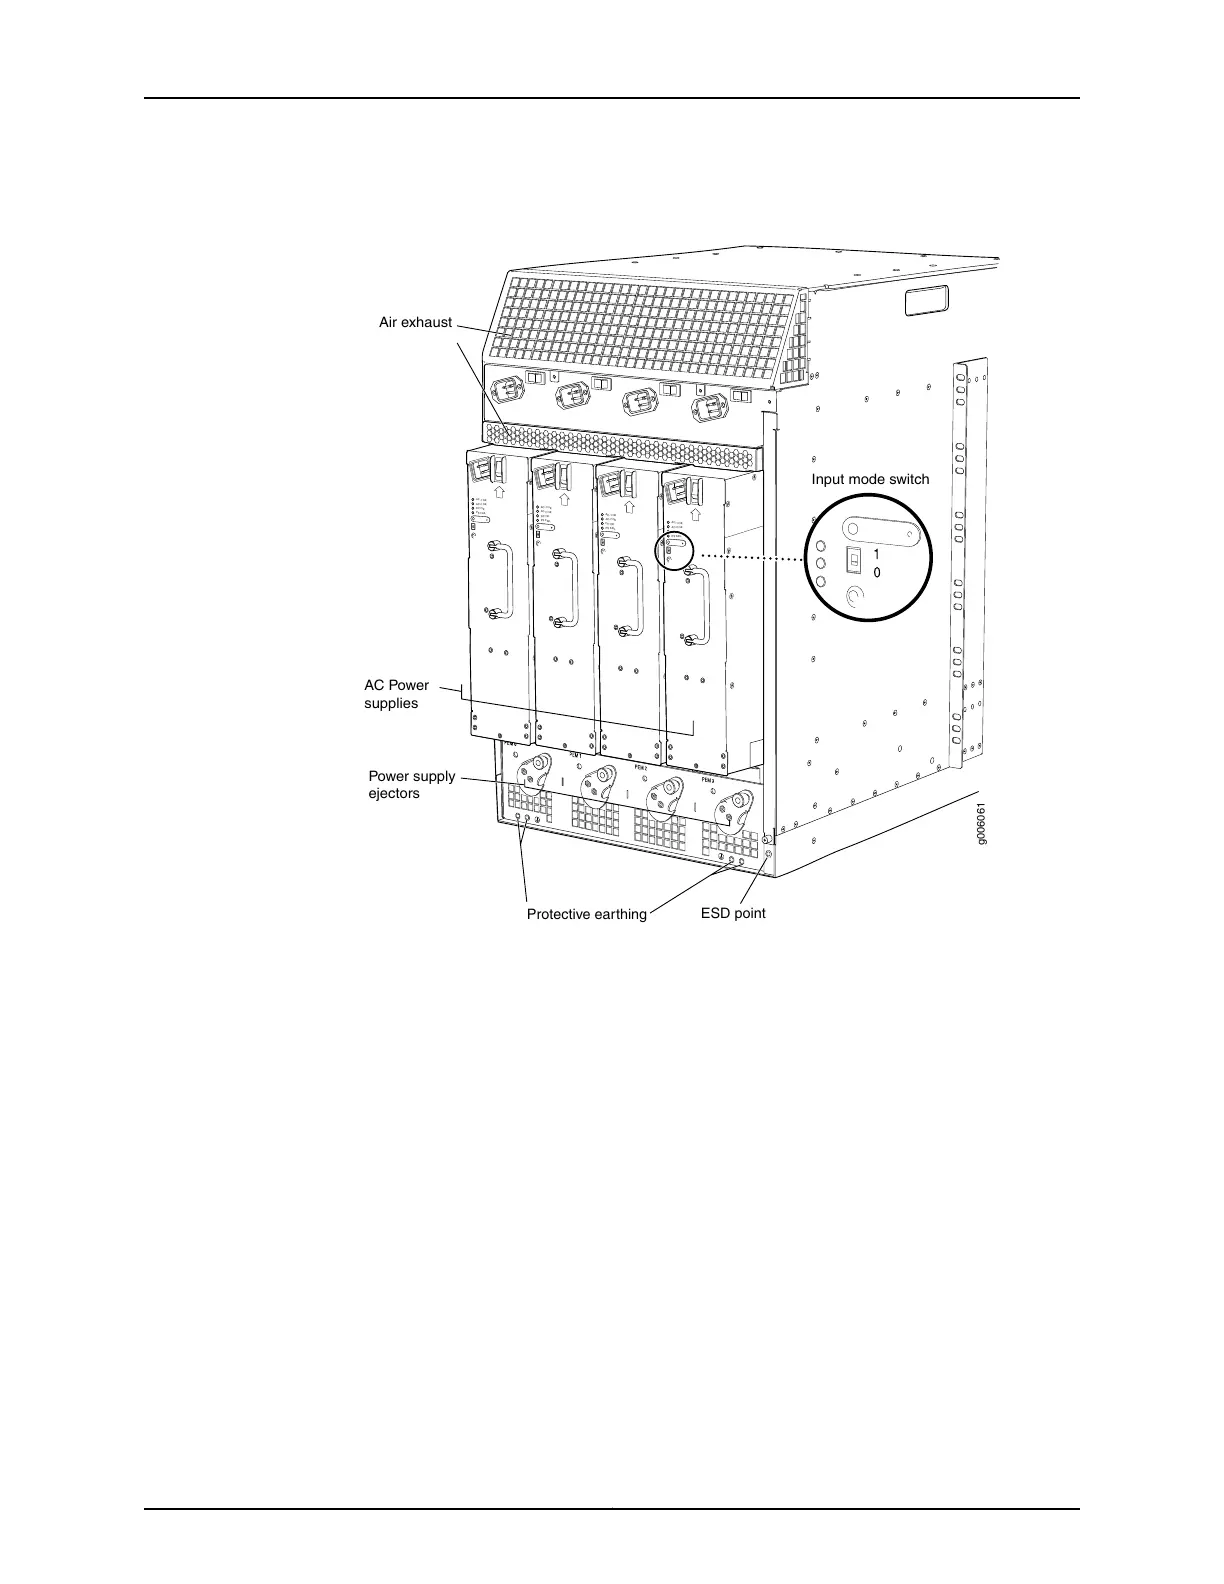
Figure 8: MX960 with High-Capacity AC Power Supplies Installed
g006061
AC-1 OK
AC-2 OK
DC OK
PS FAIL
AC-1 OK
AC-2 OK
DC OK
PS FAIL
AC-1 OK
AC-2 OK
DC OK
PS FAIL
AC-1 OK
AC-2 OK
DC OK
PS FAIL
Protective earthing
ESD point
Power supply
ejectors
AC Power
supplies
Air exhaust
Input mode switch
If necessary, pull the spring-loaded locking pin in the release lever away from the
chassis and turn the release lever counterclockwise until it stops. Let go of the locking
pin in the release lever. Ensure that the pin is seated inside the corresponding hole in
the chassis.
3. On the power supply, rotate the metal cover away from the input mode switch to
expose the switch.
4. Move the input mode switch to position 0 for one feed or position 1 for two feeds (see
Figure 9 on page 18).
17Copyright © 2015, Juniper Networks, Inc.
Connect Power to an AC Router with High-Capacity Power Supplies