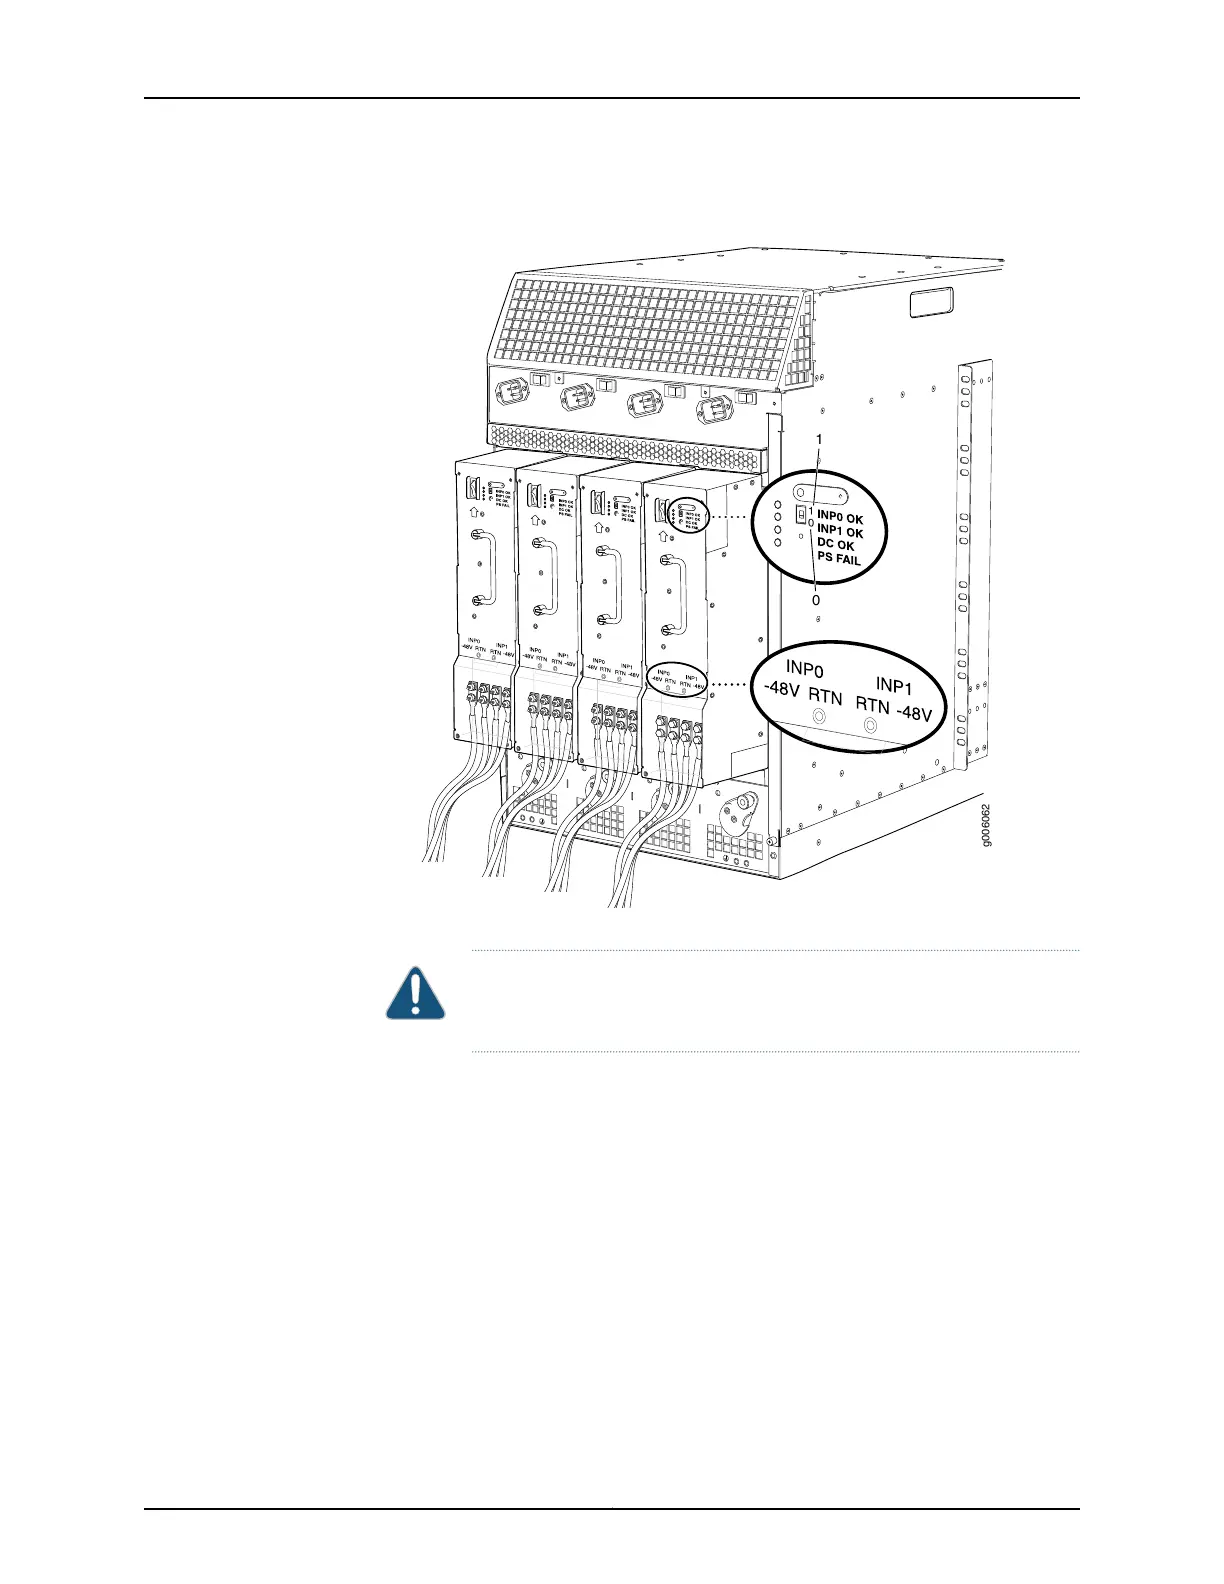
Figure 11: MX960 with High-Capacity DC Power Supplies Installed
CAUTION: Do not use a pencil, because fragments can break off and cause
damage to the power supply.
4. Ensure that the voltage across the DC power source cable leads is 0 V and that there
is no chance that the cable leads might become active during installation.
5. Ensure that the release lever below the empty power supply slot is locked in the
counterclockwise position.
If necessary, pull the spring-loaded locking pin in the release lever away from the
chassis and turn the release lever counterclockwise until it stops. Let go of the locking
pin in the release lever. Ensure that the pin is seated inside the corresponding hole in
the chassis.
6. Using both hands, slide the power supply straight into the chassis until the power
supply is fully seated in the chassis slot.
Copyright © 2015, Juniper Networks, Inc.22
MX960 3D Universal Edge Router Quick Start