5.
Switch the circuit breakers on the power supply faceplate to the off position (O).
6. Remove the clear plastic cover protecting the terminal studs on the faceplate.
CAUTION: You must ensure that power connections maintain the proper polarity.
The power source cables might be labeled (+) and (–) to indicate their polarity. There
is no standard color coding for DC power cables. The color coding used by the external
DC power source at your site determines the color coding for the leads on the power
cables that attach to the terminal studs on each power supply.
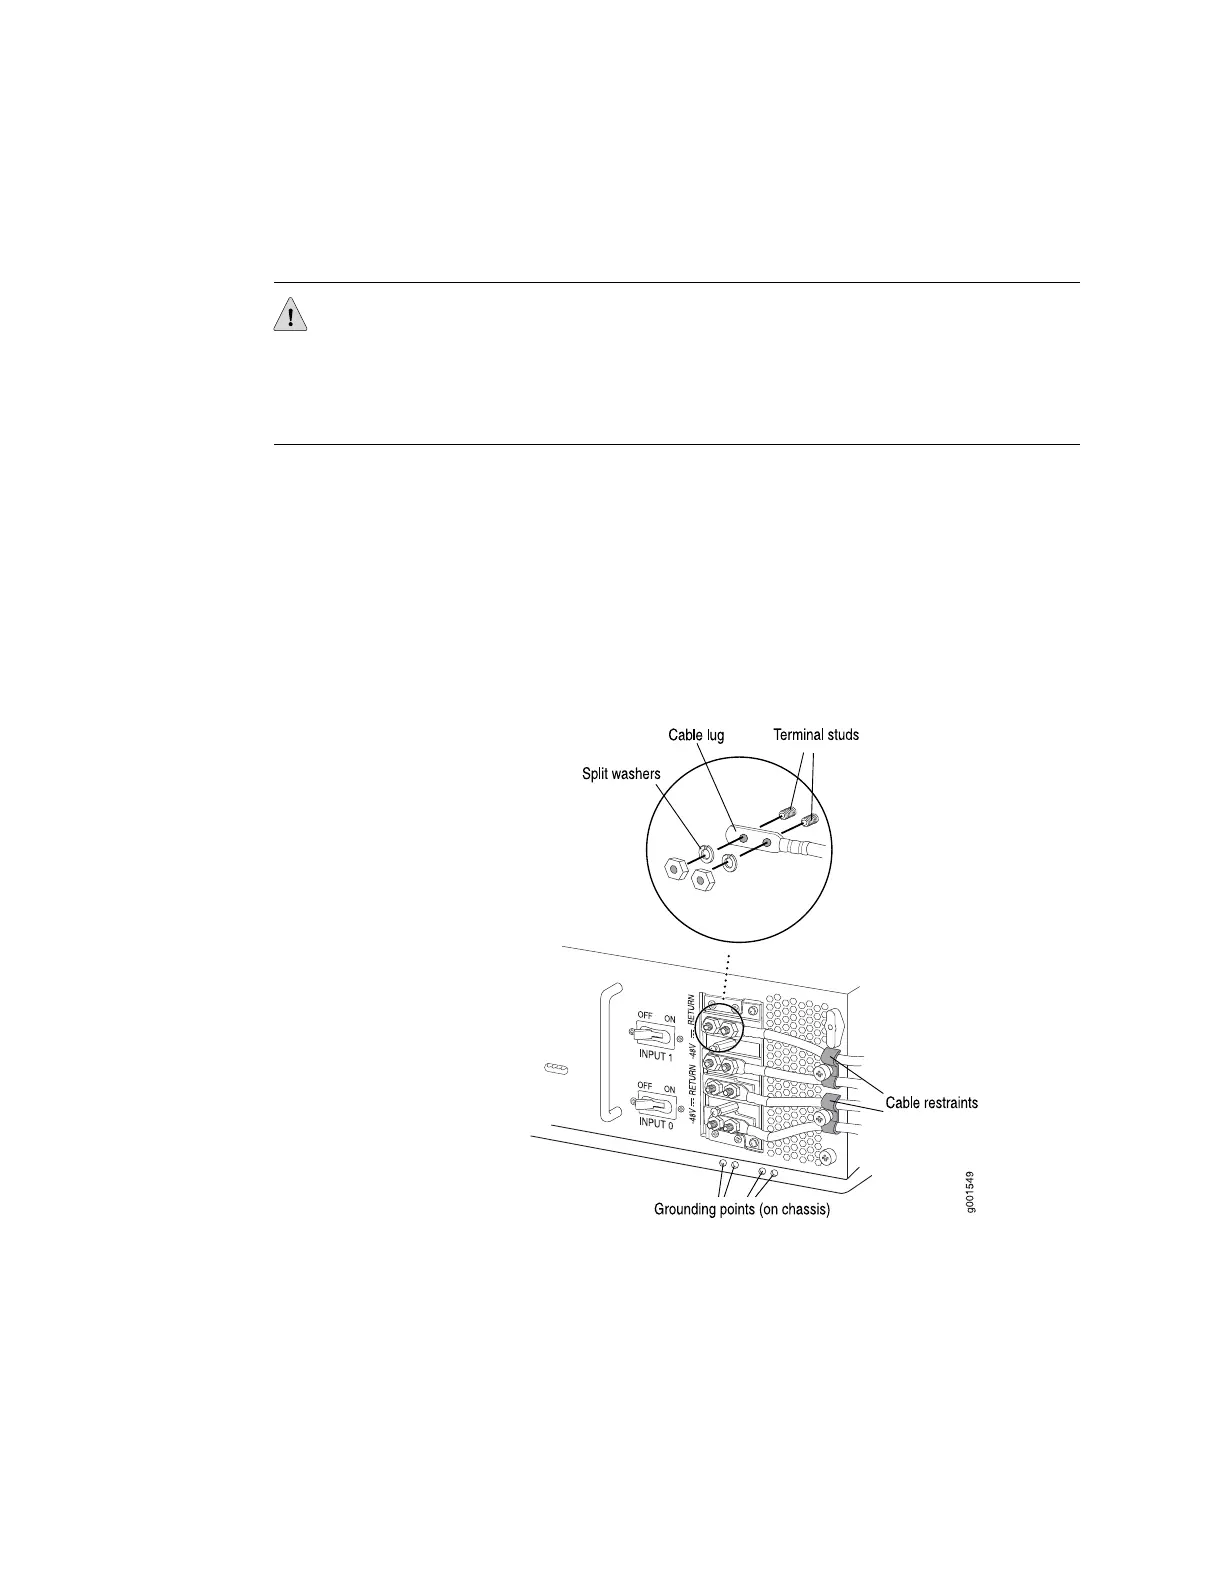
7. Remove the nut and washer from the terminal stud (see Figure 21, Figure 22,
and Figure 23). (Use a 7/16-in. (11 mm) nut driver or wrench.)
8. Remove the cable lug from the terminal studs.
9. Loosen the captive screw or screws on the cable restraint on the right edge of
the power supply faceplate.
10. Carefully move the power cable out of the way.
Figure 21: Disconnecting a DC Power Cable from a Two-Input 160-A DC Power Supply
24 ■ Removing a T640 DC Power Supply Cable
 Loading...


