5. With one person pulling on the installation handle from the back of the rack or cabinet
while two people push on the front-mounting flanges, slide the router onto the
mounting shelf or shelves:
•
Four-post rack or cabinet: Slide the router onto the mounting shelves until the
front-mounting flanges contact the spacer bars.
•
Front-mounting in an open-frame rack: Slide the router onto the large mounting
shelf until the front-mounting flanges contact the rack rails.
•
Center-mounting in an open-frame rack: Slide the router onto the large mounting
shelf until the center-mounting brackets contact the rack rails.
6. If you are installing the router in a four-post rack or cabinet, install a mounting screw
and a cage nut into each of the holes aligned with the threaded holes in the spacer
bars. If you are installing the router into an open-frame rack, install a mounting screw
into each of the open mounting holes aligned with the rack, starting from the bottom.
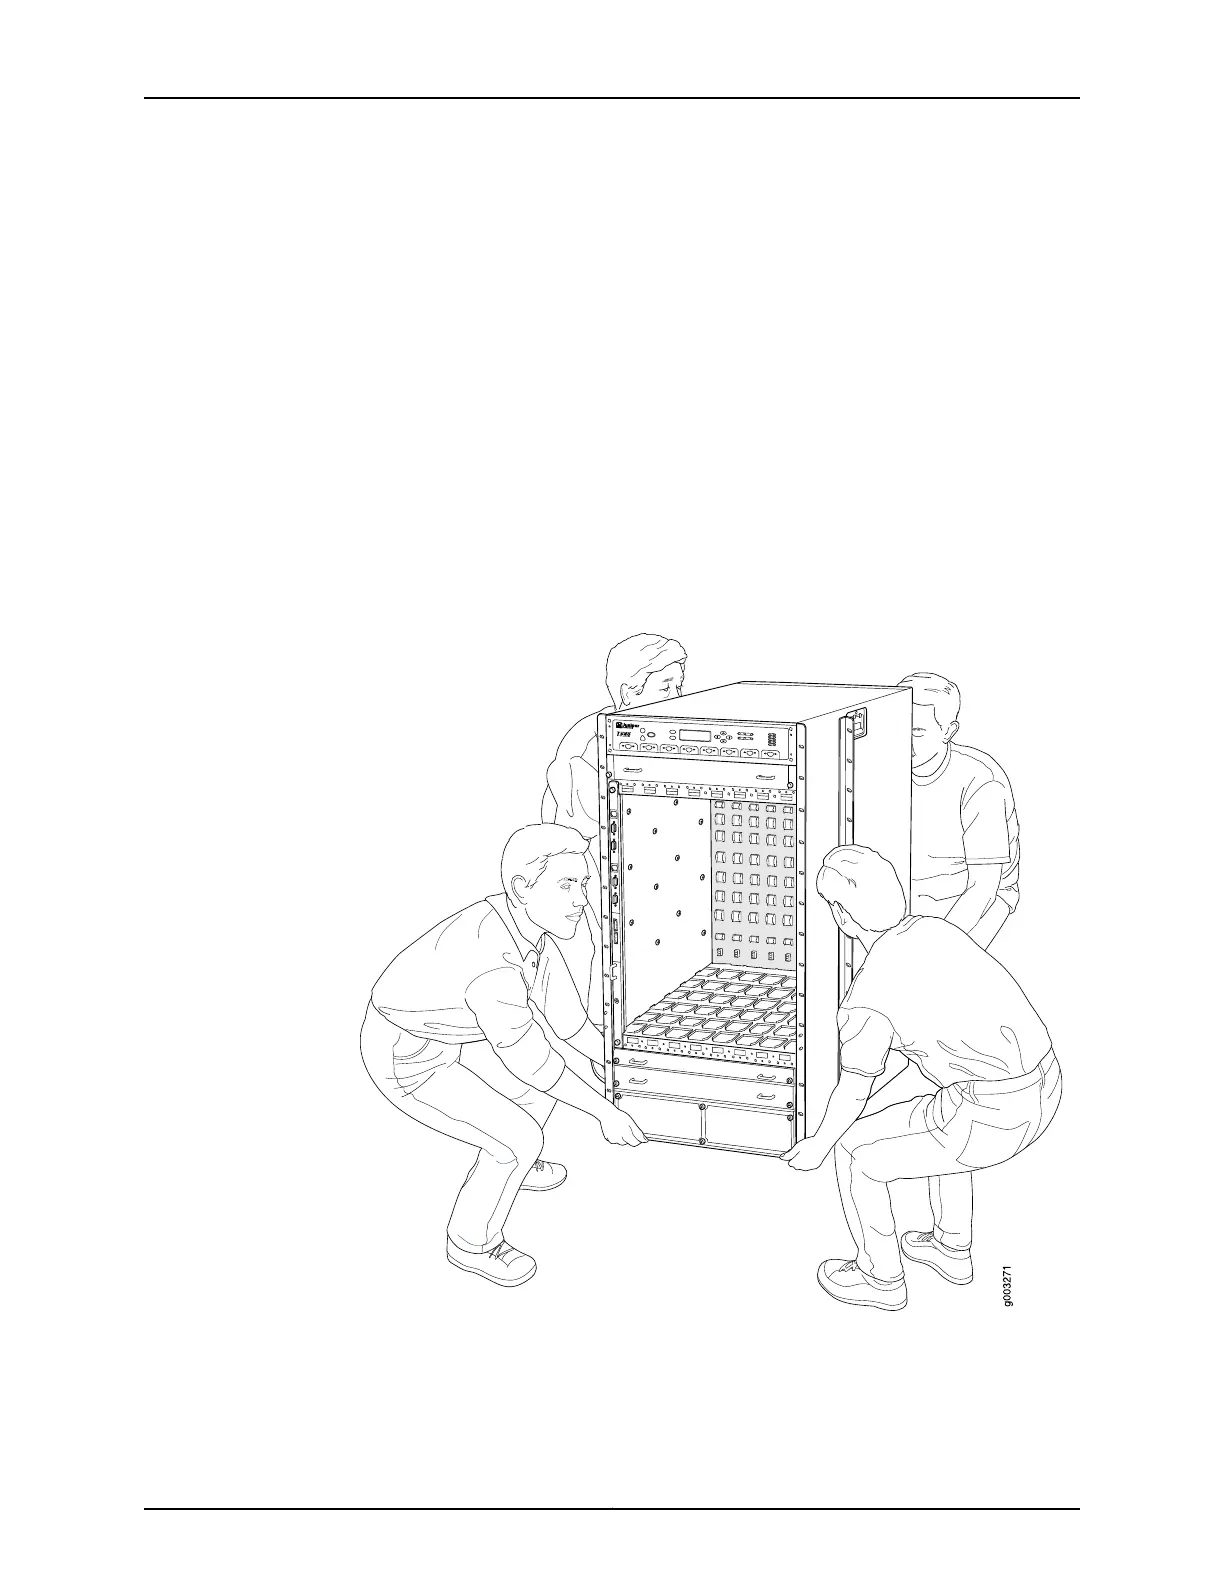
Figure 7: Lifting the Router into the Rack
17Copyright © 2015, Juniper Networks, Inc.
Lifting the Router into the Rack