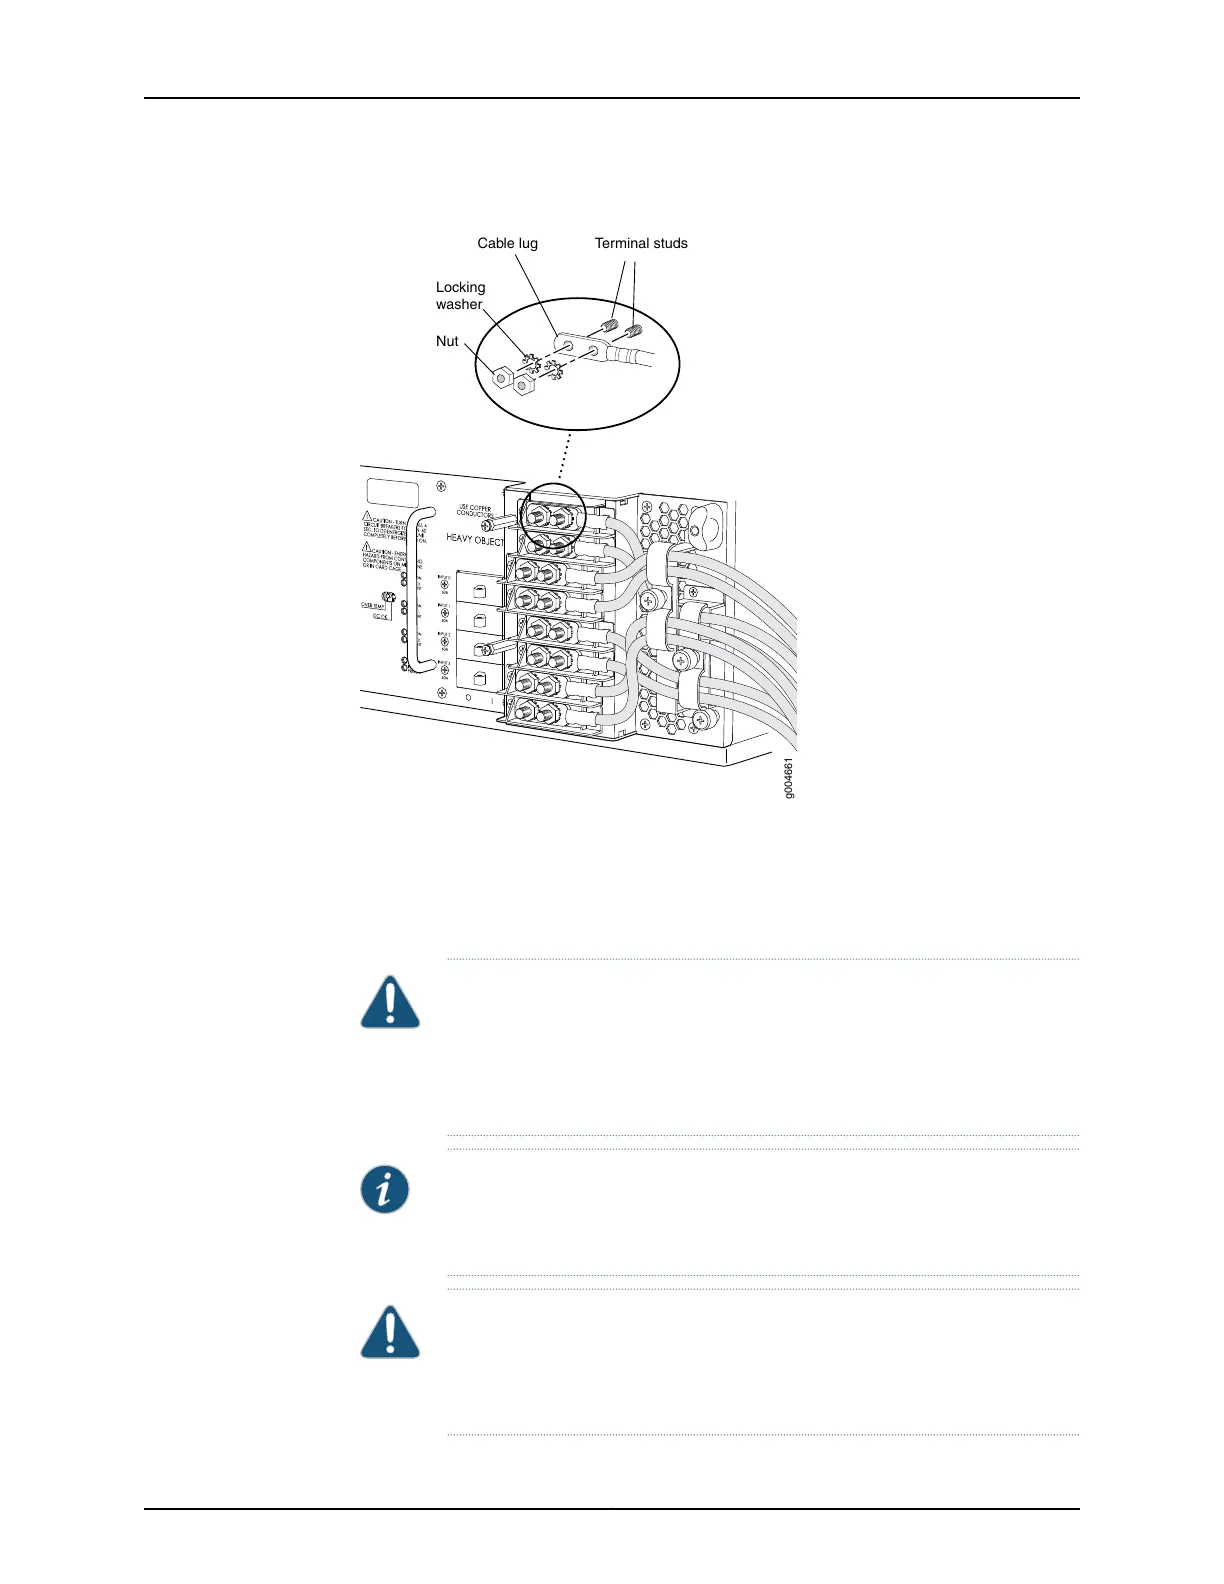
Figure 15: Connecting Power to the Four-Input 240-A DC Power Supply
g004661
Terminal studsCable lug
Locking
washer
Nut
Connecting Power to a T640 Router with Six-Input DC Power Supplies
You connect DC power to the router by attaching power cables from the DC power sources
to the terminal studs on the power supply faceplates. You must provide power cables
(the cable lugs are supplied with the router).
CAUTION: All connected inputs on the DC power supply in slot PEM0 must
be powered by dedicated power feeds derived from feed A, and all connected
inputs on the DC power supply in slot PEM1 must be powered by dedicated
power feeds derived from feed B. This configuration provides the commonly
deployed A/B feed redundancy for the system.
NOTE: We recommend that the positive (+) DC source power cables for the
RTN (return) terminals be 2.6 in. (6.6 cm) longer than the negative (–) DC
source power cables for the –48 V (input) terminals.
CAUTION: You must use an appropriate torque-controlled tool to tighten
the nuts. Applying excessive torque damages the terminal studs and the
power supply. The absolute maximum torque that may be applied to this nut
is 45 lb-in. (5.0 Nm).
Copyright © 2015, Juniper Networks, Inc.30
T640 Core Router Quick Start