2-7
2.3 EXPLANATION OF CAMERA CIRCUIT
2.3.1 Present AW / AE control system
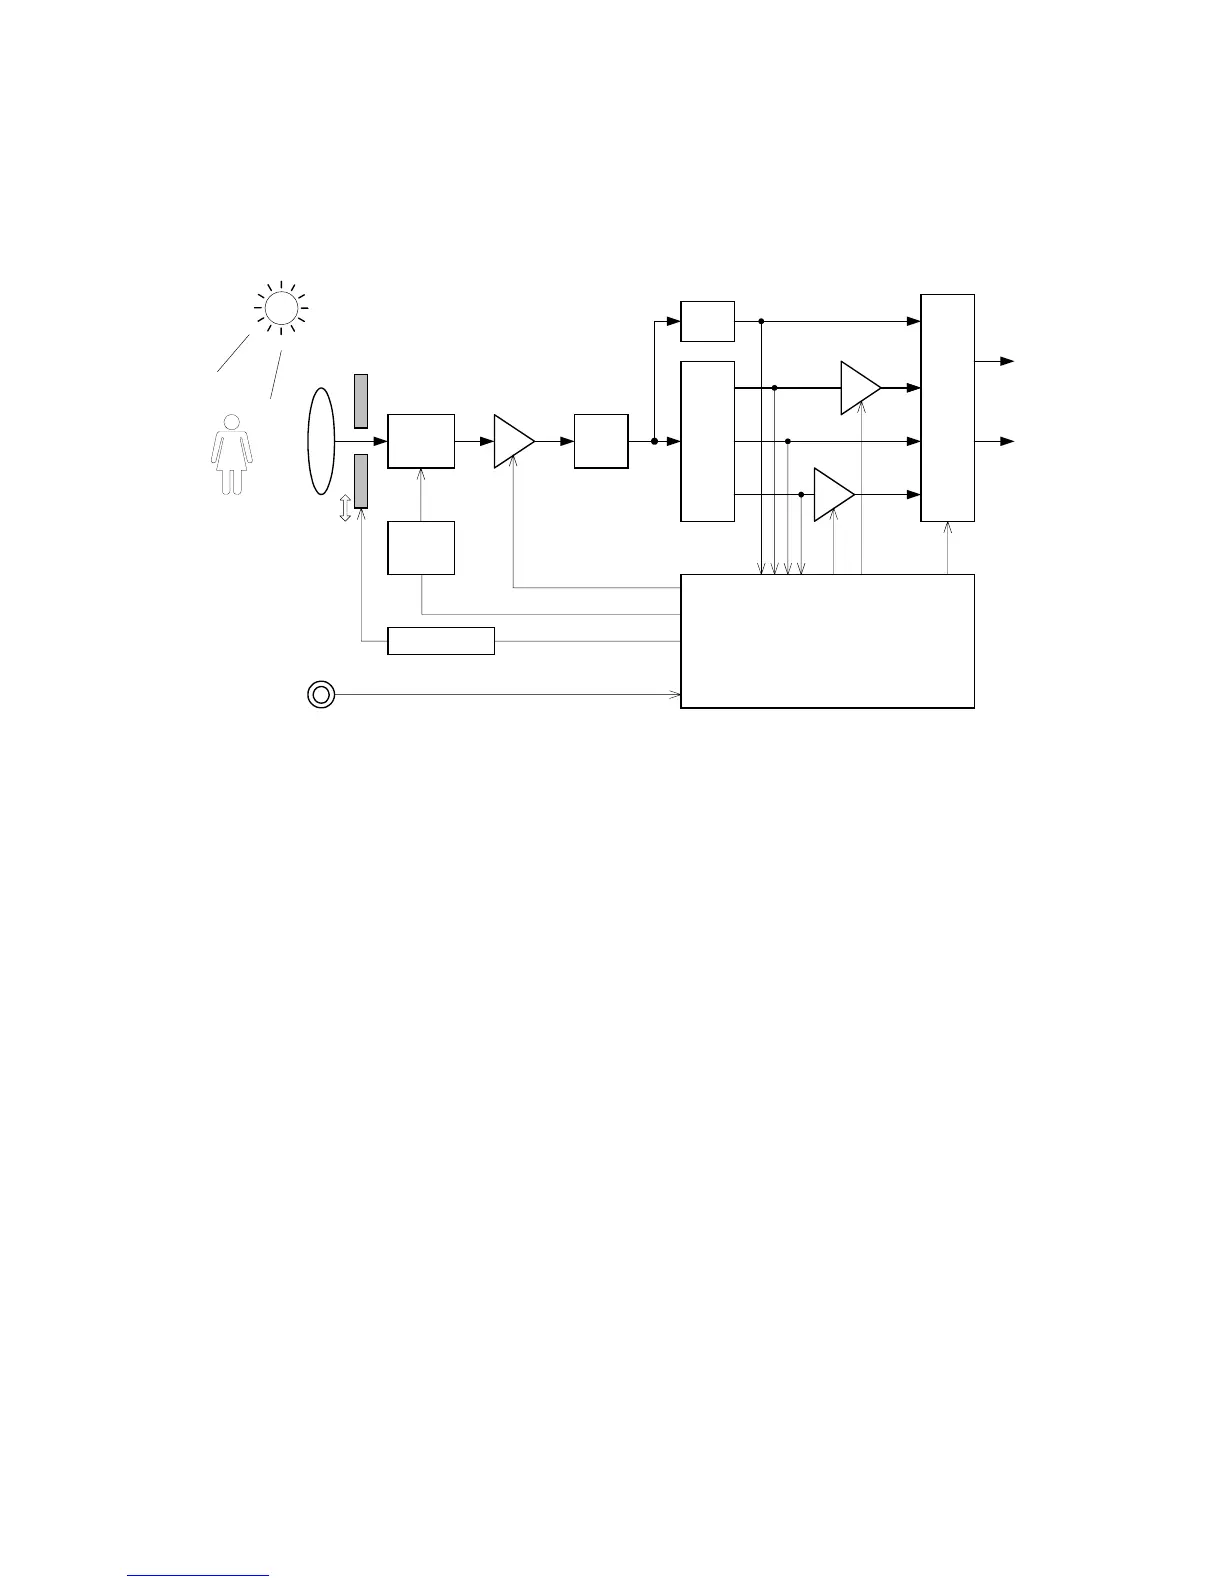
The signal-processing block of the present camera system is composed as shown below (Fig. 2-3-1)
CCD A/D
COLOR
SEPARATION
LPF
MATRIX
ENCODER
PROCESS
AGC
GCA
GCA
Y
R
G
B
Y
C
TG
DRIVE
IRIS DRIVE
CAMERA CPU
IR SENSOR
∗
1
∗
2
∗
3
∗
4
∗
5
∗
1 Iris control
∗
2 Shutter speed setting
∗
3 Analog amp gain (AGC gain)
∗
4 WB setting (RED gain, BLUE gain)
∗
5 Parameter for picture compensation (color reproducibility, S/N ratio…)
Fig. 2-3-1 Camera block configuration