(No.HC047<Rev.001>)1-21
SECTION 5
TROUBLE SHOOTING
5.1 Service menus
5.1.1 Modes required in servicing
While holding down the specified button (FOCUS ONE PUSH
AUTO), press the [MENU] button to display the first layer menu
of the service menu hierarchy. The items in the first layer vary ac-
cording to the specified button being held when the [MENU] but-
ton is pressed. (Characters are displayed on LCD monitor screen
or View finder.)
5.1.2 Service menu Display
(1) While holding down the [FOCUS ONE PUSH AUTO] but-
ton, and then press the [USER1] + [USER2] + [MENU] but-
tons.
(2) And in the state which has pressed [FOCUS ONE PUSH
AUTO] button, a press on [USER3]+[MENU] button will dis-
play Service menu. (Pressing a [FOCUS ONE PUSH AU-
TO] button is continued to the last.)
5.1.3 Operation in the first layer of the service menu
(1) The first layer of each service menu is displayed.
(2) Press the [Cross-Shaped] buttons to select the item.
(3) Press the [Set] button or the [Cross-Shaped] button (right)
to select the item.
NOTE:
• During recording, the service menu does not start up.
• To go back to the upper layer, press the [CANCEL]
button or the [Cross-Shaped] button (left).
• To cancel the service menu, press the [MENU] button.
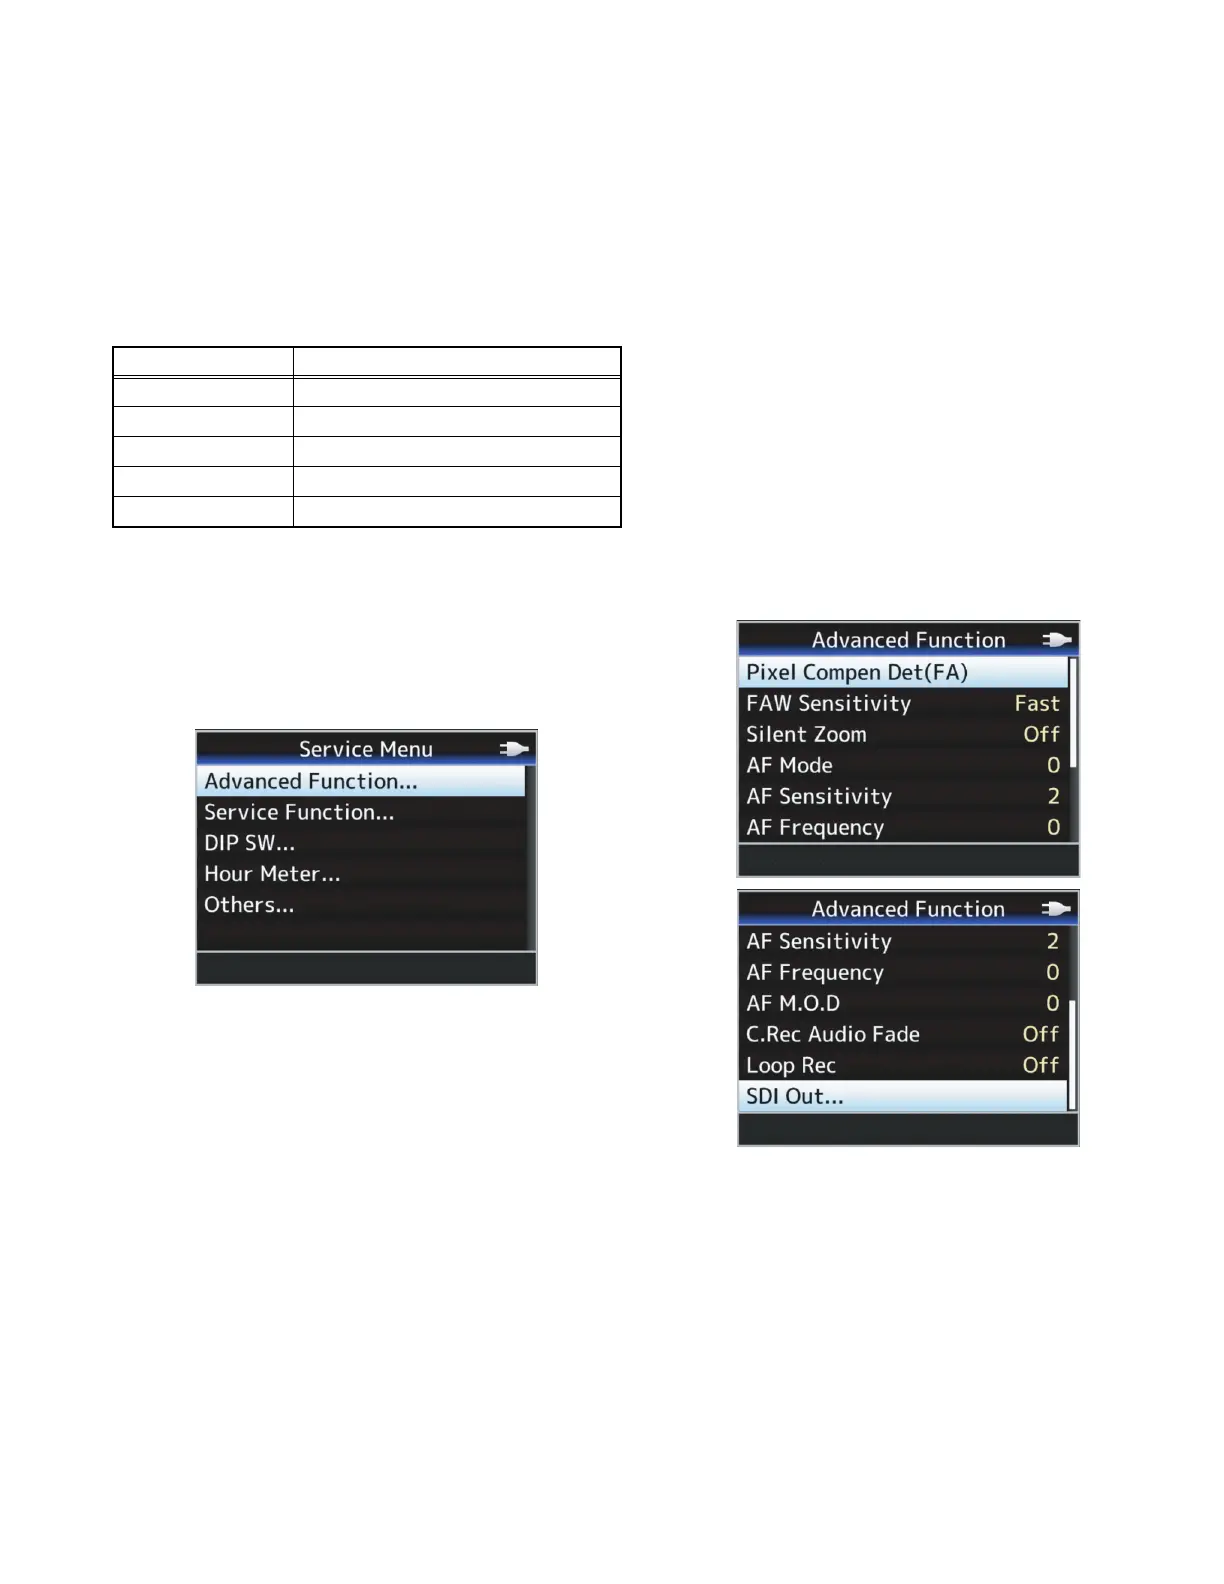
5.1.4 Advanced Function menu operation
(1) Refer to 5.1.2 to display the Service menu.
(2) Select the [Advanced Function...], then press the [Set] but-
ton or the [Cross-Shaped] button (right).
(3) Advanced Function menu is displayed.
(4) Select the item to be changed, then press the [Set] button
or the [Cross-Shaped] button (right).
(5) A choice screen is displayed. Press the [Cross-Shaped]
buttons (up/down) to change the parameter.
(6) Press the [Set] button to set the parameter. A choice
screen closes.
(7) If the [CANCEL] button or the [Cross-Shaped] button (left)
is pressed, it will return to the layer on one and will end a
setup.
NOTE:
• To cancel the parameter setting change, press the
[CANCEL] button or the [Cross-Shaped] button (left)
while the choice screen is displaying.
MENU Item Contents
Advanced Function Camera settings, Blemish detect etc.
Service Function Test signal, Battery voltage settings etc.
DIP SW DIP SW Menu
Hour Meter Hour meter indication
Others All reset

 Loading...