ENGLISH
20
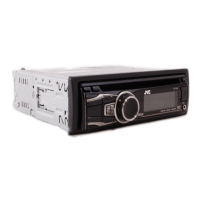
3 Adjust the PSM item selected.
4 Repeat steps 2 and 3 to adjust other PSM
items if necessary.
5 Finish the procedure.
You can change PSM (Preferred Setting Mode) items
listed in the table below and pages 21.
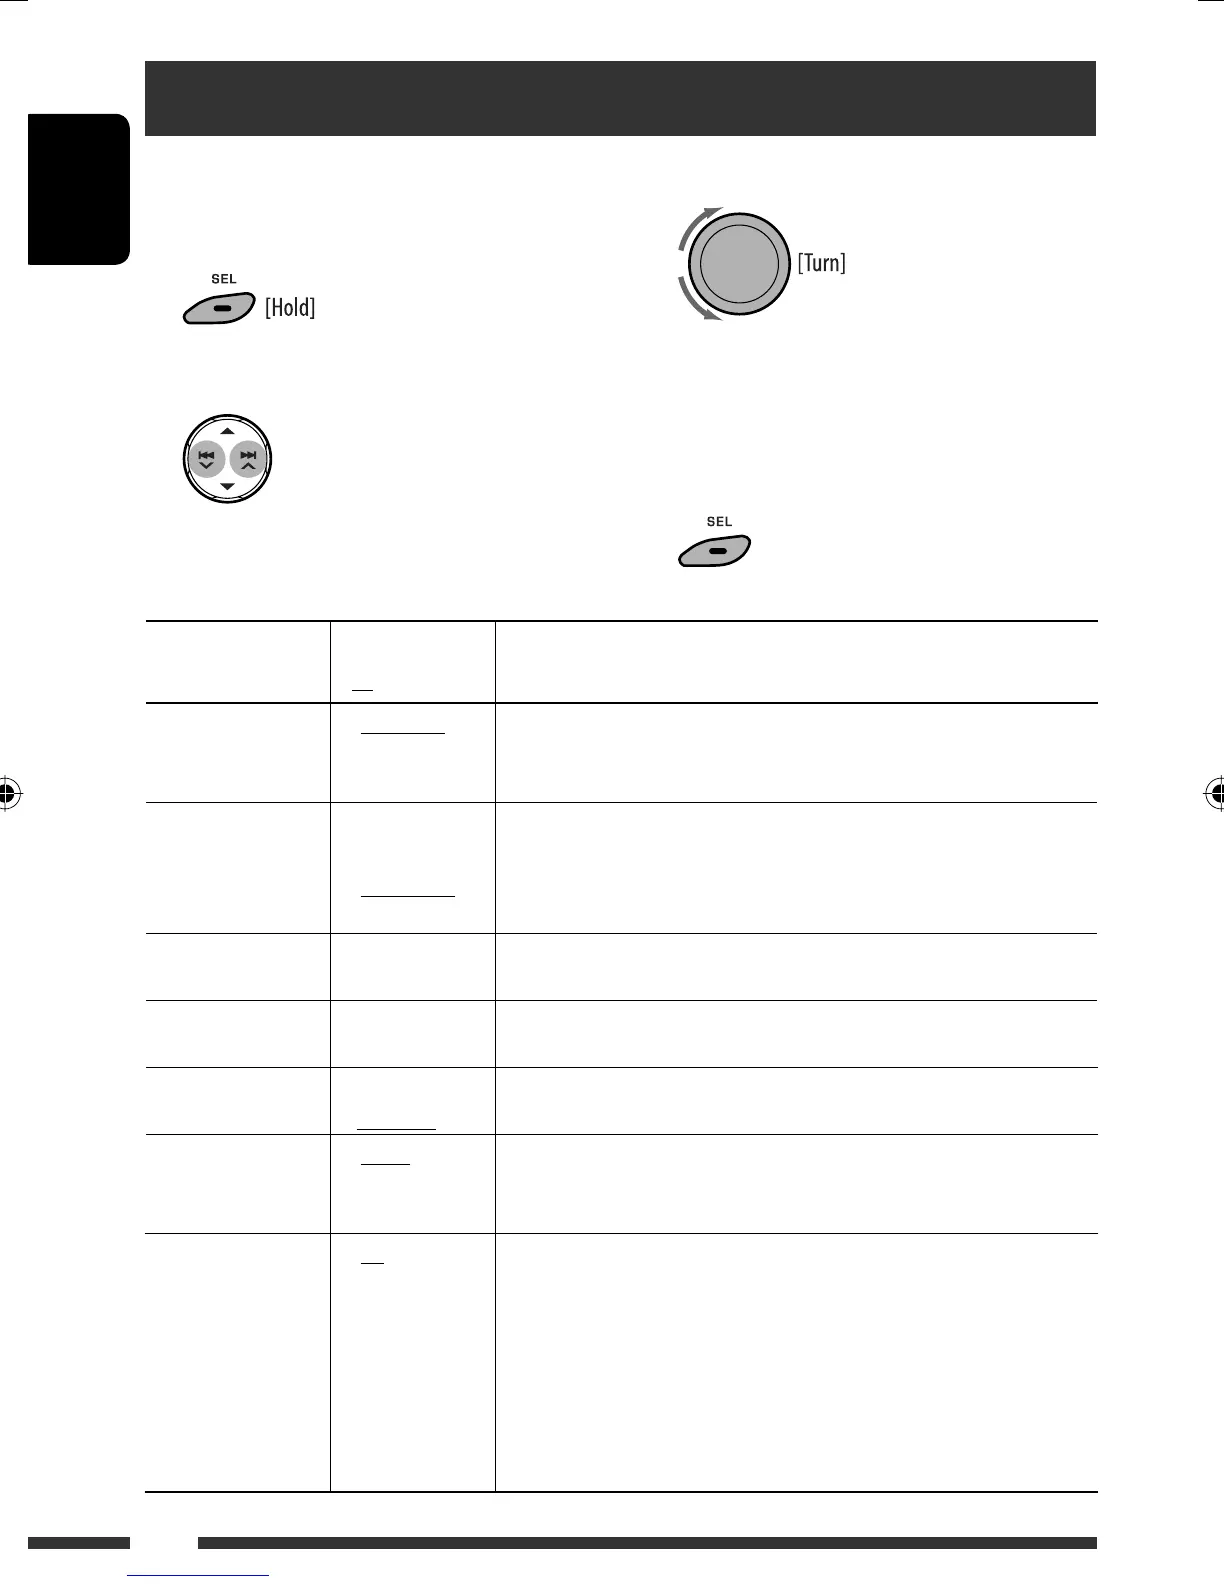
1 Enter the PSM settings.
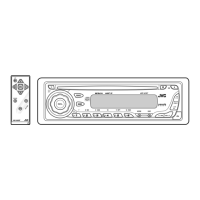
2 Select a PSM item.
General settings — PSM
Indications Item
( : Initial)
Setting, [reference page]
DEMO
Display
demonstration
• DEMO ON
• DEMO OFF
: The display demonstration will be activated automatically if no
operation is done for about 20 seconds, [4].
: Cancels.
CLOCK DISP *
1
Clock display
• CLOCK ON
• CLOCK OFF
: The clock time is always shown on the display when the power is
turned off.
: Cancels; pressing DISP will show the clock time for about 5 seconds
when the power is turned off, [4].
CLOCK HOUR
Hour adjustment
0 – 23
(1 – 12)
[Initial: 0 (0:00)], [4].
CLOCK MIN
Minute adjustment
00 – 59 [Initial: 00 (0:00)], [4].
24H/12H
Time display mode
• 12 HOUR
• 24 HOUR
: See also page 4 for setting.
CLOCK ADJ *
2
Clock adjustment
• AUTO
• OFF
: The built-in clock is automatically adjusted using the clock data
provided via the satellite radio channel.
: Cancels.
AF-REG *
2
Alternative
frequency/
regionalization
reception
• AF
• AF-REG
• AF OFF
: When the currently received signals become weak, the unit switches
to another station (the programme may differ from the one
currently received), [9].
• The AF indicator lights up.
: When the currently received signals become weak, the unit switches
to another station broadcasting the same programme.
• The AF and REG indicators light up.
: Cancels.
EN18-23_KD-BT11[EE]_6.indd 20EN18-23_KD-BT11[EE]_6.indd 20 12/17/07 5:36:59 PM12/17/07 5:36:59 PM