15ENGLISH
How to enter phone number
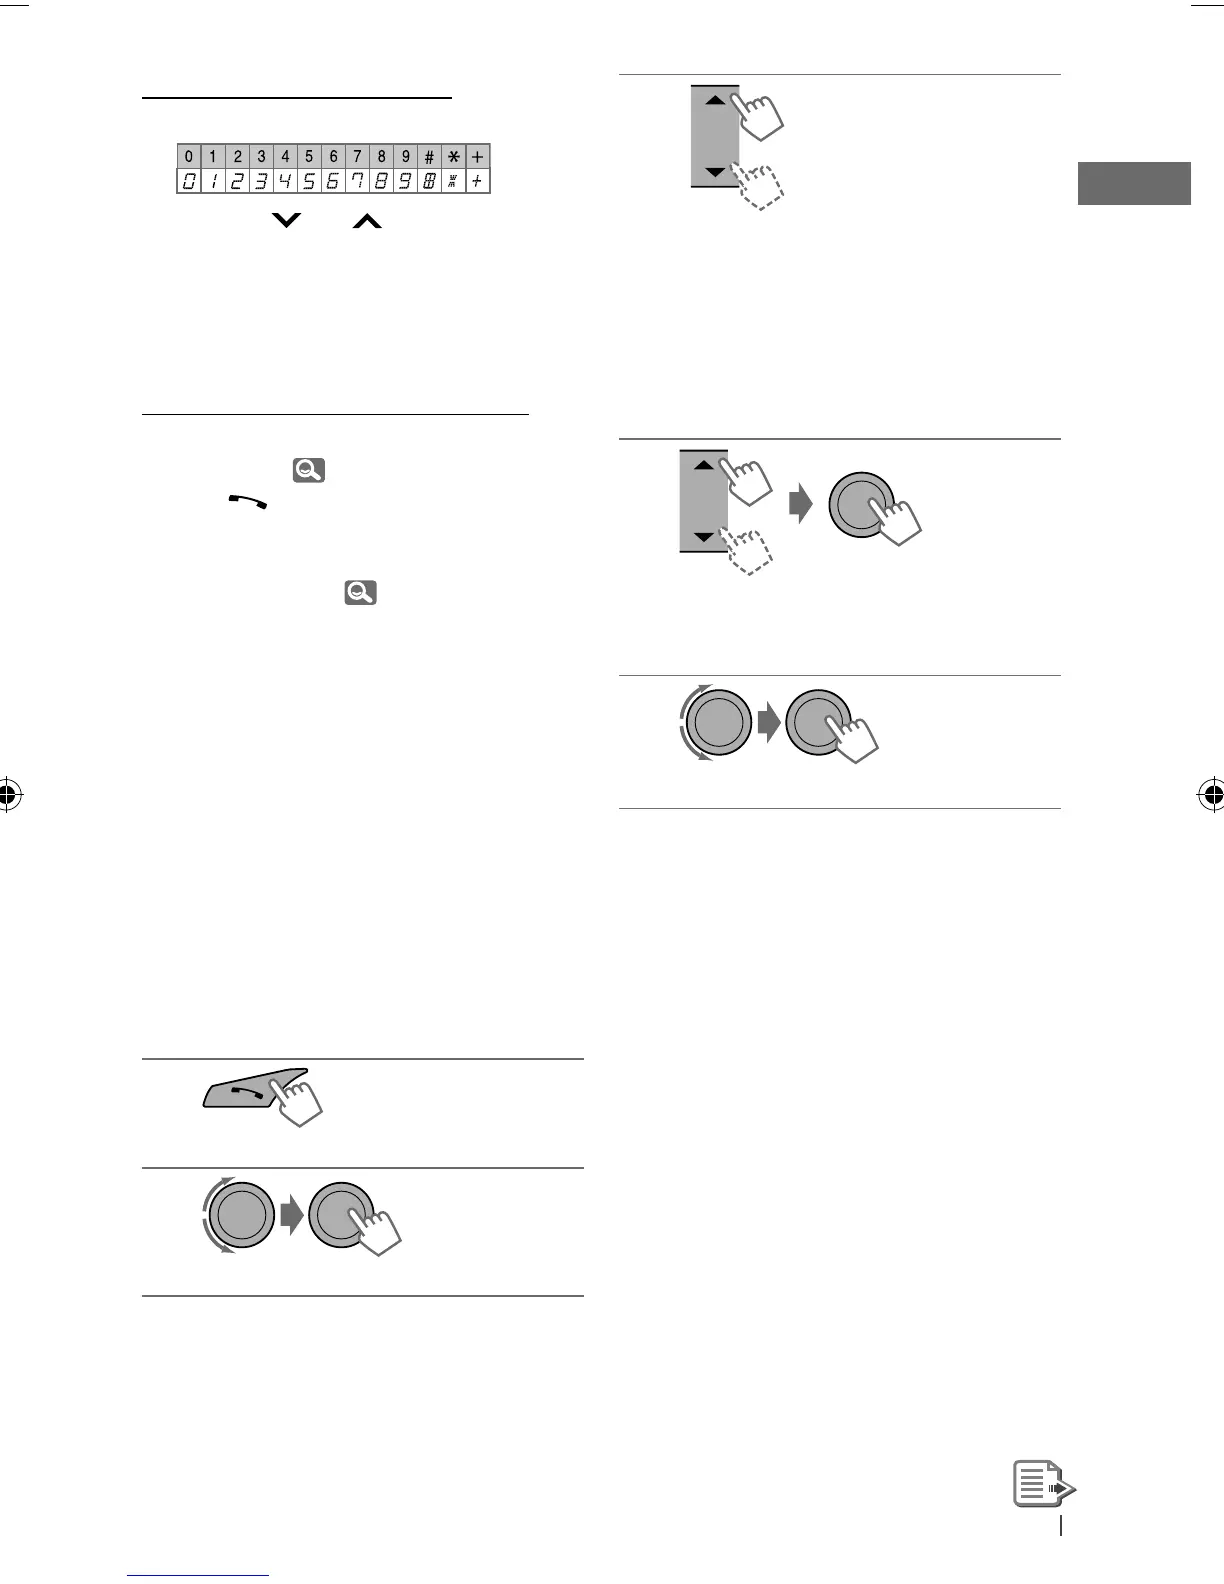
1
Turn the control dial to select a number.
2
Press
4
/
¢
to move the entry
position.
3
Repeat steps
1
and
2
until you finish
entering the phone number.
4
Press the control dial to confirm the entry.
How to delete name/phone number
Only when <PB IN UNIT> is selected for
<P. BOOK SEL>, 18.
1
Press to enter “Call Menu” screen.
2
Display the list of name/phone numbers
using one of the dialing method (see step 2
of “Making a call,” 14).
3
Turn the control dial to select the name/
phone number you want to delete.
4
Press and hold
BACK
to enter the “Delete
Entries” screen.
5
Turn the control dial to select “DELETE” or
“DELETE ALL.”
• If “DELETE” is selected, the selected name/
phone number in step
3
is deleted.
• If “DELETE ALL” is selected, the listed
numbers in step
2
selection are deleted.
6
Press the control dial to confirm.
Selecting a contact from the
phonebook
1
] Enter “Call Menu” screen.
2
]
<PHONEBOOK>
3
]
Show the search menu (A to Z, 0 to
9, and OTHERS).
The first character of the first contact on
the phonebook appears.
• “OTHERS” appears if the 1st character
is not A to Z or 0 to 9, such as #, —, !,
and etc.
4
]
Select your desired character.
The name list of the selected character
appears.
5
]
Select your desired contact.
• To return to the previous menu, press
BACK
.
• Only the existing characters will be shown on
the search menu.
• Press and hold
5
/
∞
to continuously change
the character of the search menu.
• If your phonebook contains many contacts,
searching take some time.
Receiving a call
When a call comes in, the source is
automatically changed to “BT FRONT/BT REAR.”
“RECEIVING” appears for a while, then the
phone number or name appears on the display.
EN12-21_KD-R716_001A_ff.indd 15EN12-21_KD-R716_001A_ff.indd 15 1/6/10 12:45:40 PM1/6/10 12:45:40 PM
 Loading...