Removal of main parts
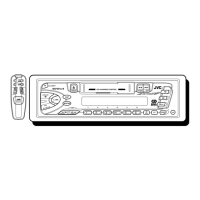
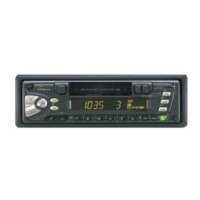
Removing the front chassis
(See Fig.1)
1. Insert a screwdriver to the joints a on the side of the front
chassis and two joints b on the right side, then detach the
front chassis toward the front side.
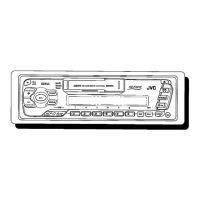
Removing the heat sink (See Fig.2 )
1. Remove the three screws A attaching the heat sink on
the left side of the body, and remove the heat sink.
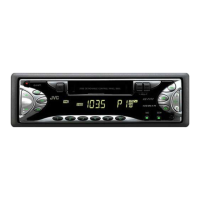
Removing the bottom cover (See Fig.3 )
1.
2.
3.
4.
Removing the front chassis.
Removing the heat sink.
Turn the body upside down.
Insert a screwdriver to the two joints c and two joints d on
both sides of the body and the joint d on the back of the
body, then detach the bottom cover from the body.
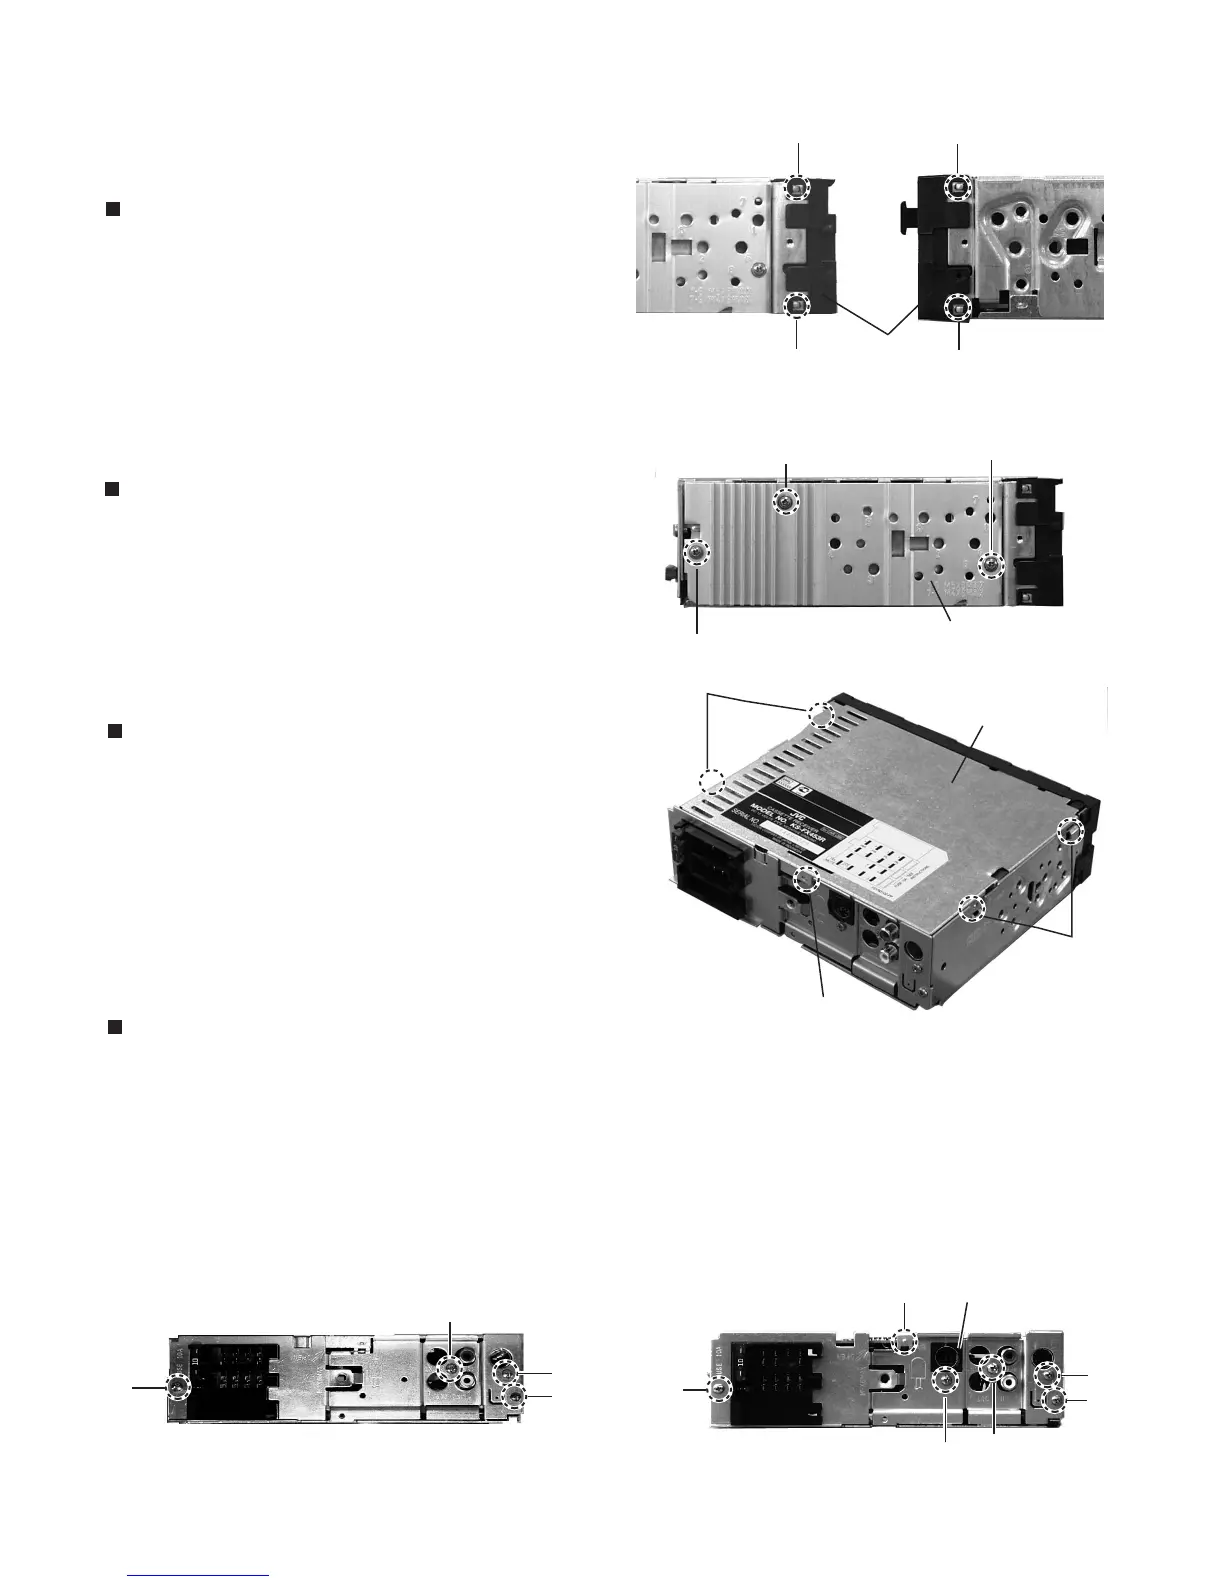
Removing the rear panel (See Fig.4 and 5 )
1.
2.
3.
4.
Remoe the front chassis.
Remove the heat sink.
Remove the bottom cover.
[KS-F350 / KS-F353]
Remove the three screws B attaching the rear panel and
one screws C attaching the pine jack on the back of the
body.
4.
[KS-FX450 / KS-FX453]
Remove the Fore screws B' attaching the rear panel, one
screw C' attaching the pin jack and one screw D
attaching the C D changer input jack.
b
a
a
b
A
A
A
Heat sink
c
c
Front chassis
Fig.1
Fig. 2
Fig. 3
Fig. 4
[KS-F350 / KS-F353]
Fig. 5
[KS-FX450 / KS-FX453]
Bottom cover
d
B
C
B
B
B'
CD changer input jack
C'
B'
B'
D
B'
 Loading...