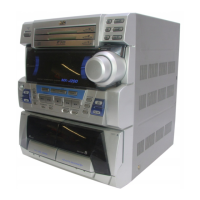
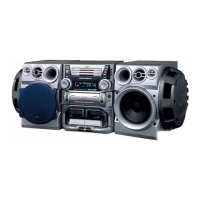
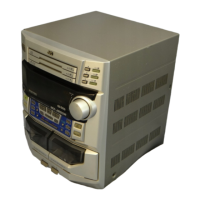
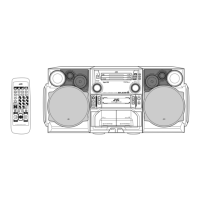
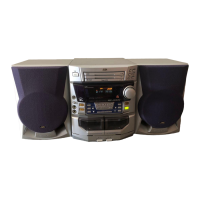
MX-J200
1-19
Unsolder the head wire from the cassette
mechanism board.
Remove the two screws A retaining the R/P head
assembly.
1.
2.
< Cassette mechanism section >
Removing the R/P head assembly
(See Fig.1to2)
Loosen the screw B attaching the P/B head
assembly.
Remove the screws C retaining the P/B head
assembly.
1.
2.
Removing the P/B head assembly
(See Fig.3)
Pull the tab a outward and remove the pinch roller
upward.
1.
Removing the Pinch roller assembly
(See Fig.4)
Prior to performing the following procedures, remove
the metal cover the CD changer mechanism
assembly, the front panel assembly and cassette
mechanism assembly.
Fig.1
Fig.3
Fig.2
Fig.4
R/P head assembly
B
A
A
Pinch roller
Solder part
Head wire
Cassette mechanism board
C
Tab a
Refer to the figure for soldering