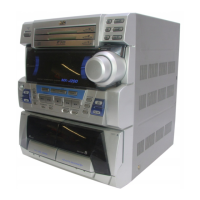
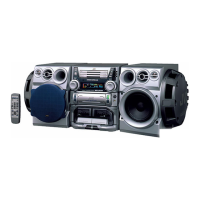
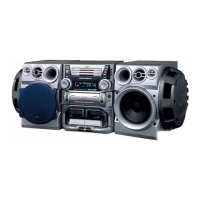
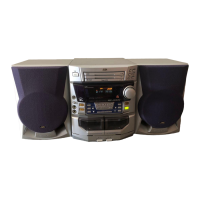
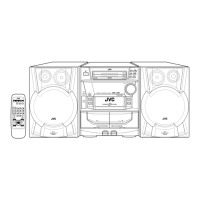
MX-J200
1-8
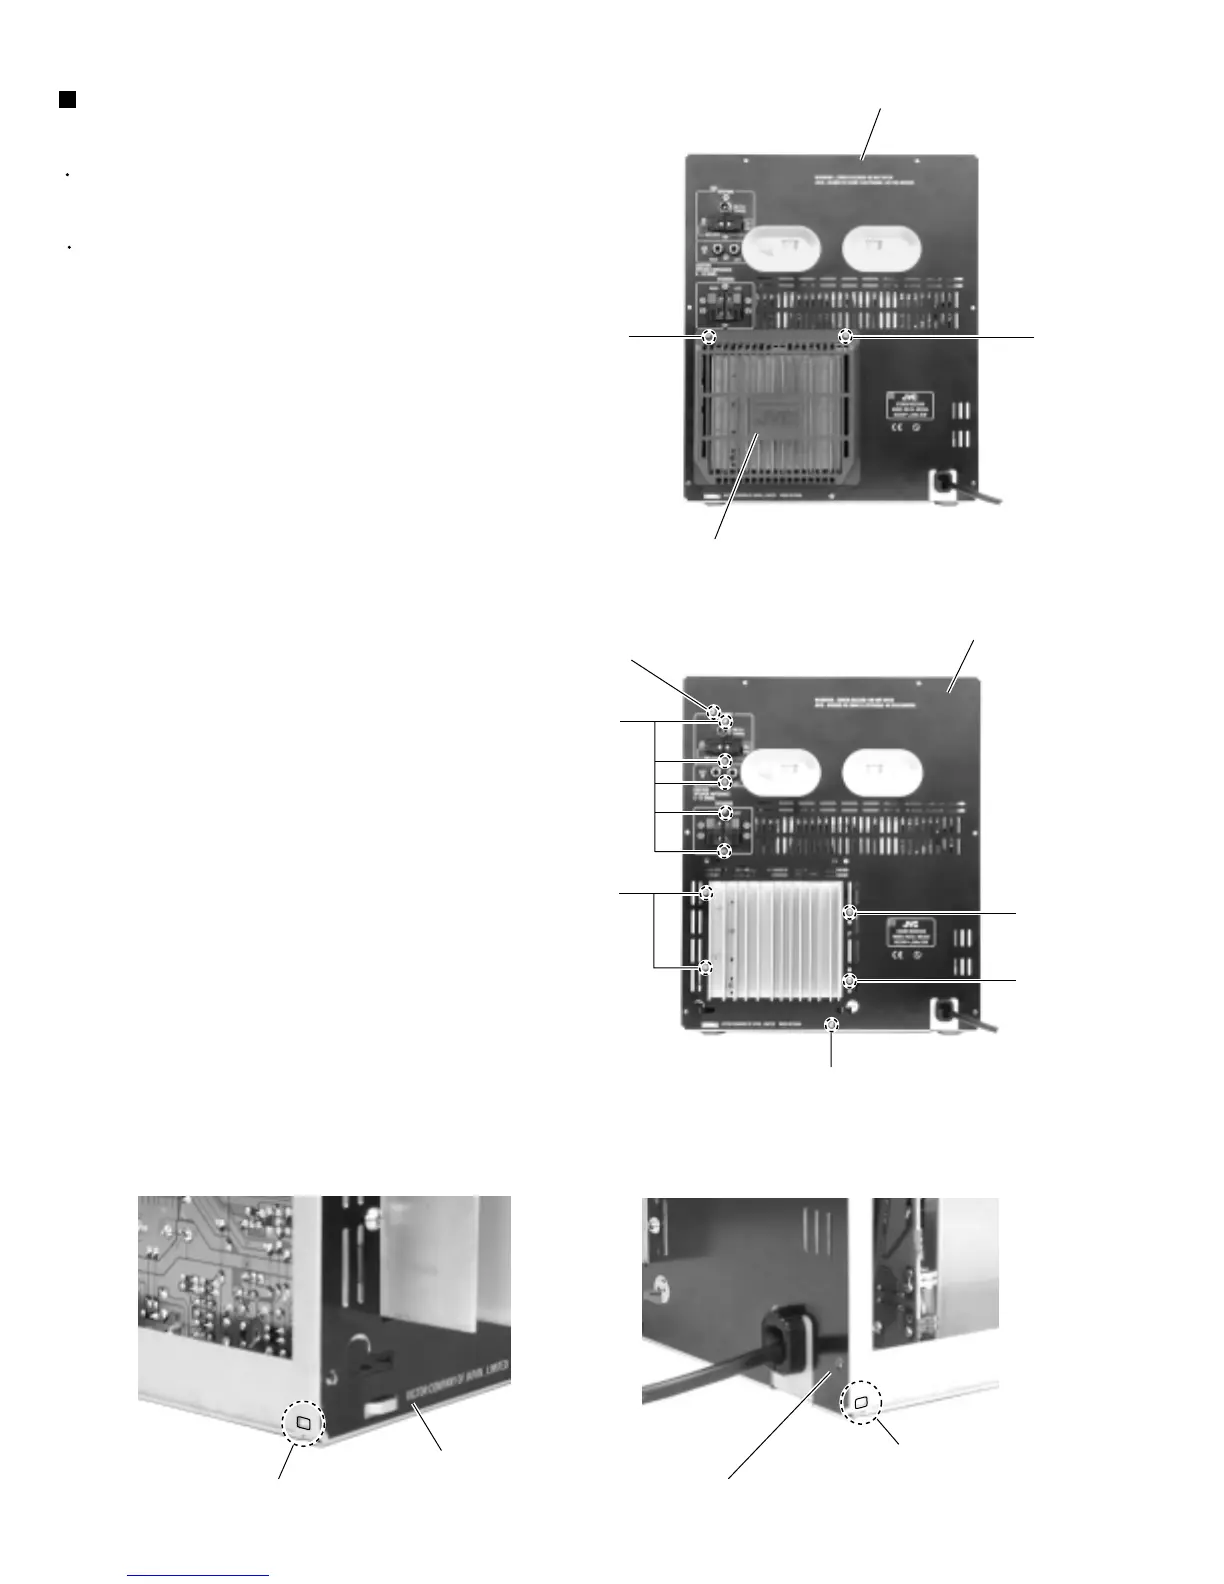
Prior to performing the following procedures, remove
the metal cover and the CD changer mechanism
assembly.
It is not necessary to remove the front panel
assembly.
Remove the two screws F and the rear cover on the
back of the body.
Remove the four screws G and the six screws H
attaching the main board and the heat sink to the
rear panel.
Remove the screw I attaching the rear panel to the
chassis base.
Release the lower two joints e and f on both sides of
the rear panel using a screwdriver and detach the
rear panel backwards.
1.
2.
3.
4.
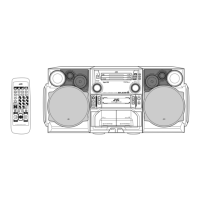
Removing the heat sink cover and the
rear panel (See Fig.14 to 17)
Fig.14
Fig.15
Fig.16
Fig.17
I
Rear panel
H
G
Rear panel
F
F
Rear cover
G (To Earth bracket)
G
H
Rear panel
Joint e
Rear panel
Joint f