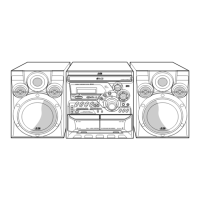
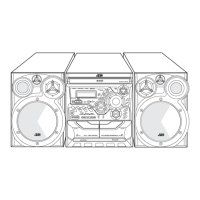
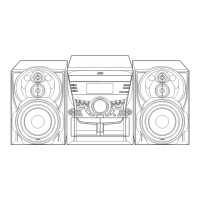
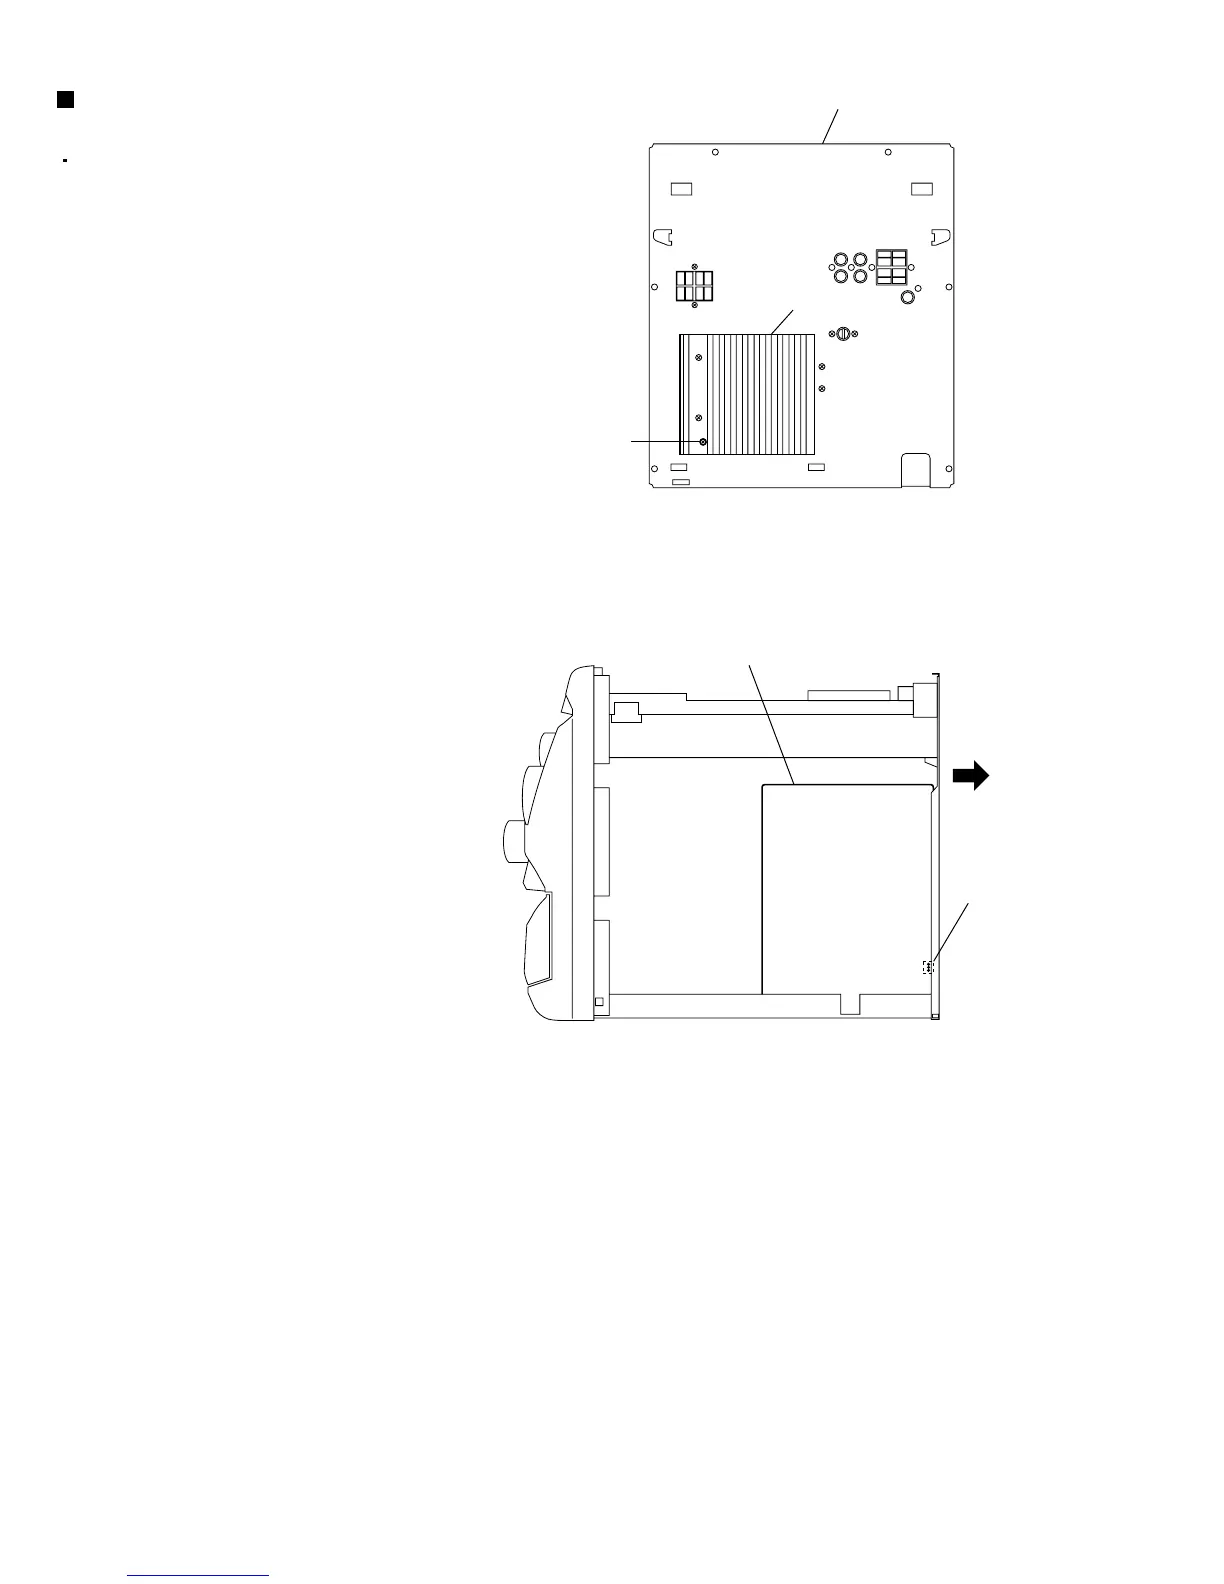
EasyManuals Logo

JVC MX-K35V Service Manual

JVC MX-K35V
48 pages
To Next Page IconTo Next Page
To Previous Page IconTo Previous Page
Page #18 background imageLoading...
Page #18 background image
MX-K35V
1-18
Fig.38
Prior to performing the following procedures,
remove the top cover.
1.
2.
3.
4.
Remove the two screws A connecting the heat sink
cover to the rear panel.
Pull the heat sink cover foward you.
Remove the screw AD that retains the bracket
holding the 3-pin terminal regulator.
Remove the solder fixing the 3-pin regulator.
Removing the 3-pin regulator
(See Fig.2, 37 and 38)
Power amplifier board
Rear panel
Rear
Solder on the
3-pin regulator
Fig.37
Heat sink
AD

Other manuals for JVC MX-K35V

Questions and Answers:

Question and Answer IconNeed help?

Do you have a question about the JVC MX-K35V and is the answer not in the manual?

JVC MX-K35V Specifications

General IconGeneral
BrandJVC
ModelMX-K35V
CategorySpeaker System
LanguageEnglish

Related product manuals