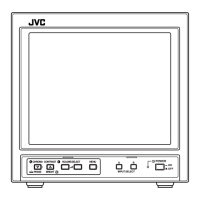
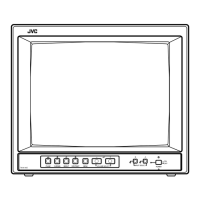
TM-H140PN
Item
WHITE
BALANCE
(Low light)
adjustment
WHITE
BALANCE
(High light)
6500K
adjustment
28
It must be set the composite VIDEO signal input and normal scan mode when adjust the white balance.
Test equipment
Test points
Adjustment
locations
Signal generator SCREENVR
W01 R CUTOFF
(Resolution pattern) [Lower knob in
W02 G CUTOFF
FBT]
W03 B CUTOFF
[SERVICE MENU]
Signal generator W04 R DRIVE 6500
(Resolution pattern)
W0S B DRIVE 6500
[SERVICE MENU]
Colour Analyzer or
Colour temperature
meter
No.51766
Adjustment procedure
• B1 voltage adjustment have been finished.
1. Input the all black signal to VIDEO input (colour
off).
2. Confirm the initial setting value of W01 , W02 ,
W03 in the SERVICE MENU are 50.
3. Select the WHITE BALANCE block from
SERVICE MENU.
4. Select the CUTOFF mode.
5. Press "SERV" switch as CONTRAST key, to
display the horizontal line. Carefully adjust the
SCREEN VR to horizontal line appears faintly,
not to shine much.
6. Gradually turn the SCREEN VR from the left to
the right direction to bring one of the red, green
and blue colours faintly visible.
7. Then select the CUTOFF switch (R, G or B) that
colour except for appears first, and adjusting 2
colours CUTOFF values by pressing the +key,
and make horizontal line visible white.
8. Readjust the SCREEN VR to appear the
horizontal line faintly , and cancel the horizontal
line to press the "SERV " switch .
• Low light white balance adjustment have been
correct finished .
1. Input the resolution pattern to VIDEO input.
2. Select the WHITE BALANCE BLOCK from the
SERVICE MENU .
3. Select the 65-D mode (High light 6500 mode).
4. Apply the sensor of the Colour temperature
meter to the CRT surface, part of the 100%
white , adjust the R drive or B drive to setting
6500K (x=0.313, y=0.329).
5. Exit the SERVICE MENU by press ing the MENU
key.
6. Check the white balance tracking is optimum
when CONTRAST and BRIGHT are up and
down.
 Loading...