WWW.KAARTA.COM 18
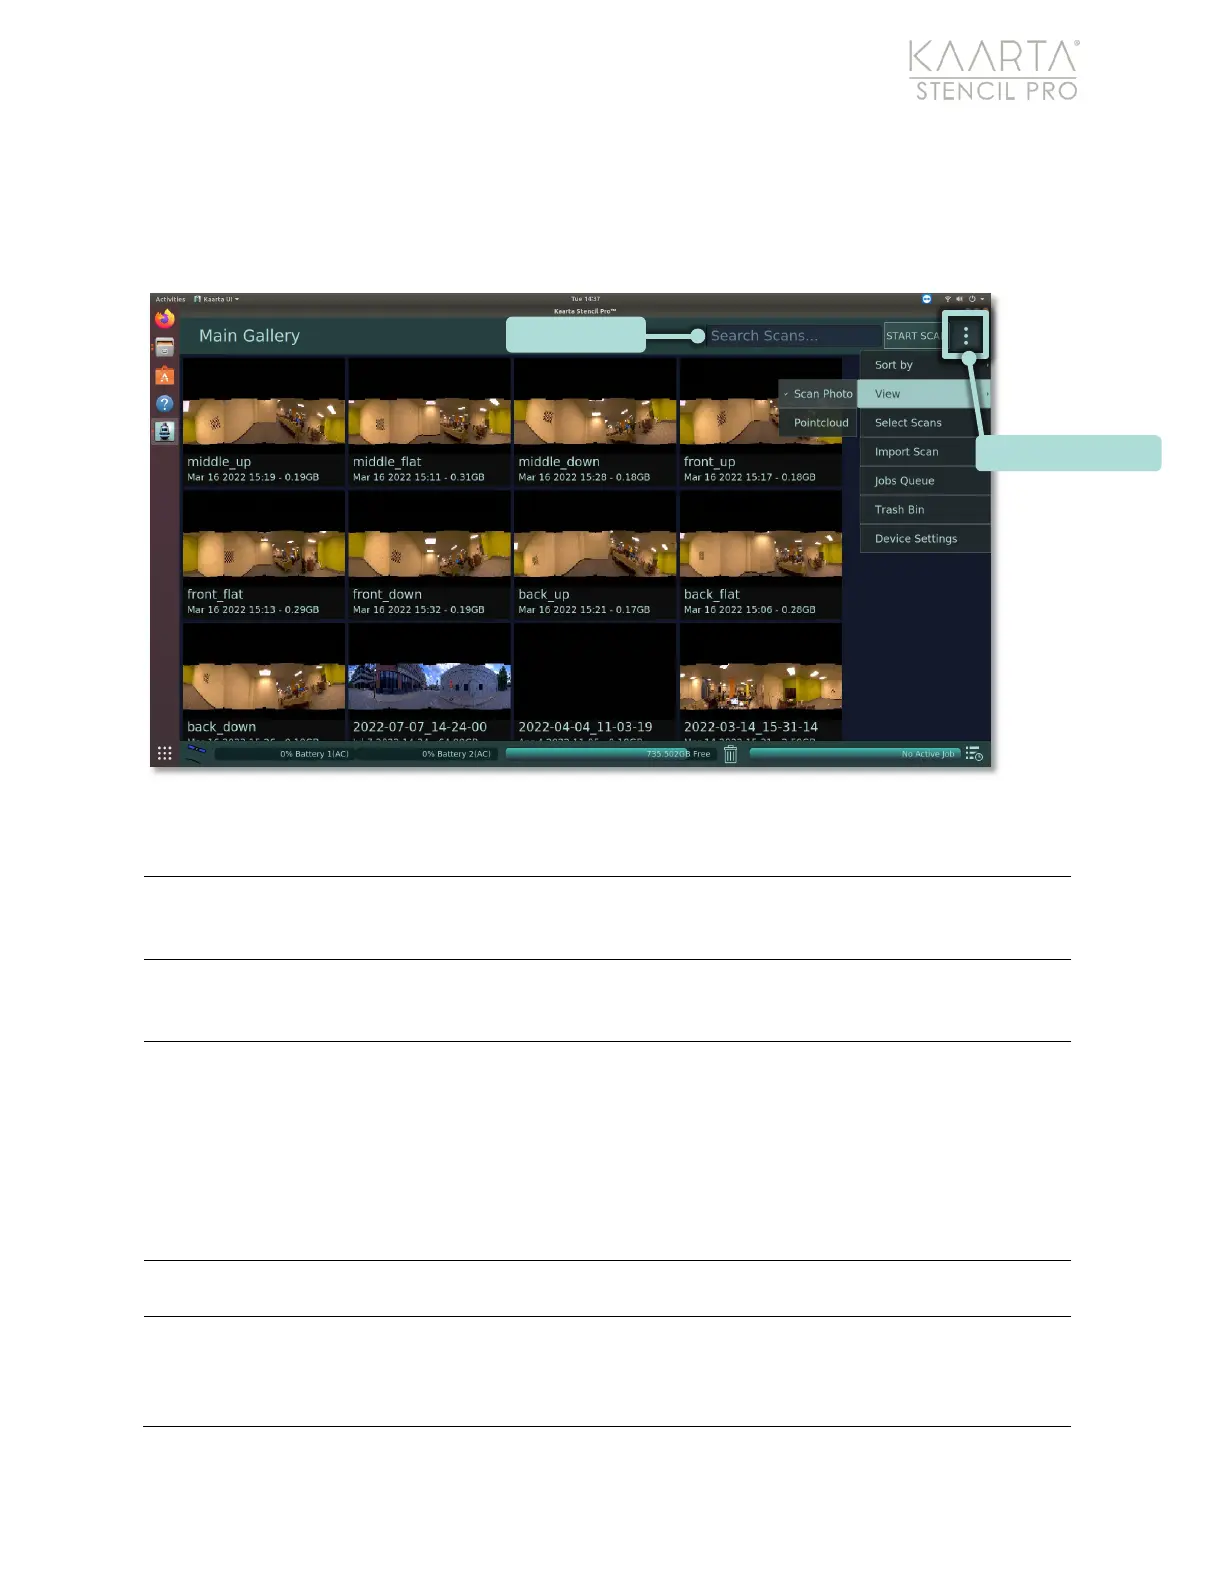
(Figure 4). To the right of Search Scans is the Main Gallery Menu. Click the Main Gallery
Menu button (three vertical dots) to display options for viewing, sorting, and selecting
scans. From the Main Gallery Menu, you can also see system/device settings and open
Stencil Pro’s jobs queue.
Figure 4: Search Scans and Main Gallery Menu
The Name, Date, and Size options in the Main Gallery Menu change the
sorting scheme. By default, scans and albums are sorted by date created,
View options change how scans are displayed in the Main Gallery. You can
view by Scan Photo (your scan’s cover photo) or by Pointcloud (your scan’s
map or pointcloud) (Figure 5).
Scans
Use Select Scans to select scans or albums, either individually or in multiples
(including selecting All) to perform actions on all selected scans
concurrently. Actionable items include add to an Album, Copy to USB,
Merge (not currently available), or Delete selected scan(s). Hit the back
arrow in the upper left to exit selection mode. You can use the Merge
function to combine two scans that are in the same coordinate system,
usually meaning that one scan was created by using the other scan as a base
map or reference.
Use Import Scan to import a Contour scan (.ply) or a Stencil Pro scan as a zip
file.
If you run post-processing on multiple scans, they can be queued to run
unattended in the Jobs Queue. The Jobs Queue shows you which scans are
currently being processed, and which scans are scheduled to run. For more
information about the Jobs Queue, see Job Queue on page 94.