WWW.KAARTA.COM 39
Initiates lidar point collection. You must Name your scan before
you can start collecting data. Any other pertinent information,
such as taking a Scan Photo or adding Notes, should be completed
prior to pressing the Start Scan button to begin scanning.
Tap into the Name textbox to add a scan name. You can choose to
name your scan in accordance with the start date and time of the
scan by clicking the Use Date Timestamp button. For example, a
dataset that was scanned on 16 August 2019 at 09:36:26 would be
Displays the album in which the scan is saved, if any.
Displays any notes that have been added by a user to the scan.
Tap in the box to add notes.
Use the Color Balance slider to modify the color settings for the
cameras. Cycle through the settings prior to starting a new scan to
coordinate cameras and establish best available color options.
Select a static Exposure for all color cameras on the scanner
instead of utilizing the normal auto-exposure.
Selecting a static
exposure with this Stencil Pro Exposure tool will disable the
auto-exposure. The scanner must be power cycled for auto-
exposure to be reactivated.
Selections for Exposure include: Full Sun (750,000 μs); Cloudy
(2,000,000 μs); Indoor (4,000,000 μs); Dim (250,000,000 μs); or
Custom (332,000,000 μs). Only use the 250,000,000 μs setting if
you are periodically stopping to get an image that does not have
Status
The status of the IMU is listed in the lower right corner of the
Begin New Scan screen. Green letters indicate the components are
enabled, with red letters indicating a component is not active or is
Prior to starting a new scan, cycle through the Color Balance and Exposure settings to
coordinate all cameras. Note: the last Color Balance and Exposure settings that were used
persists after stopping a scan or restarting Stencil Pro.
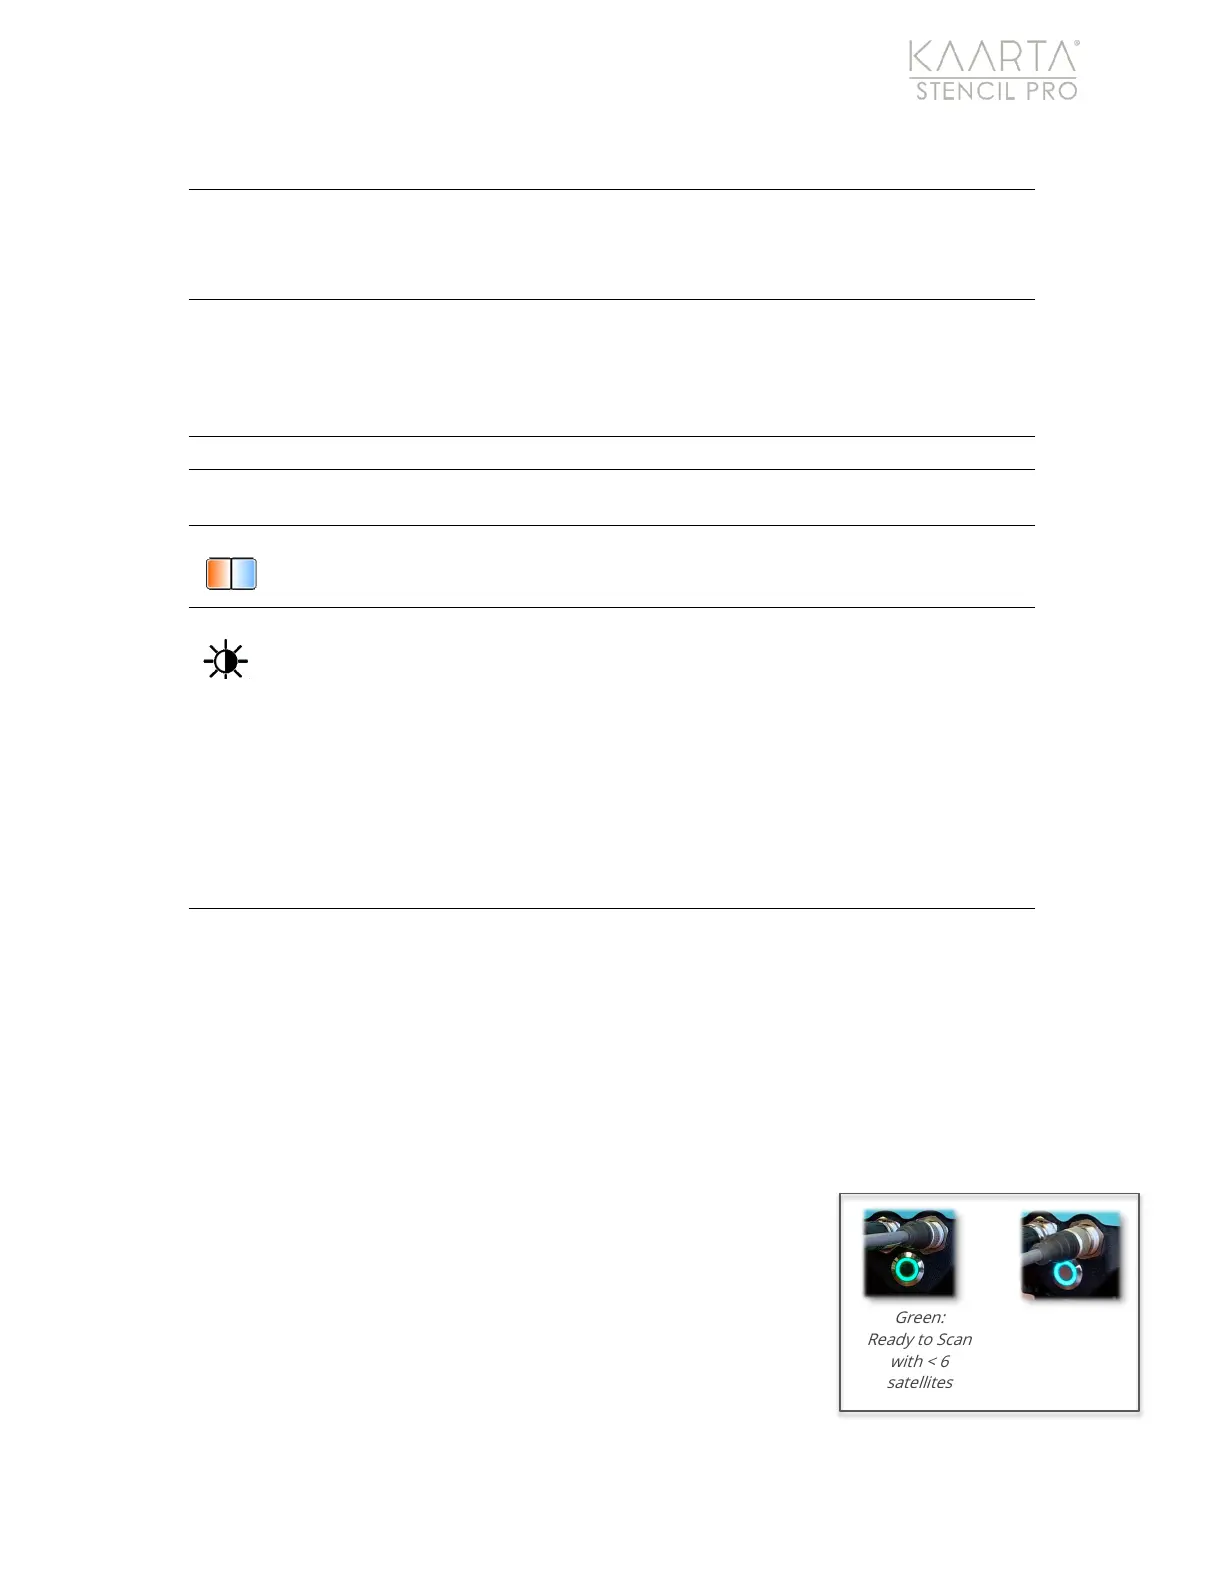
Pressing the Start Scan button in the upper right corner of the UI initiates lidar point
collection to build the initial reference frame for your scan. The
LED indicator on the scanner turns a solid green or teal to signal
the system is ready to scan. Green indicates less than 6 satellites
and teal signifies a fix of 6 or greater satellites. Wait an additional
5-10 seconds before you begin moving to help build up a better
baseline scan. On the iPad, you should see data being captured
and a point cloud building within the Stencil Pro UI. Once
Ready to Scan
with < 6
satellites
Ready to Scan
with >= 6
satellites