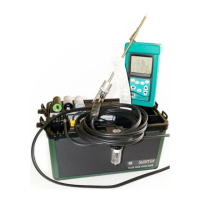
9. MEASURING FLUE GASES
After the countdown is finished and the analyser is correctly set up, put
its’ flue probe into the appliance’s sampling point. The tip of the probe
should be at the centre of the flue. Use the flue probe’s depth stop cone
to set the position.
For appliances that have internal sampling points, you can connect using
a suitable plastic or rubber hose. Always remember to refit the
covers/seals once sampling has been completed.
With balanced flues, make sure the probe is positioned far enough into
the flue so no air can ‘back flush’ into the probe.
NOTE: Ensure that the flue probe handle does not get hot
Make sure you do not exceed the meter’s operating specifications. In
particular:
Do not exceed the flue probe’s maximum temperature
Do not exceed the meter’s internal temperature operating range
Do not put the meter on a hot surface
Do not exceed the water trap’s levels
Do not let the meter’s particle filter become dirty and blocked
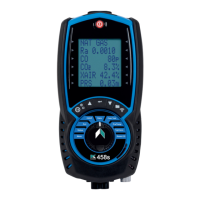
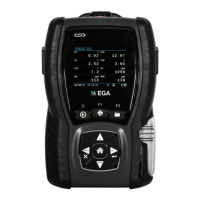
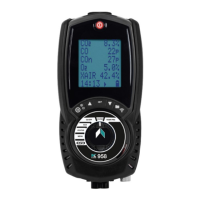
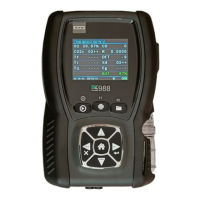
View the displayed data to ensure that stable operating conditions have
been achieved and the readings are within the expected range.
Press the SEND/PRINT button for 1 second to start the data transfer from
the analyser to the infa-red printer. The analyser displays a series of bars
until the transfer is completed. Press the button for 1 second again to
abort the transfer.
Make sure the printer is switched on, ready to accept data and the infa-
red receiver is inline with the emitter of the analyser (on top of the
analyser).
Press and hold the SEND/PRINT button for approximately 2 seconds to
store the data in the memory.
Press the BACKLIGHT key for one second to “freeze” the readings
before printing.