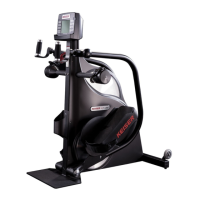
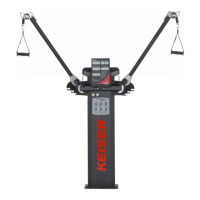
M7i WHEELCHAIR-ACCESSIBLE TOTAL BODY TRAINER
11
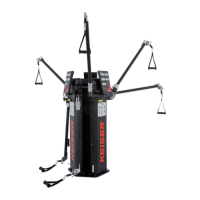
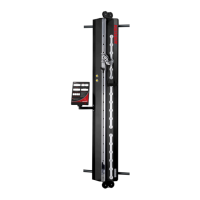
Move the Resistance Lever to the most forward position to engage
the Emergency Brake. This will stop the motion of the Flywheel
within one revolution, refer to Figure 8. Wait until the Footpads and
Handles come to a complete stop before dismounting.
Resistance is controlled by the Resistance Lever, refer to Figure 8.
The Resistance Lever can be set to any gear from 1 to 24. The higher
the gear number setting, the greater the resistance for the user.
RESISTANCE LEVER
EMERGENCY BRAKE
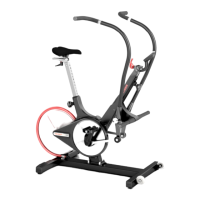
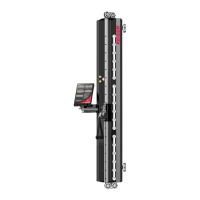
LEVELER FOOT
The M7i should be placed on a level surface. If the sub-oor is not
level, the Leveler Foot allows adjustment to a position that will
level your M7i.
Adjust the Leveler Foot by slightly lifting the right base corner of
the M7i and screwing the foot in or out, refer to Figure 7.
• Rotate the Leveler Foot in (counterclockwise, from a topside
view) to drive the foot further into the base.
• Rotate the Leveler Foot out (clockwise, from a topside view) to
extend further out of the base.
Set the base corner down and test for stability. The M7i should
sit at without rocking. Adjust and ne-tune the Leveler Foot as
needed.
NOTE: The M7i should not be used until it is level. If the M7i is
transported to a different location, adjust the Leveler Foot as
needed to level your M7i.
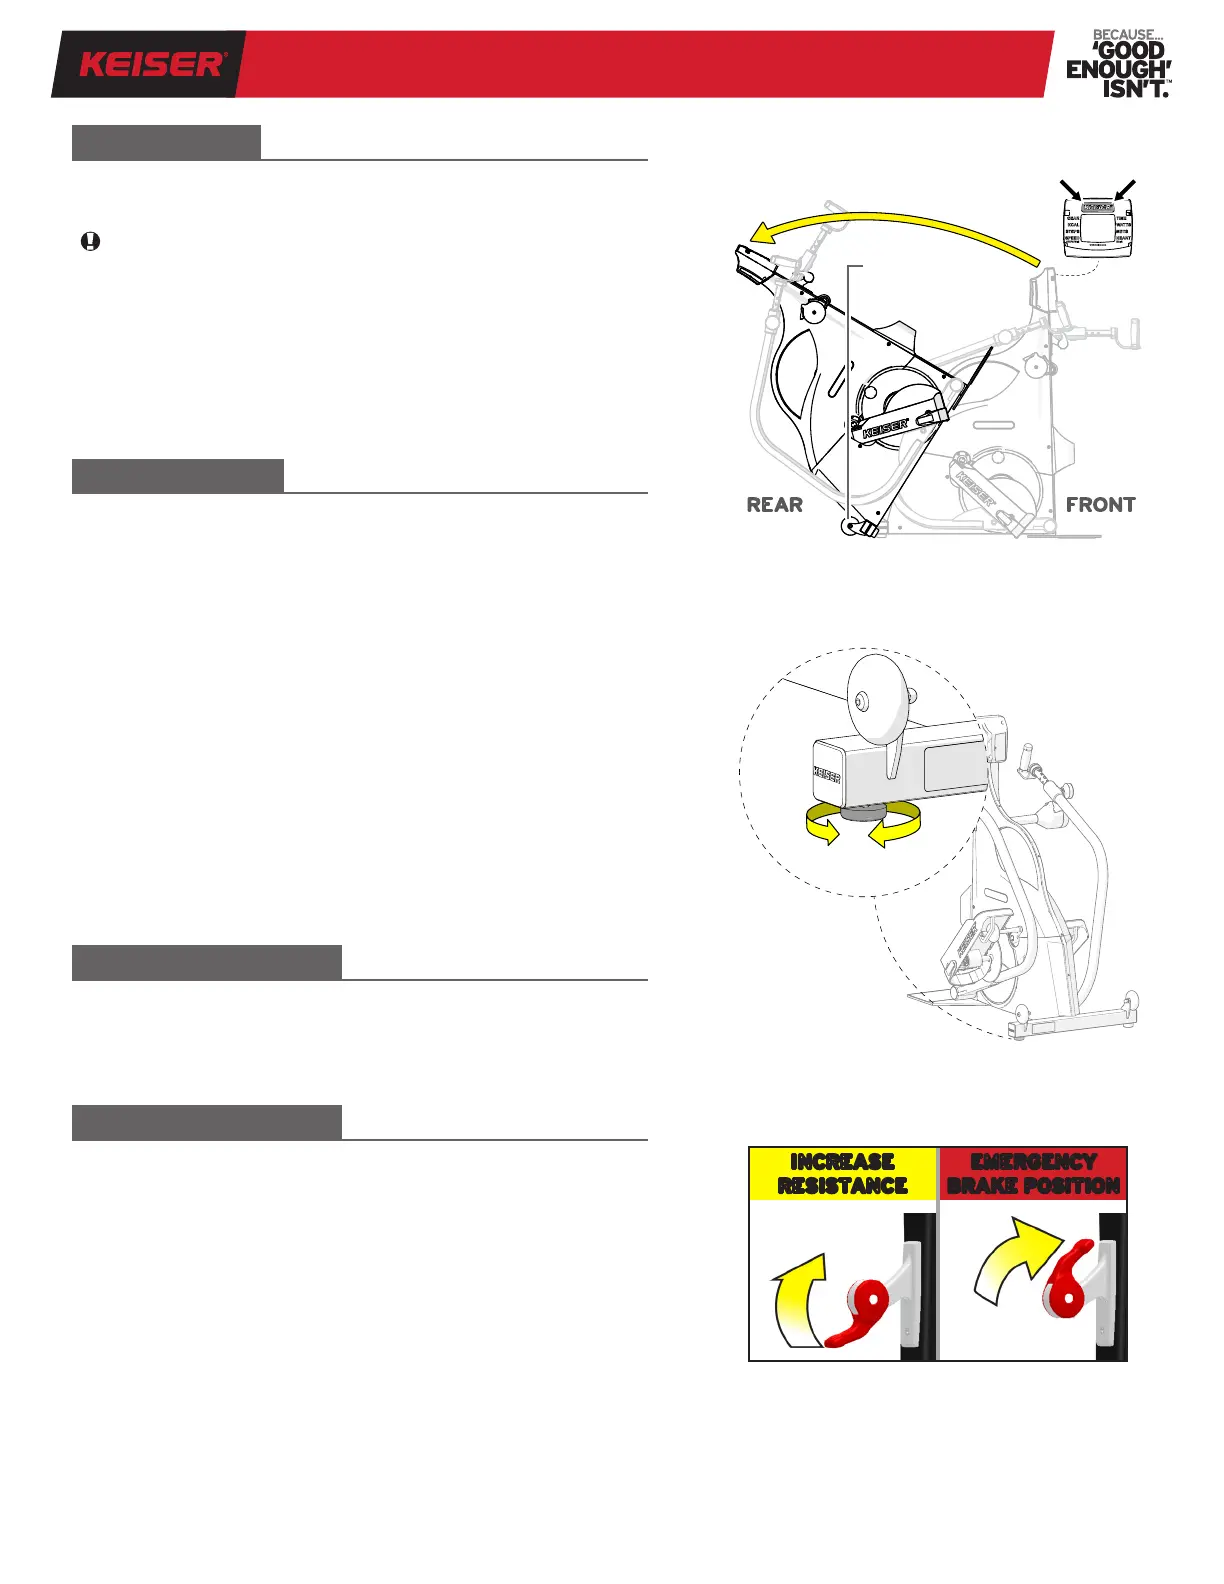
TRANSPORT
To transport the M7i, refer to Figure 6 and follow the instructions
below:
Be sure there is a minimum of 36 inches (914 mm) free space for
the machine on all sides before placement.
1. Tilt the M7i to the rear by pushing the Display at the Keiser logo
until the Transport Wheels contact the oor.
2. Steer the M7i by the Display from the rear to the desired location.
3. Hold the top of the Display from the front end, and slowly tilt
the M7i forward to set down.
Figure 6. Transporting the M7i
INCREASE
RESISTANCE
EMERGENCY
BRAKE POSITION
Figure 8. Resistance Lever and
Emergency Brake Position
Figure 7. Leveler Foot Adjustment
Display
Transport
Wheels
REAR FRONT