10 / 1923600E / 0024
English
Feed rolls and wire guide tubes have colour codes in order to make identification easier (see table on page 4).
In delivery FEED400 is equipped with red feed rolls with plain groove and with orange wire guide tubes for
welding filler wires of 0.9-1.2mm (0.035", 0.045" ja 0.052").
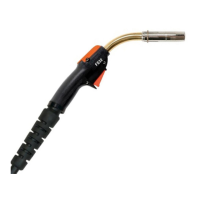
Mounting of MIG welding gun
In order to ensure trouble-free welding check in operation instructions of gun used by you that wire guide tube
and contact tip of gun are according to manufacturer´s recommendation suitable to be used for wire feed diam-
eter and type in question. Too tight a wire guide tube might cause for wire feeder unit a bigger stress than
normally as well as disturbances in wire feed.
Screw snap connector of gun tight that there won´t come any voltage losses on connecting surface.
A loose connection will heat gun and wire feeder unit.
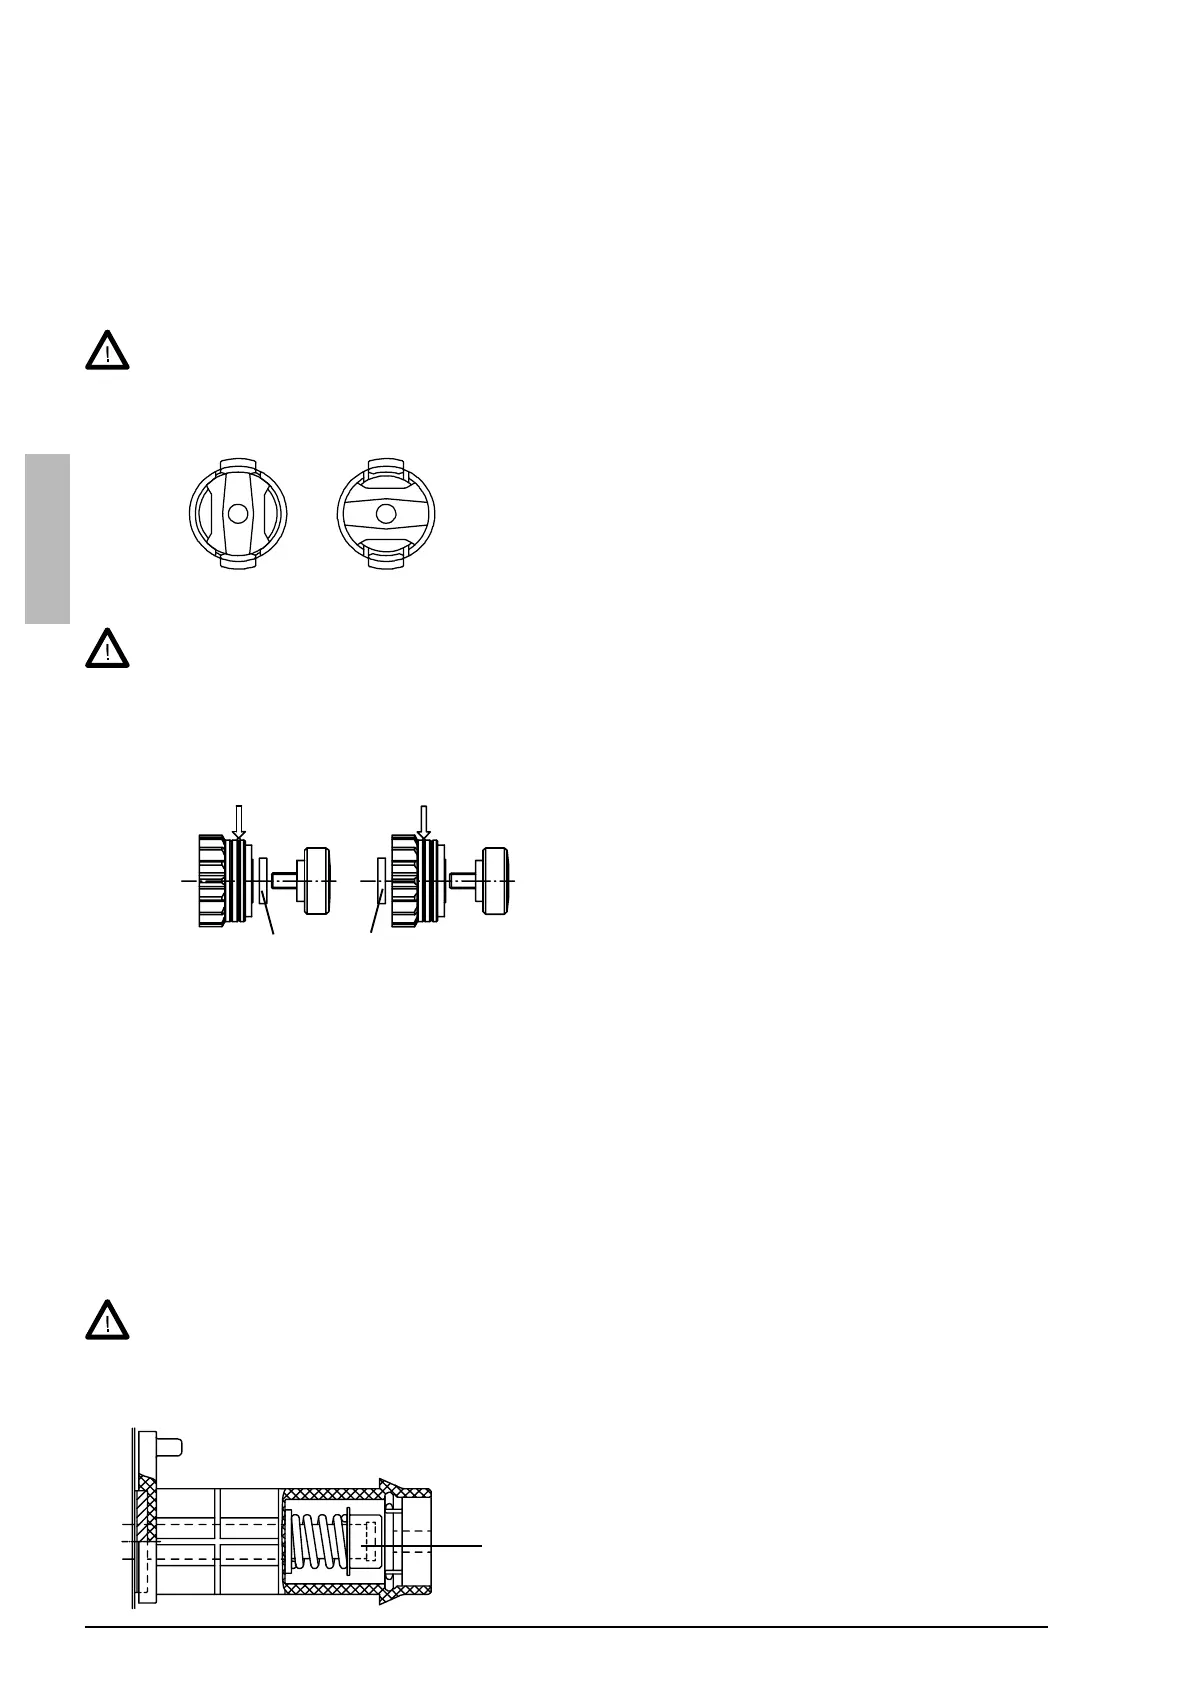
Mounting and locking of wire reel
LOCKED OPEN
Release locking nails of wire reel hub by turning
locking knob a quarter round.
Mount the reel at its place. Note rotating direction
of reel!
Lock the reel with locking knob, locking nails of
hub remain to outside position and will lock the
reel.
Make sure that groove of feed roll matches the
diameter of welding wire used. Feed roll groove is
selected by moving the groove selecting washer
(28).
Release the wire end from reel and cut off the bent
length. Be careful that the wire does not spill from
the reel to sides!
Straighten about 20 cm of the wire and see that the end of it has no sharp edges (file off if necessary).
A sharp edge may damage the wire guide tube and contact tip of the welding gun.
Draw a bit of loose wire from wire reel. Feed wire through back liner to feed rolls. Don´t release pressure of
feed rolls!
Press the gun switch and feed a bit wire until wire goes through feed rolls to gun. See that wire is in grooves
of both feed roll pairs!
Press still the gun switch until wire has come through contact tip.
Automatic feed may sometimes fail with thin wires (Fe, Ss: 0,6...0,8 mm, Al, Fc: 0,8...1,0mm). Then it might be
possible that you must open feed rolls and feed wire manually through feed rolls.
Adjustment of pressure
Adjust the pressure of feed rolls with the control screw (20) so that the wire is fed into the wire guide tube evenly
and allows a little braking when coming out from the contact tip without slipping at the feed rolls.
Excessive pressure causes flattening of the filler wire and damage to the coating. It also causes undue
wear of the feed rolls as well as friction.
Adjustment of tightness of wire reel brake
Check in filler wire reel that there are no parts sticking out, which could e.g. chafe against chassis or door
of wire feeder unit. Dragging parts might expose chassis of wire feeder unit under voltage.
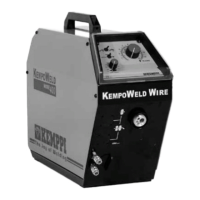
Automatic wire feed to gun
Automatic wire feed makes change of wire reel more rapid. In reel change the pressure of feed rolls need not to
be released and filler wire goes automatically to correct wire line.
Brake force is adjusted through hole in locking device
of reel hub by screwing the control screw (41) with
screwdriver.
Adjust brake force as so big that the wire is not allowed
to become too loose on the reel so that it would spill from
the reel when the rotation of the reel stops. Need for brake
force is increased with increase of the wire feed speed.
Since the brake loads for its part the motor, you
shouldn´t keep it unnecessarily tight.
28 28
41
 Loading...