KEMPOWELD 4200, 4200W, 5500W / 0531 – 9
© KEMPPI OY
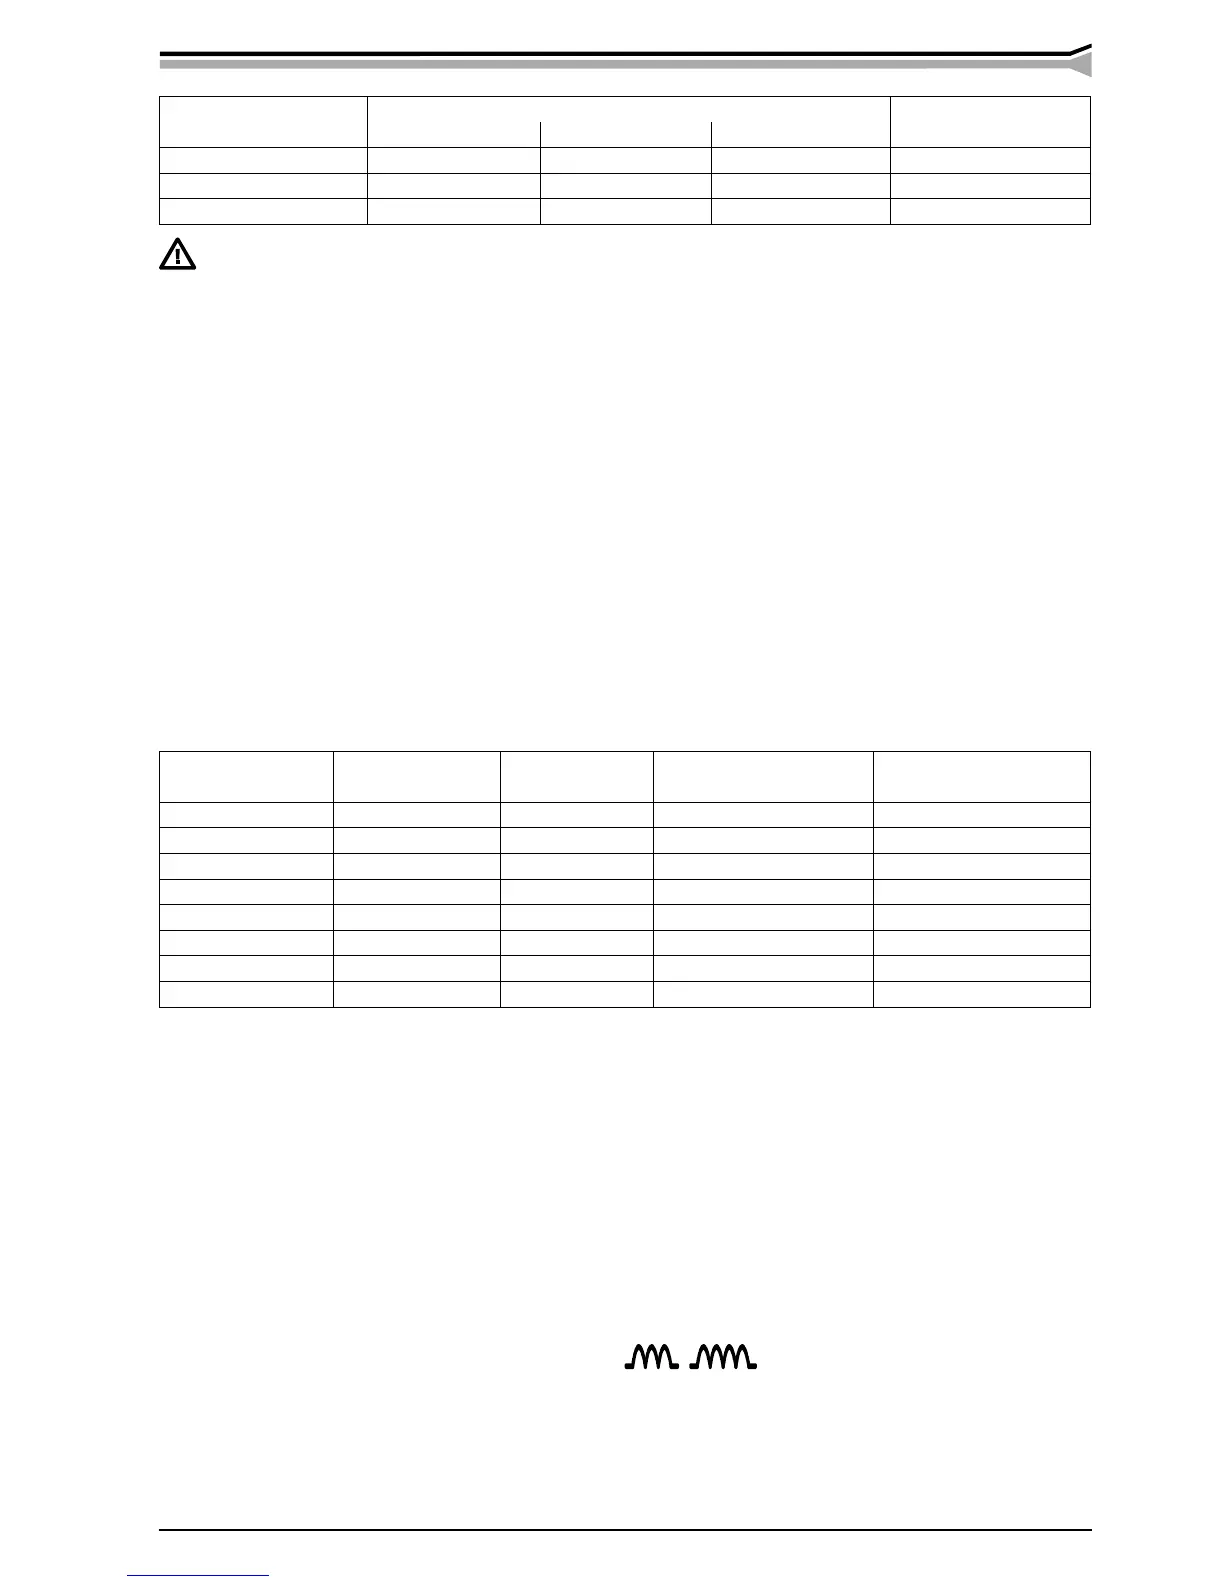
cable cross-section
Cu
duty cycle ED
voltage loss / 10 m
for 100 A
100 % 60 % 40 %
50 mm² 285 A 370 A 450 A 0.35 V
70 mm² 355 A 460 A 560 A 0.25 V
95 mm² 430 A 560 A 680 A 0.18 V
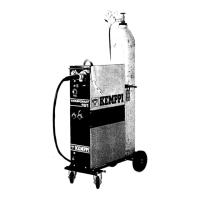
Fasten the earthing press of the return current cable carefully, preferably direct onto the piece to be
welded. The contact surface area of the press should always be as large and steady as possible.
Do not overload welding cables over permissible values due to voltage losses and heating. Clean the
contact surface from paint and rust.
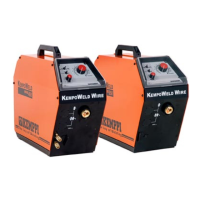
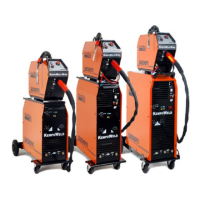
2.5. OPERATION AND USE OF CONTROLS
See the page for Kempoweld panels. See the section for the Cooling unit.
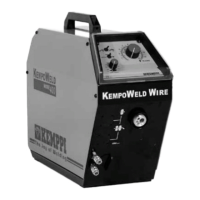
2.5.1. Main switch (S1)
In zero position all control and welding current circuits of the equipment are dead (without voltage). In positions
15-28 V or 18-32 V and 28-48 V or 32-56 V the control circuits of the machine and the cooling unit become live
(get voltage). The primary and welding circuit are dead, if the welding mode has not been started with the gun
trigger.
Always switch on and switch off the machine from the main switch. Never use the mains plug for switching
on or switching off the units and equipment!
2.5.2. Adjustment of welding voltage
With the main switch either the lower position (15-28 V or 18-32 V) or the higher position (28-48 V or 32-56 V)
of welding voltage range is selected according to each welding case. The welding voltage is adjusted with two
turn switches. The S2 is the switch for coarse control, where voltage value of each step can be fine-adjusted with
the switch S3.
Table of adjustments, switch positions:
main switch 4200, 4200W 5500W
voltage range coarse control fine control open circuit voltage open circuit voltage
lower 1 / 4 1- max 14.6 - 16.3 V 18.0 - 20.0 V
2 / 4 1- max 16.6 - 18.8 V 20.7 - 23.0 V
3 / 4 1- max 19.2 - 22.0 V 23.8 - 26.8 V
4 / 4 1- max 22.5 - 26.1 V 27.9 - 32.0 V
higher 1 / 4 1- max 27.1 - 30.0 V 31.1 - 33.1 V
2 / 4 1- max 30.5 - 34.2 V 36.4 - 40.3 V
3 / 4 1- max 34.9 - 39.7 V 41.8 - 46.9 V
4 / 4 1- max 40.5 - 47.1 V 49.0 - 56.2 V
2.5.3. Pilot lamps
Pilot lamps of the machine report about electric function:
The green pilot lamp H1 indicating that the machine is ready for operation is always lit, when the machine is con-
nected to mains voltage and you have selected welding voltage range from the main switch.
The yellow pilot lamp H2 is lit, when thermal protection of the welding circuit has released due to overheating.
The protection releases if the power source is continuously loaded over rated values or the cooling air circulation
has been obstructed.
The cooling fan is cooling down the machine and after the pilot lamp has switched off, the machine is again ready
for welding from the gun trigger.
2.5.4. Control fuse (F1)
On the rear plate of the power source the fuse (F1) 8 A delayed is the short-circuit protection. Use the fuse size
and type according to markings. Damage caused by a wrong type fuse is not covered by the guarantee. If the fuse
is blowing again, send the unit to service.
2.5.5. Adjustment for arc roughness
Arc roughness is adjusted by connecting the return current cable to the applicable one of the two dix-connectors
on the front plate.
The connector marked with shorter symbol gives a rougher arc, which is used for welding of thin sheets and ferrous
metals by 0.6 - 1.0 mm wires and especially with CO
2
shielding gas. The connector marked with longer symbol
is suitable for thicker wires and especially for aluminium and stainless materials. The most suitable roughness is,
however, most dependent on the welding case. You will find the best position by testing the different positions.
 Loading...