EN
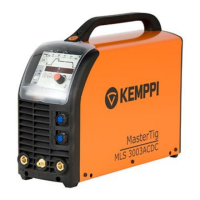
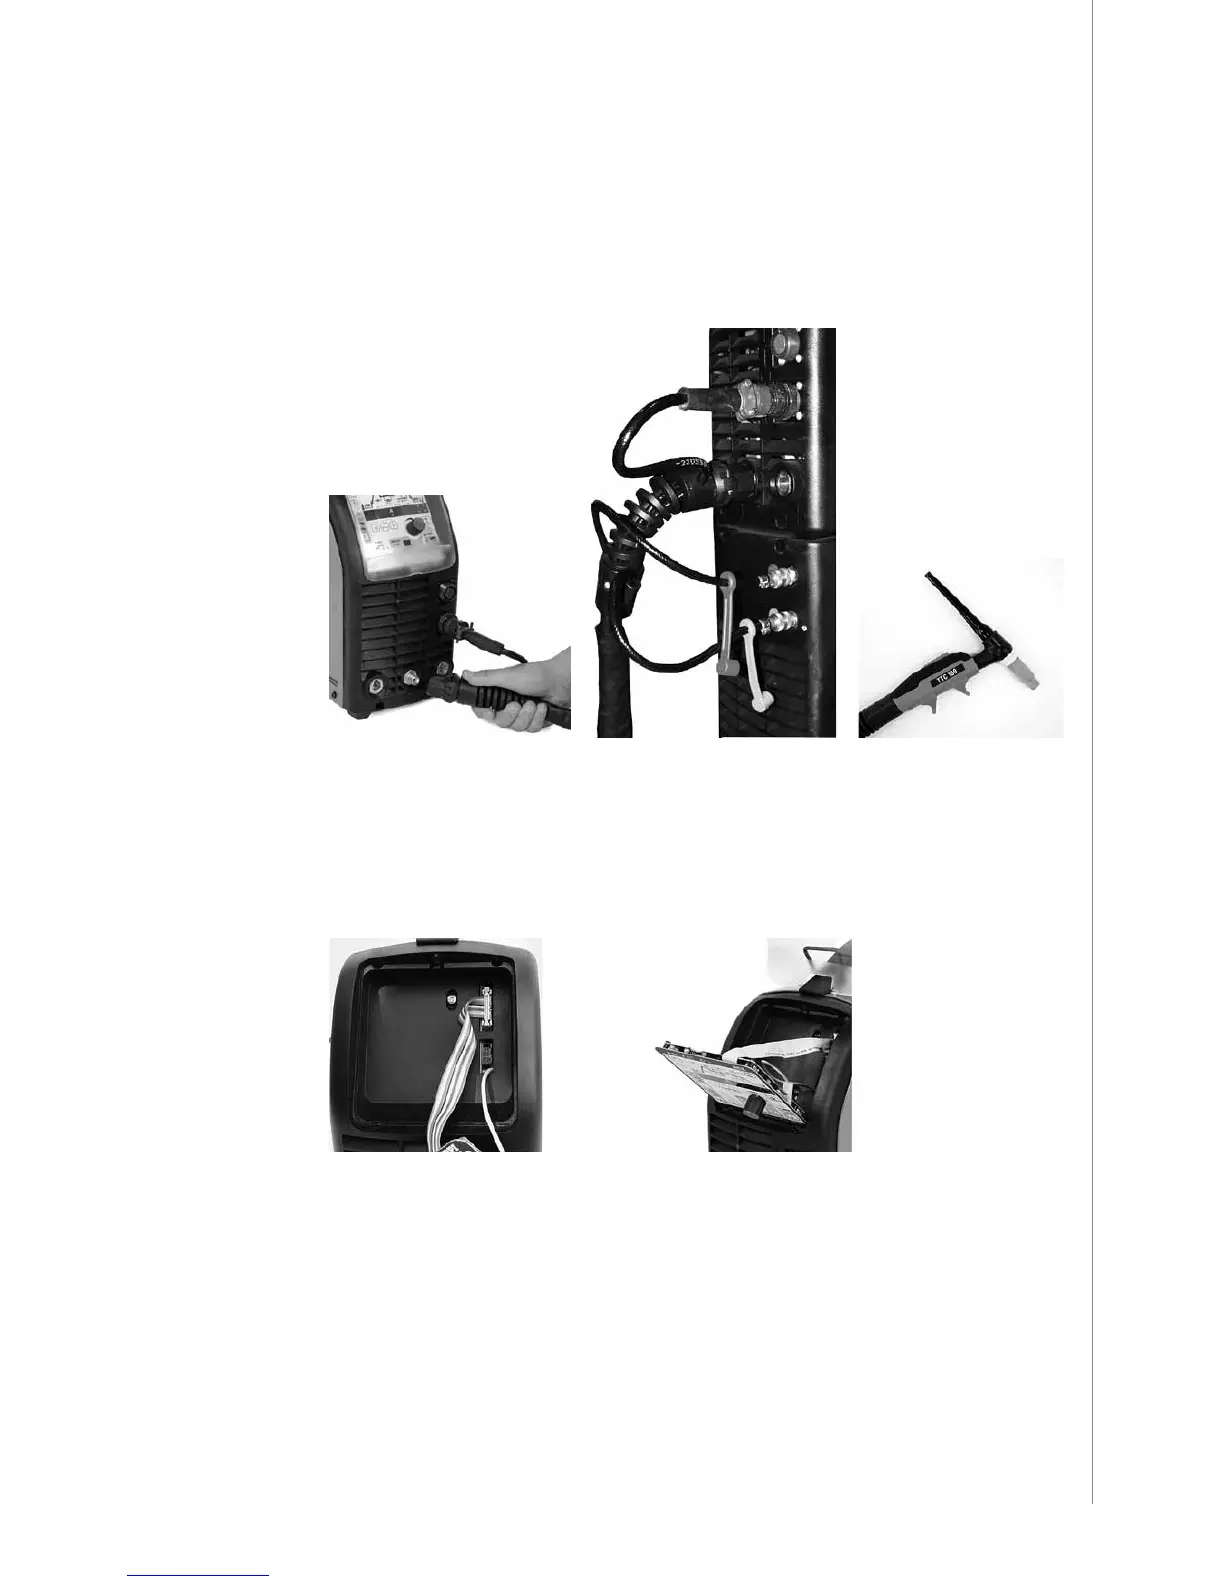
Front of machine
1. Function panel
2. Remote control connector
3. TIG torch control connector
4. Shield gas and current connector for
TIG torch
5. (+) connector for electrode holder
6. (–) connector for earth cable
Markings for (+/–) poles on the
machine front are embossed.
Rear of machine
1. Mains switch
2. Snap connector for gas
1.
3.
2.
1. Installing gas-cooled torch
2. Installing water-cooled torch
3. Torch
2.5 INSTALLATION OF THE PANEL
1.
2.
1. Fasten the cable connectors of the function panel to the power source (2 pieces).
2. Place the bottom edge of the panel behind the securing clips on the machine. Remove the
xing pin from the top edge with, for example, a screwdriver. Then gently push the
upper part of the panel into place. Make sure that the cables do not get damaged,
continue gently pushing the upper part of the panel until it clips into place. Finally, push
the xing pin back into its place.
5
MasterTig MLS 2300 ACDC / © Kemppi Oy / 1112

 Loading...