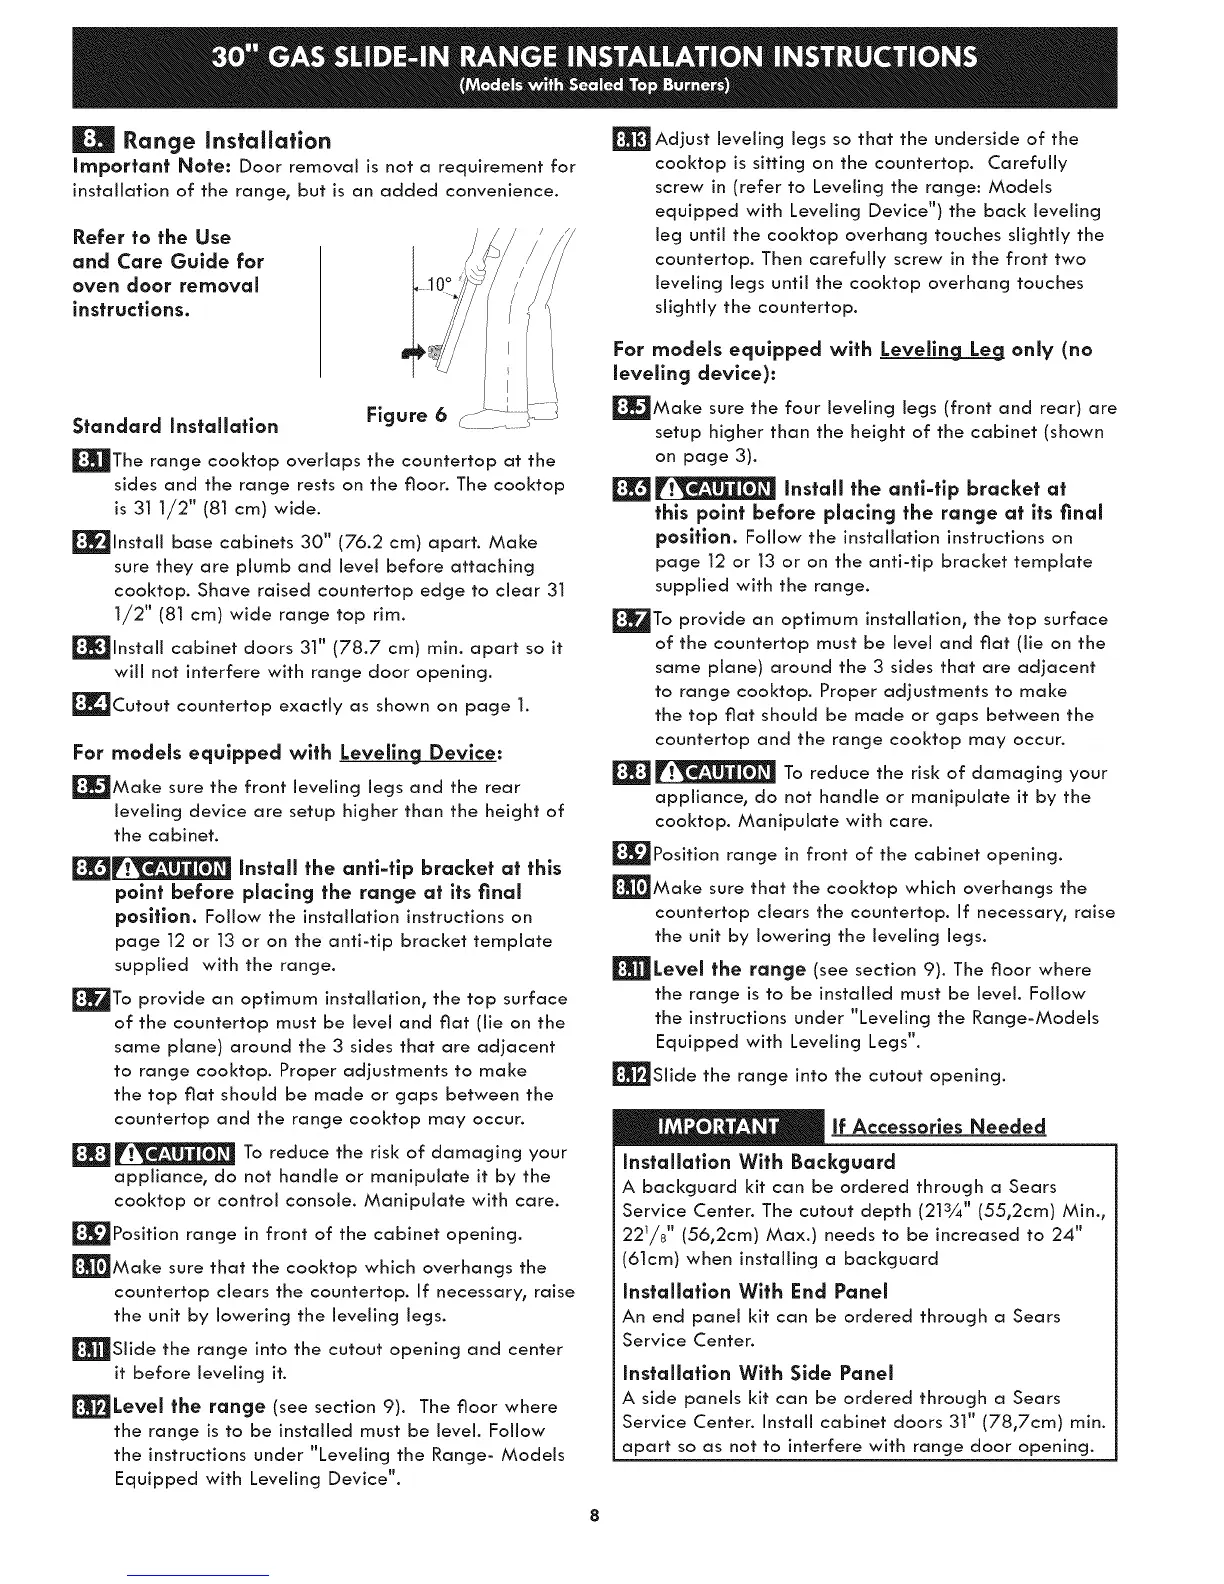
Range installation
Important Note: Door removal is not a requirement for
installation of the range, but is an added convenience.
Refer to the Use
and Core Guide for
oven door removal
instructions.
Standard Installation
Figure 6
_]_The range cooktop overlaps the countertop at the
sides and the range rests on the floor. The cooktop
is 31 1/2" (81 cm) wide.
_lnstall base cabinets 30" (76.2 cm) apart. Make
sure they are plumb and level before attaching
cooktop. Shave raised countertop edge to clear 31
1/2" (81 cm) wide range top rim.
_lnstall cabinet doors 31" (78.7 cm) rain. apart so it
will not interfere with range door opening.
_]Cutout countertop exactly as shown on page 1.
For models equipped with Leveling Device:
|Make sure the front leveling legs and the rear
leveling device are setup higher than the height of
the cabinet.
__ Install the anfi-tlp bracket at this
point before placing the range at its final
position. Follow the installation instructions on
page 12 or 13 or on the anti-tip bracket template
supplied with the range.
_To provide an optimum installation, the top surface
of the countertop must be level and flat (lie on the
same plane) around the 3 sides that are adjacent
to range cooktop. Proper adjustments to make
the top flat should be made or gaps between the
countertop and the range cooktop may occur.
| [__1 To reduce the risk of damaging your
appliance, do not handle or manipulate it by the
cooktop or control console. Manipulate with care.
_Position range in front of the cabinet opening.
_Make sure that the cooktop which overhangs the
countertop dears the countertop. If necessary, raise
the unit by lowering the leveling legs.
_Slide the range into the cutout opening and center
it before leveling it.
|Level the range (see section 9). The floor where
the range is to be installed must be level. Follow
the instructions under "Leveling the Range- Models
Equipped with Leveling Device".
Adjust leveling legs so that the underside of the
cooktop is sitting on the countertop. Carefully
screw in (refer to Leveling the range: Models
equipped with Leveling Device") the back leveling
leg until the cool<top overhang touches slightly the
countertop. Then carefully screw in the front two
leveling legs until the cool<top overhang touches
slightly the countertop.
For models equipped with LevellncLLeLeg only (no
leveling device):
|Make sure the four leveling legs (front and rear) are
setup higher than the height of the cabinet (shown
on page 3).
| r_][__ Install the anti-tlp bracket at
this point before placing the range at its final
position. Follow the installation instructions on
page 12 or 13 or on the anti-tip bracket template
supplied with the range.
_To provide an optimum installation, the top surface
of the countertop must be level and flat (lie on the
same plane) around the 3 sides that are adjacent
to range cooktop. Proper adjustments to make
the top flat should be made or gaps between the
countertop and the range cooktop may occur.
| _][_!_i_e"_! To reduce the risk of damaging your
appliance, do not handle or manipulate it by the
cooktop. Manipulate with care.
_Position range in front of the cabinet opening.
_Make sure that the cooktop which overhangs the
countertop clears the countertop. If necessary, raise
the unit by lowering the leveling legs.
_Level the range (see section 9). The floor where
the range is to be installed must be level. Follow
the instructions under "Leveling the Range-Models
Equipped with Leveling Legs".
_Slide the range into the cutout opening.
lf Accessories Needed
Installatlon With Backguard
A backguard kit can be ordered through a Sears
Service Center. The cutout depth (213¼" (55,2cm) Min.,
221/8 '' (56,2cm) Max.) needs to be increased to 24"
(61cm) when installing a bad<guard
Installation With End Panel
An end panel kit can be ordered through a Sears
Service Center.
Installation With Side Panel
A side panels kit can be ordered through a Sears
Service Center. Install cabinet doors 31" (78,7cm) rain.
apart so as not to interfere with range door opening.