7.
e
orm
n
e
I
e
ti
n
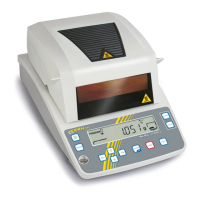
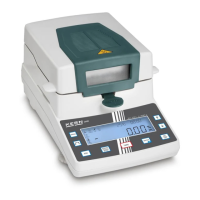
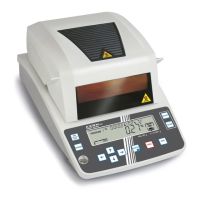
Inspect performance at least 1 hour after the power has been switched ON and mass is displayed (with the backlight ON),
in a location not exposed to air flow, vibration, or sharp changes in temperature.
7.1
e
e
t
il
t
1) Place, measure, and remove the weights (preferably calibration weights) indicated in Attached Table 1 5 times in
the center of the pan to determine the variability ranges Rx and Ry for the zero-point and weighing capacity.
=
max
−
min
=
Y
max
−
Y
min
:
X
1
,
X
2
・・・
X
5
R
x
R
y
・・・Y
5
:
Y
1
,
Y
2
("max" indicates the maximum value, and "min" indicates the minimum value.)
7.2
ne
d
1)
2)
Prepare the weights indicated for each model in Attached Table 1.
Record the indicated value for each position indicated in Figure 65 of 4.3 Adjusting the Cornerload Error by
placing and measuring the weight successively in the center (1), then of
f
f
f
-center positions (2), (3), (4), and (5), and,
lastly, in the center (1) position again. If the di
f
f
f
erence between the value indicated for the center (1) and the values
for offf -c enter positio ns (2), (3 ), (4 ), and
(5) (cornerload error) is within the specified allowable limits, then it is functioning normally.
Example: Error for Position (3) = Indicated Value for (3) - Average of 2 Measurements at (1)
For small error levels, adjust the error according to 4.3 Adjusting the Cornerload Error.
3)
4)
N
te:
nl
d
ust c
nerlo
d e
f
min
er
o
le
els (m
x.
0 count).
For larger errors, replace the entire unit assembly (1).
7.3
nst
ume
t-t
-I
st
u
e
t
a
il
t
ns
ect
n
1)
2)
Use calibration weights to perform "E CAL" calibration one time.
Place each weight on the pan and record the displayed value after the display stabilizes, in the sequence indicated
in Table 1.
Calculate the error at each load level.
Error = (display value for each load) - (mean zero-point display value) - (conventional mass of calibration weight)
For minor errors, follow the instructions in 5.5 Adjusting Linearity.
3)
4)
N
te:
nl
d
ust line
it
fo
min
e
le
els (m
x.
10 count).
For larger errors, replace the entire unit assembly (1).
7.
i
t
1)
2)
P
ess the [(TARE
]ke
to change to the "0 g" dis
l
.
)
Insert a 1 mm thick shim under the left level adjuster and record the displayed value after the
display stabilizes. (B)
Error = (B) - (A)
F
l
e e
le
els,
d
ust the e
acc
din
to
.2
d
ustin
the
ilt Er
o
.
3)
DBS-SH-e-1210 53
 Loading...