3 Calibration Procedures
86 Keysight E3633A and E3634A Service Guide
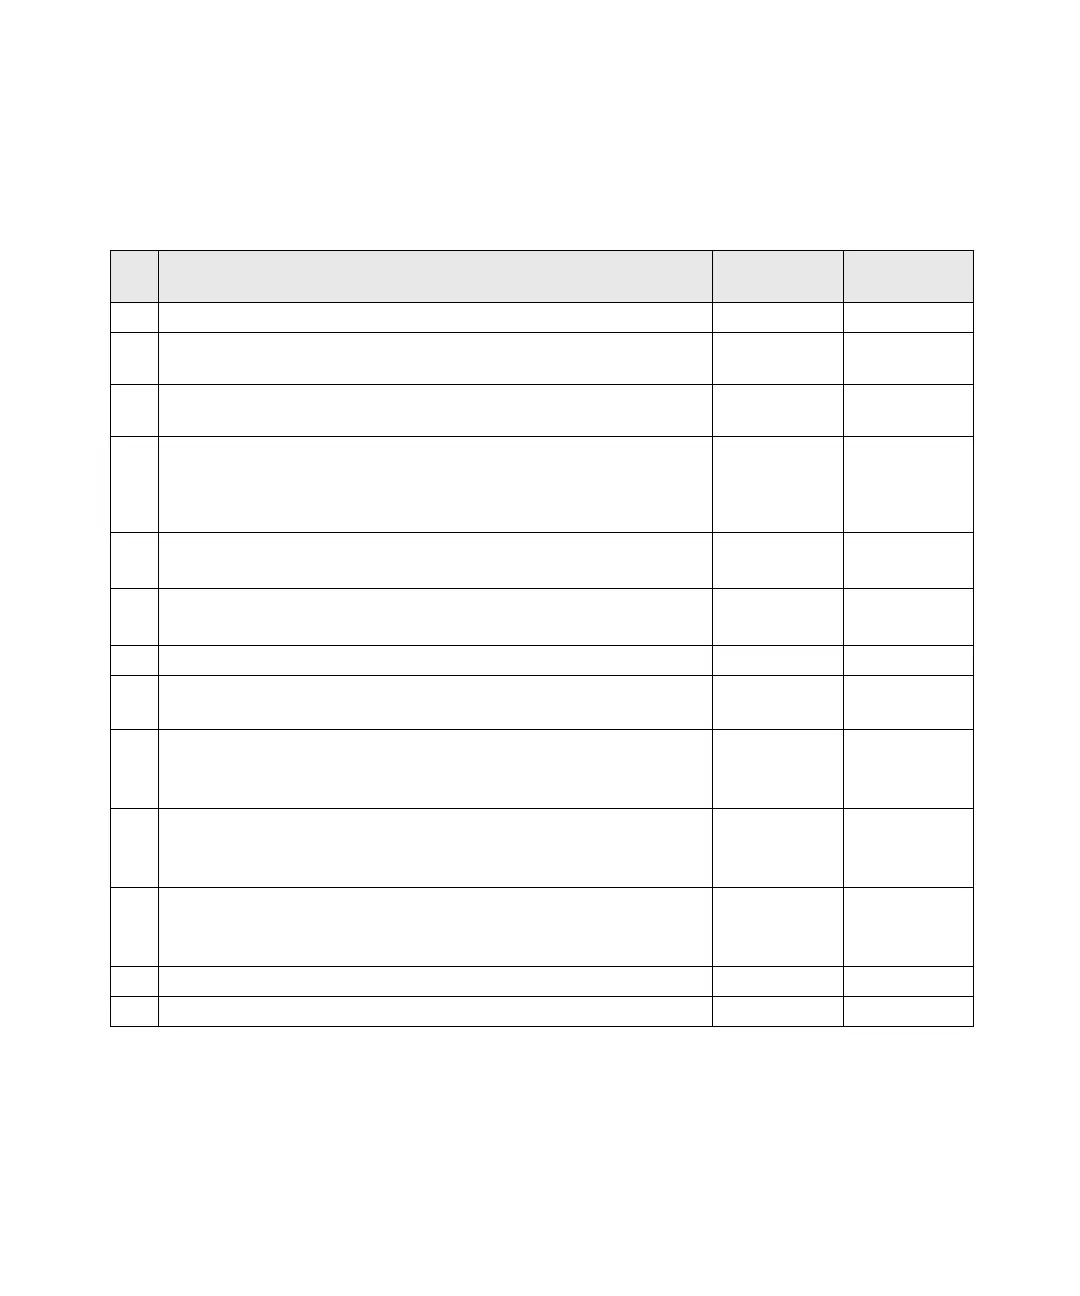
Calibration Record for Keysight E3633A/E3634A
Step Calibration Description
Measurement
Mode (DVM)
Supply Being
Adjusted
1 Unsecure the power supply (see page 62).
2 Turn on “CAL MODE” (hold down “Calibrate” and “Power” keys as you turn on the
power supply until you hear a long beep).
3 Move down menu to “CAL SETUP 1” (press “Calibrate” key). Voltage
Calibration
4 Calibrate DAC and select the low point for voltage calibration; “START BITCAL”
appears for about 3 seconds and the display counts down numbers from 30 to 0.
Then, “V LO 0.5000 V” appears on the display (press “Calibrate” key and wait
about 30 seconds; then change the display to match the DVM reading).
VDAC and low
voltage point
calibration
5
“V MI 10.000 V”
[a]
or “V MI 25.000 V”
[b]
appears on the display
(press “Calibrate” key; then change the display to match the DVM reading).
VMiddle voltage
point calibration
6
“V HI 19.500 V”
[a]
or “V HI 49.500 V”
[b]
appears on the display
(press “Calibrate” key; then change the display to match the DVM reading).
V High voltage point
calibration
7 “CAL SETUP 2” now appears on the display (press “Calibrate” key). V OVP calibration
8 “CAL SETUP 3” now appears on the display
(press “Calibrate” key; then connect 0.01
Ω
resistor across the output terminals).
Current
calibration
9
“I LO 0.5000 A”
[a]
or “I LO 0.2000 A”
[b]
appears on the display
(press “Calibrate” key; then change the display to match the computed current
through the resistor).
A Low current point
calibration
10
“I MI 10.000 A”
[a]
or “I MI 3.5000 A”
[b]
appears on the display
(press “Calibrate” key; then change the display to match the computed current
through the resistor).
A Middle current
point calibration
11
“I HI 19.500 A”
[a]
or “I HI 6.9000 A”
[b]
appears on the display
(press “Calibrate” key; then change the display to match the computed current
through the resistor).
A High current point
calibration
12 “CAL SETUP 4” now appears on the display (press “Calibrate” key). A OCP calibration
13 Press “Calibrate” key, then press “Power” switch. Exit CAL MODE
[a] For Keysight E3633A Model
[b] For Keysight E3634A Model