7
Assemble units as described herein only. To do otherwise
may result in instability. All screws, nuts and bolts must be
tightened securely and must be checked periodically after
assembly. Failure to assemble properly, or to secure parts
may result in assembly failure and personal injury.
Seminar
TM
Tables with 4-Wire Power System - Bases & Tops
Assembly Instructions
Seminar Table Base & Top
Installation (cont.)
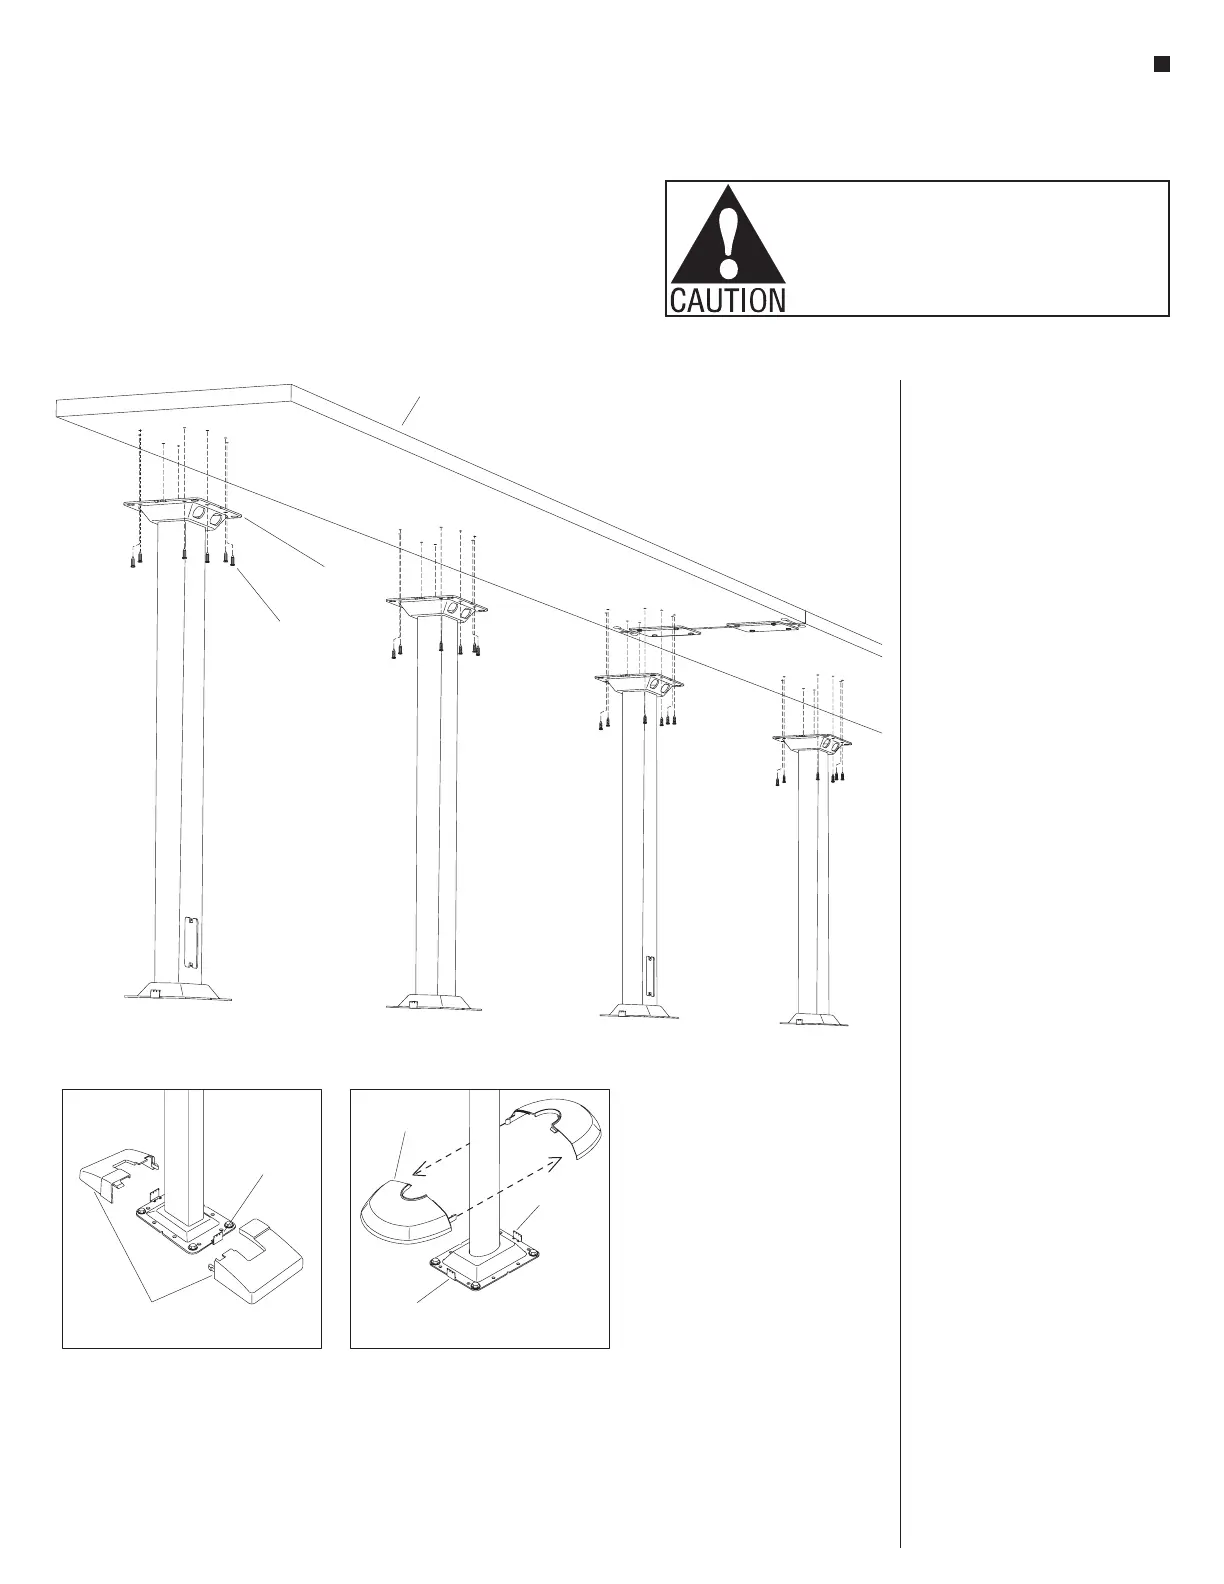
10. With tabletops joined together
correctly in place on tabletop
mounting flanges (per the
space-planning layout), check to be
sure tabletops are level. Use shims
between tabletop and mounting
flange to assure that the joint
stays flush and tabletops are level.
Pre-drill holes with
3
/
16
” drill bit,
and secure tabletops to mounting
flanges with eight #14 x 1” screws
torqued to 100 in/lb per flange
(Figure 5).
11. Position plastic flange covers over
the base flange at each side of
either the rectangular or the select
base oval column. Snap the flange
covers together and push the flange
cover down tight to the floor to
engage the flange clips and secure
the cover (Detail C or Detail D).
plastic ange
covers
Figure 5
silver ange clip
(12.0 )951
oval ange
cover
silver
ange clip
(12.0951)
silver ange clip
(12.0951)
#x” screw14 1
tabletop
mounting ange
tabletop