K.LOCK
WERKS
I
VAQUERO
KICKER
INSTALLATION
3
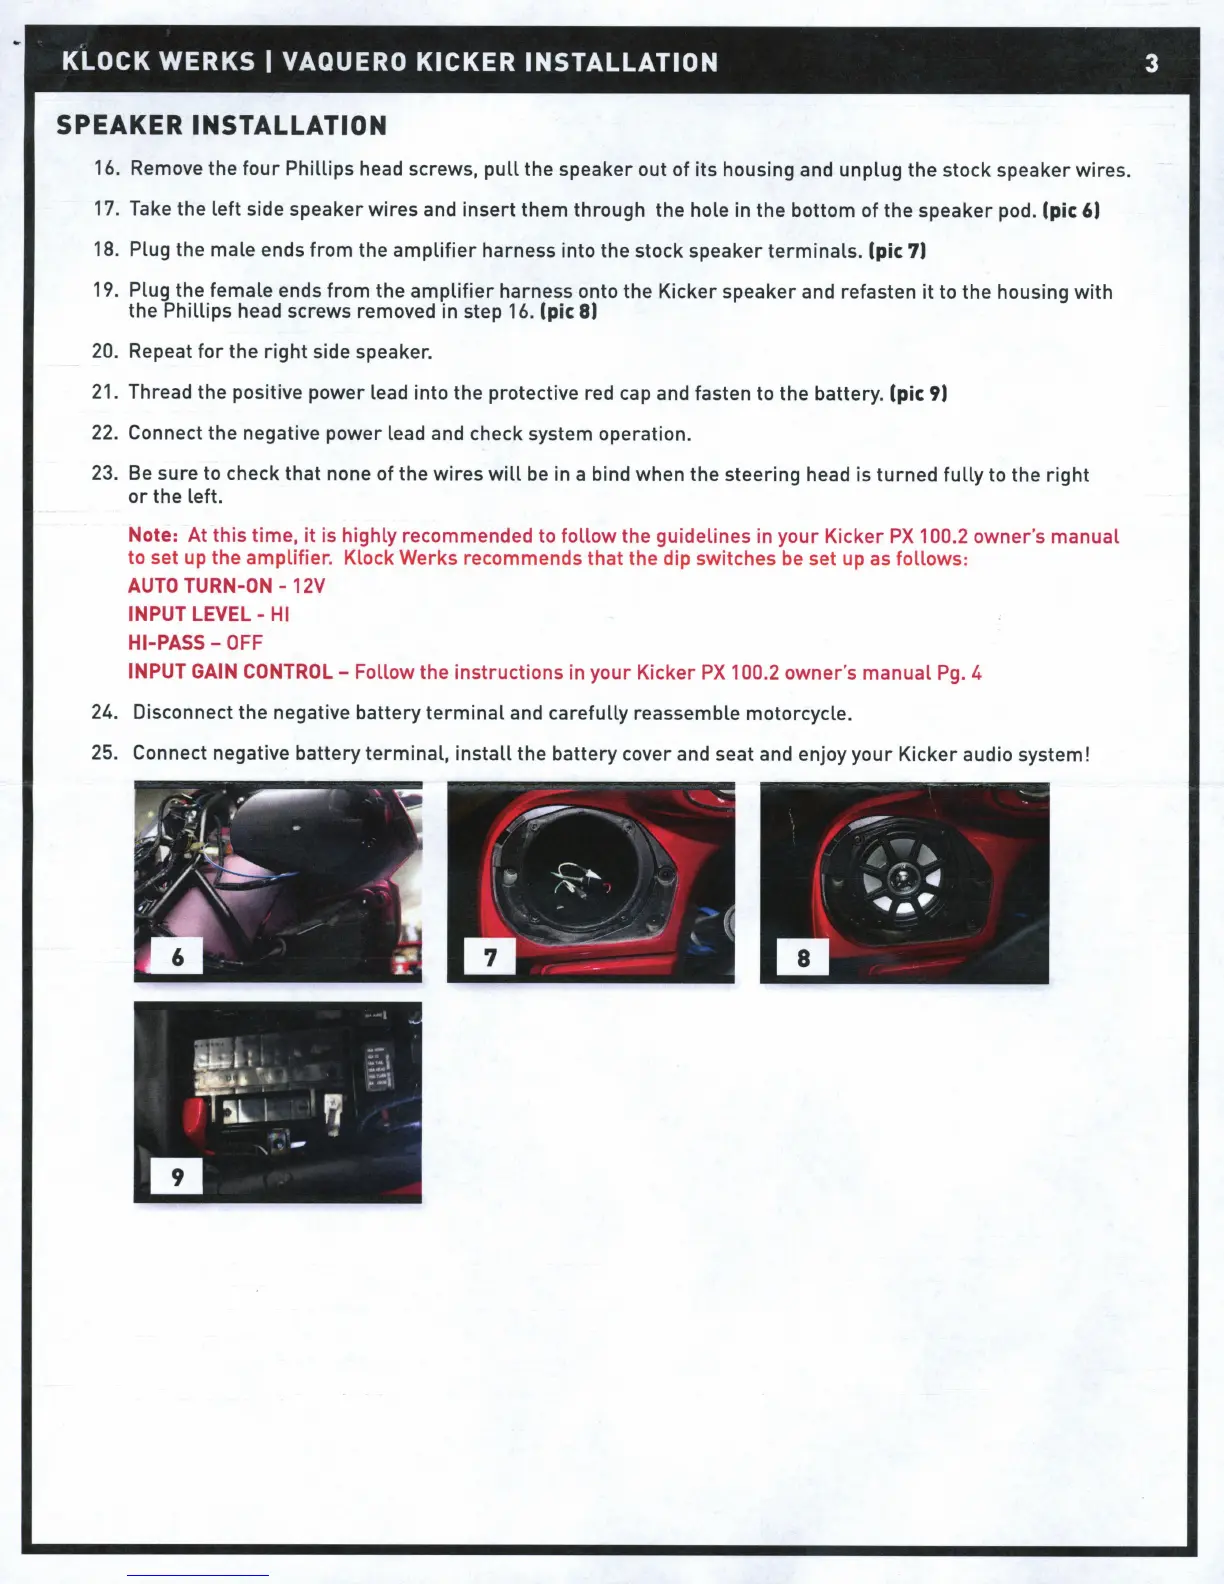
SPEAKER INSTALLATION
16.
Remove the
four
Phillips head screws,
pull
the speaker out of its housing and unplug the stock speaker wires.
17.
Take
the left side speaker wires and insert them through the hole in the bottom of the speaker pod. (pic
6)
18.
Plug the male ends from the
amplifier
harness into the stock speaker terminals. (pic
7)
19.
Plug the female ends from the
amplifier
harness onto the Kicker speaker and refasten
it
to the housing with
the Phillips head screws removed in step
16.
(pic 8)
20.
Repeat
for
the right side speaker.
21.
Thread the positive power lead into the protective red
cap
and fasten to the battery. (pic
9)
22.
Connect
the negative power lead and check system operation.
23.
Be
sure to check that none of the wires
will
be
in a bind when the steering head is turned
fully
to the right
or
the left.
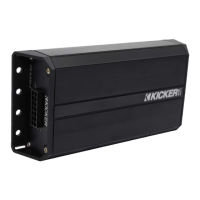
Note: At this time, it is highly recommended to follow the guidelines in your Kicker
PX
100.2 owner's manual
to set up the amplifier. Klock Werks recommends that the dip switches
be
set up
as
follows:
AUTO
TURN-ON
-
12V
INPUT LEVEL-
HI
HI-PASS-
OFF
INPUT
GAIN
CONTROL-
Follow the instructions in your Kicker
PX
100.2 owner's manual
Pg.
4
24.
Disconnect the negative battery
terminal
and carefully reassemble motorcycle.
25.
Connect negative battery terminal, install the battery cover and seat and enjoy your Kicker audio system!