16
9.2 Adding Another Device to an Existing Wireless Alarm Network
For various reasons, you might want to add additional units to your existing wireless alarm network.
Modifying your existing wireless alarm network is easy and user-friendly.
A. REMOVE THE NEW DEVICE FROM ITS PACKAGING.
B. POWER UP NEW DEVICE
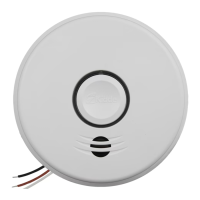
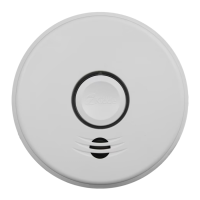
Locate the red wheel on the back of the device being added. Turn
the red wheel to the “ON” position using the white activation tool
included in the Quick Start Guide or a standard screwdriver.
• Once powered, the light ring will glow red.
C. LANGUAGE SELECTION
This unit operates in either English or French. To switch your language preference at any time, press the
Test button twice on ALL devices you wish to connect. You should hear one beep for each button press,
followed by a voice message confirming your language selection (“English language selected” or “Langue
française selectionné”). If no language is selected, the voice prompts will continue in the default / set
language.
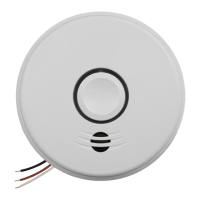
D. PICK ONE INSTALLED DEVICE
Press and hold the button on ONE INSTALLED device on your
network until you hear two beeps. Release button. You will hear
“Searching for other devices.”
• Light will pulse green and device will sound a continuous
“Sonar” ping until step E is completed.
Figure 9.2-C
Device Being Added
other devices.”
Installed Device
Figure 9.2-B
ON
PERMANENTLY
DISABLE and
DISCHARGE
alarm
Break
tab
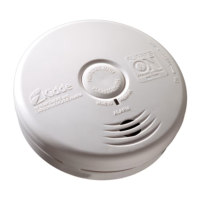
SMOKE ALARM: 3 long beeps, repeating
CO ALARM: 4 quick beeps, repeating
STANDBY: Green LED blink every 60s
FAULT: Amber LED blink with chirp every 30s
LOW BAT TERY: Amber LED blink every 5s, chirp every 60s
END OF UNIT LIFE: Amber LED blink every 5s, chirp twice every 30s
Push button to test weekly.
See user guide for more information
USE ACTIVATION
TOOL OR SCREWDRIVER