12
A. USB Drives
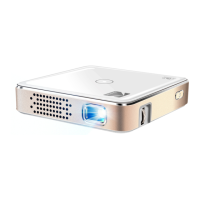
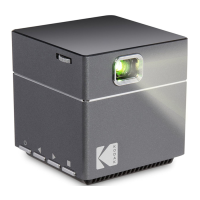
To access photos or videos stored on any USB drive, simply insert the drive into the corresponding port
on the side. The projector will read the iles directly from the drive. You can access them from the home
screen by selecting Source > File Browser.
B. HDMI® Compatible Devices
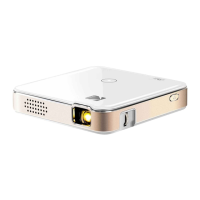
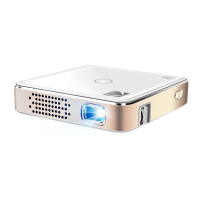
If you’re using an HDMI compatible device, such as a laptop, personal computer, smartphone, tablet,
or video game console, connect an HDMI cable from the device to your projector to access and view
images and pictures. An HDMI-to-HDMI cable is included, but if your device requires an adapter, you
will need to purchase it separately. To make things a little easier, we’ve compiled this table of devices
and adapters for your convenience.
1 Devices with HDMI port
2 Devices with mini HDMI port
3 Devices with micro HDMI port
4 iOS devices with lightning port
5
Devices with USBC
(USB type C) port
6
Devices with USBC
(USB type C) port
HDMI to HDMI cable (included)
Mini HDMI to HDMI adapter HDMI to HDMI cable (included)
Mini HDMI to HDMI adapter HDMI to HDMI cable
Lightning digital AV adapter
HDMI to HDMI cable
USBC to HDMI adapter
HDMI to HDMI cable
USB type C to HDMI cable
22. CONNECTING EXTERNAL DEVICES
Please note, if you connect an HDMI device as well as a USB drive, the HDMI device will take
precedence over the USB drive and you will need to disconnect it or press the back button on the
remote to access the other connected sources.
4. When you’ve inished backing up your data (or not), select the bottom option, “Factory
Data Reset”.

 Loading...