70
Note: The plastic selector knob must be removed before the front cover can be removed on
older machines.
8. Insert the straight thermostat holder tube into the rubber grommet located directly behind the
crusher motor. Route the crushed ice thermostat capillary tube through the straight thermostat
tube holder. Ensure that the capillary tube is slightly protruding from the bottom of the tube
holder.
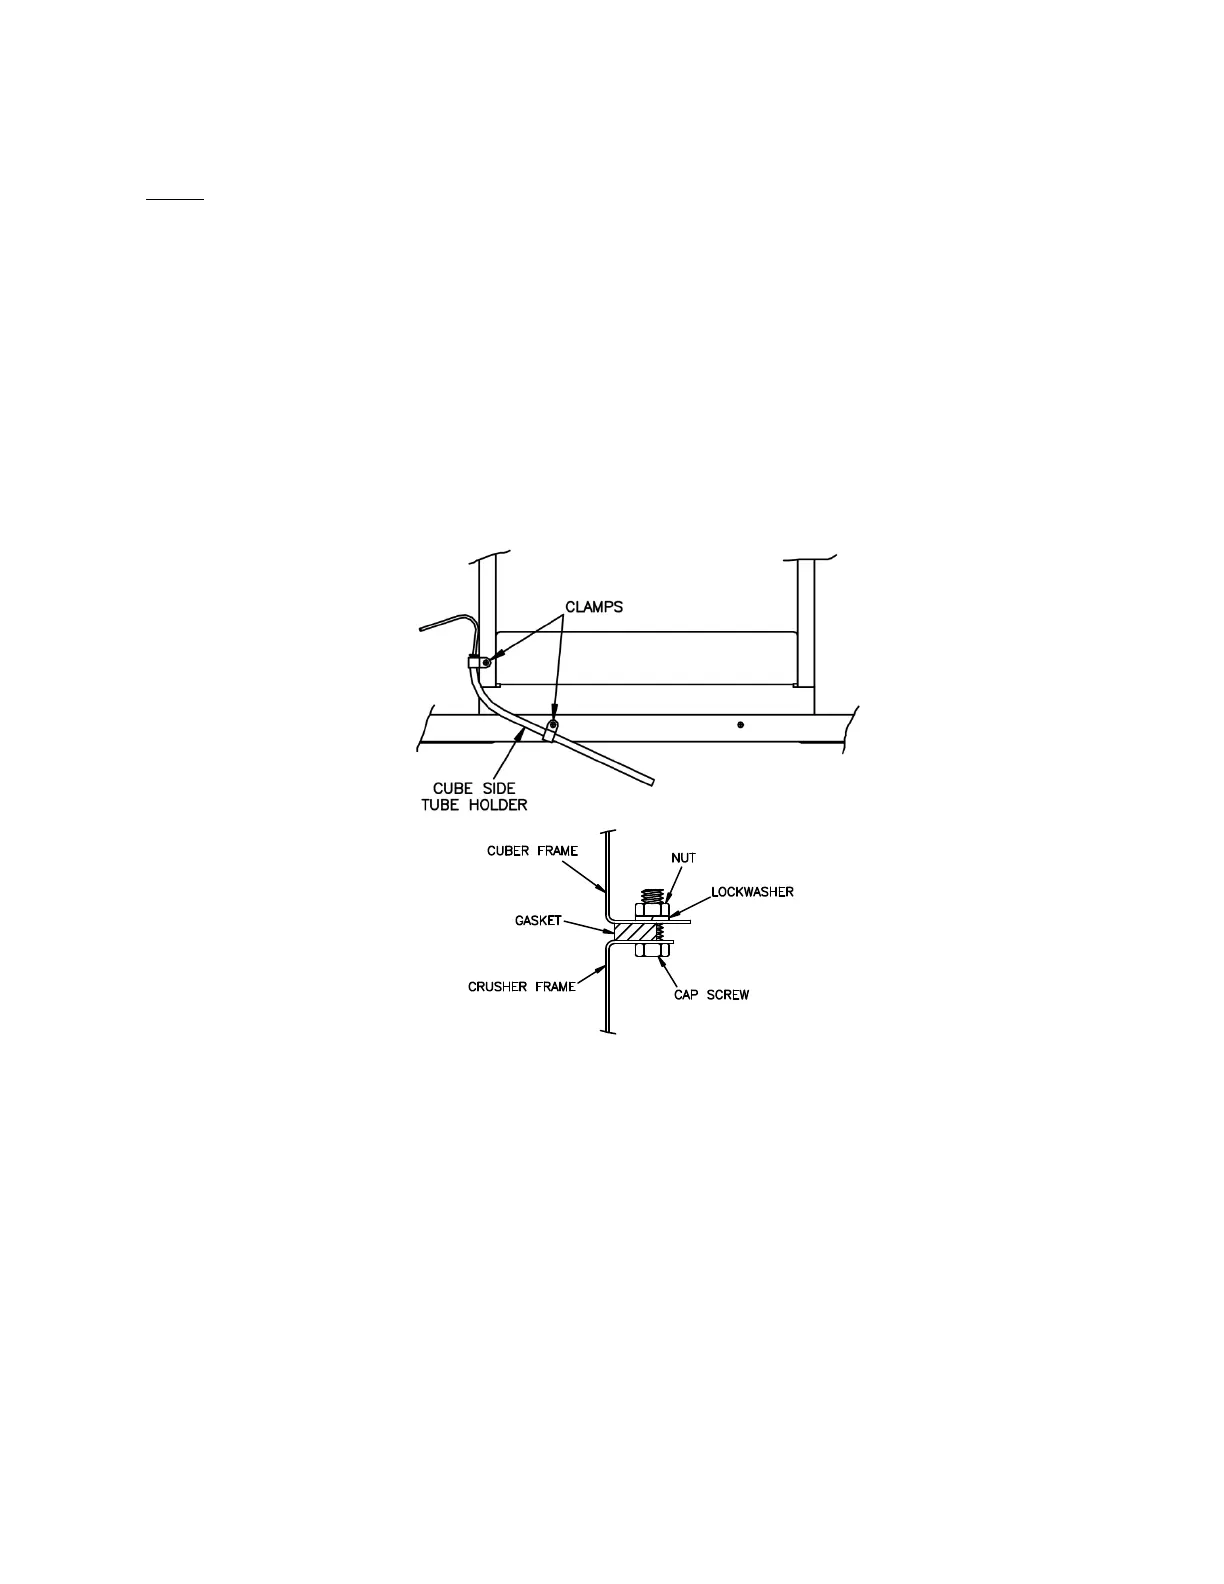
Place the cube ice thermostat capillary tube into the bent thermostat tube holder. Ensure that
the capillary tube is slightly protruding from the bottom of the tube holder. Mount the tube
holder as shown using the supplied hardware. Tighten the clamp screws. The picture below is
a view of the right side of the crusher assembly from within the crusher frame. This portion will
be above the un-crushed cube side of the bin.
9. Install gasketing on top of crusher.
10. Remove the ice maker cabinet panels, lift and position ice maker on top of gasketed crusher
and align the mounting holes. Install cap screws, lock washers and nuts.
11. Mount the ice maker safety switch as shown. If not provided, locate and drill two 3/16 inch dia.
holes in the ice maker lower front rail. Mount the safety switch support with the #8-32 screws
and lock nuts provided.