6
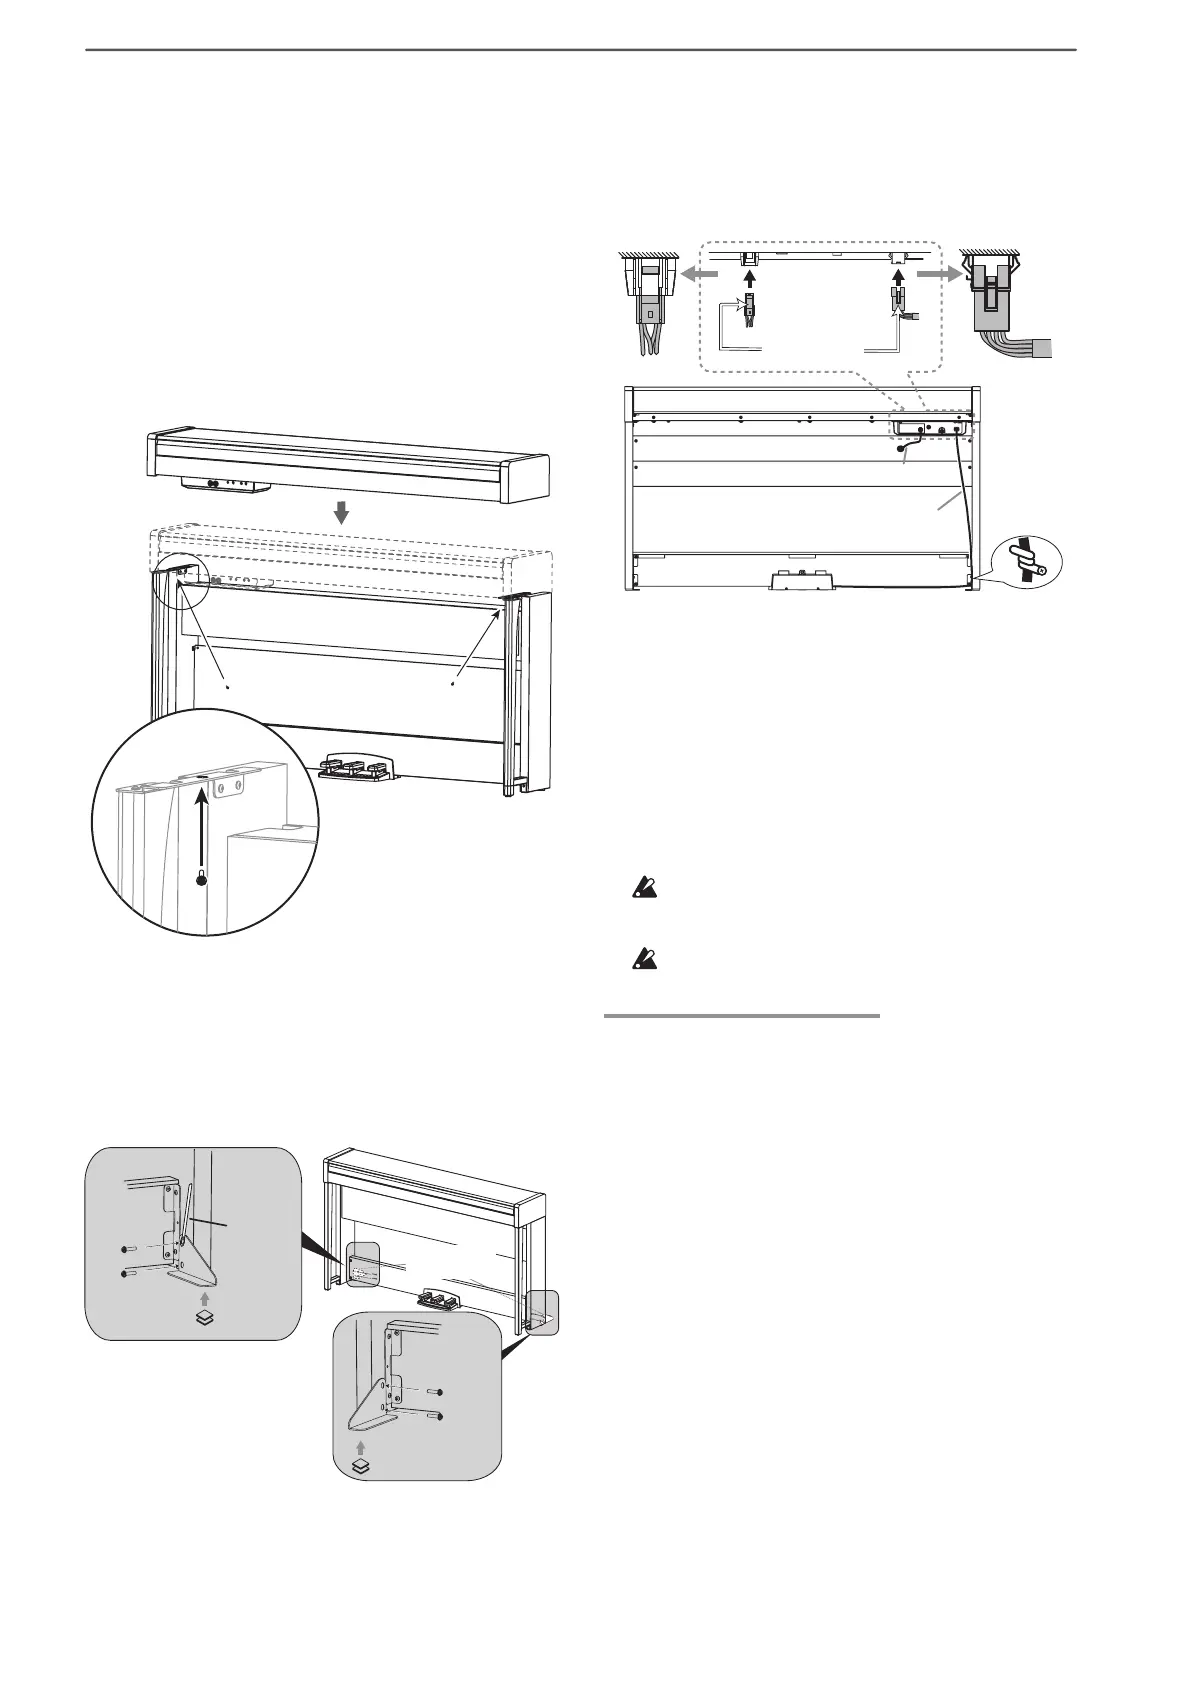
11. Firmly tighten the speaker box screws temporarily
tightened in step 4.
Make any vertical and horizontal adjustments neces-
sary so that the left and right side panels are positioned
equally.
12. Ensure that the stand has no gaps and is not tilted,
and that all the screws are tightened rmly.
This completes the assembly of the stand.
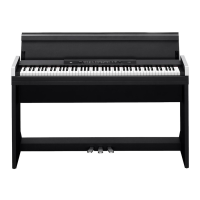
13. Place the Poetry on the stand, make any vertical and
horizontal adjustments, and then fasten them to each
other from the boom, using two screws (M6).
Position the Poetry so that it extends about 1 mm from
the rear of the stand.
14. Make sure to aach the anti-tipping brackets behind
both side panels, starting with the round hole at the
boom. When aaching the anti-tipping bracket on
the left side, also aach the cord holder, as shown in
the diagram.
Joints between the side panels and the aached anti-
tipping brackets shouldbe even (with no level dier-
ence left).
Screw (M6)
Screw (M6)
Reverse
Screws
(M4, short)
Screws
(M4, short)
Cord
holder
Reverse
Anti-tipping
Bracket
Stabilizing felt
Stabilizing felt
If you are concerned about
instability at the installation
location after assembly,
attach the felt to stabilize
the digital piano.
15. Connect the pedal cord and the speaker cord to the
connectors on the rear of the Poetry’s connector box.
When connecting the pedal cord and the speaker cord,
observe the correct orientations of the connectors.
The pedal cord or the speaker cord can be detached
from the connector with its locking tab held down.
16. Use the cord holder to hold the pedal cord.
After securing the cord with the cord holder, ensure
that excess pressure is not applied to the connectors.
17. Connect the dedicated cord to the AC adapter. Then,
plug the AC adapter into the DC 24V connector, and
wrap the cord around the cord hook of the piano. For
details, refer to “Connecting the Power” on page 8.
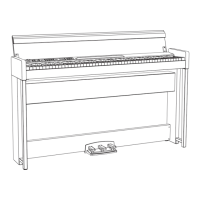
18. Place the Poetry where you intend to use it. Make sure
to place it in a safe location where the oor is at and
stable.
Whenseingthedigitalpianoinplace,makesure
that the stand does not rest on the AC adapter cable
or pedal cable.
Forgreatersafety,besuretoaachtheanti-tipping
brackets to the rear of the left and right side panels.
Check following assembly
□ Areanypartsleftover?
If any parts are left over, carefully review the assembly
procedure to see where those parts should have been
used.
□ Makesurethatallscrewsaretight.
□ Dependingontheconditionof the ooratthe instal-
lation location, the digital piano may shake back and
forth.Inthatcase,aachoneortwopiecesofstabilizing
felttotheboomoftheanti-tippingbracketsinorderto
reduce the shaking (see the diagram for step 14).
Cord
holder
Speaker cord
Pedal cord
Locking tab


 To Next Page