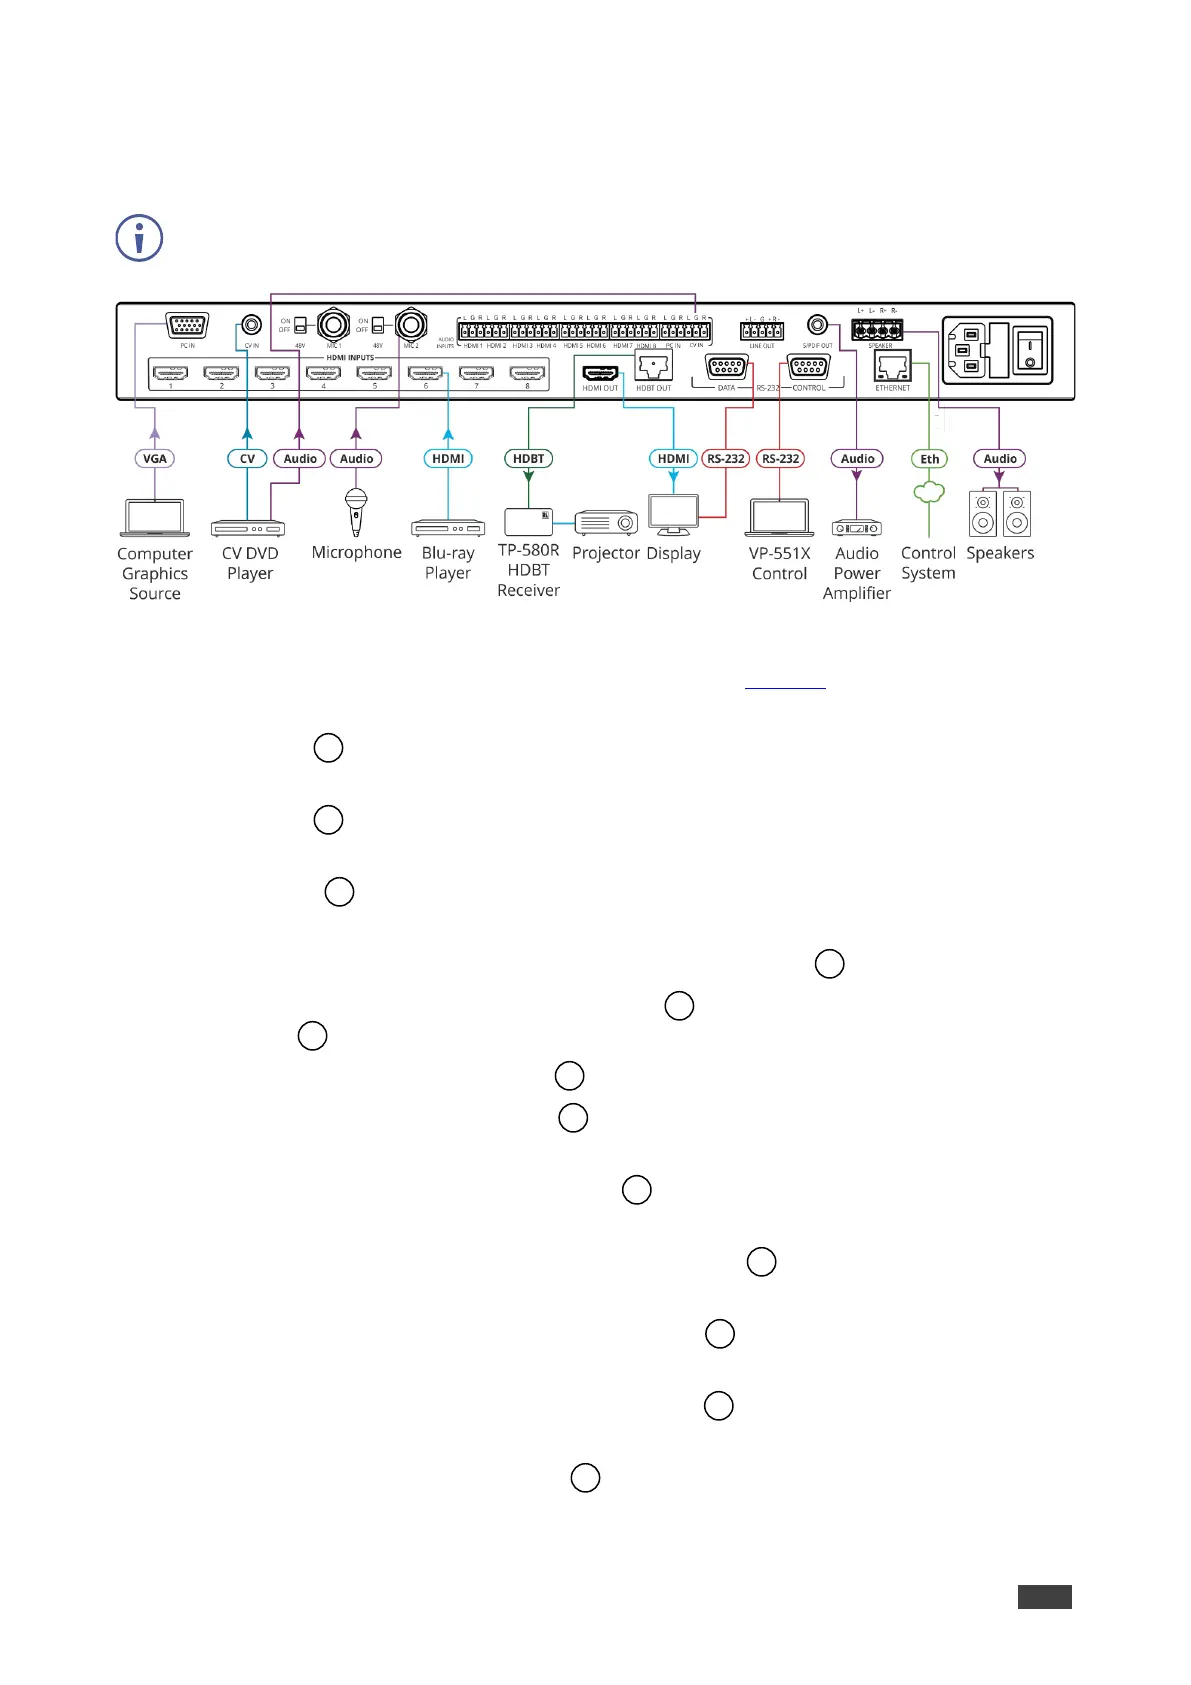
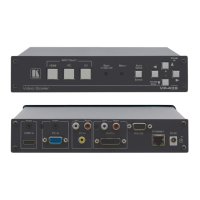
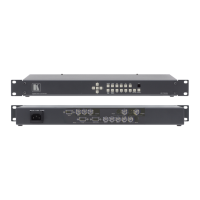
Figure 3: Connecting to the VP-551X Rear Panel
To connect the VP-551X as illustrated in the example in Figure 3:
1. Connect a computer graphics source (for example, a laptop) to the 15-pin HD Input
connector .
2. Connect a composite video source (for example, a DVD player) to the CV RCA
connector .
3. Connect up to 8 HDMI sources (for example, a Blu-ray player to HDMI 5) to the HDMI
connectors .
4. Connect up to 10 balanced audio sources (for example, the PC audio source to the CV
IN AUDIO INPUT) to the AUDIO IN terminal block connectors .
5. Connect a microphone to the MIC 2 6mm jack and set the 48V switch on or off, as
required .
6. Connect the HDMI OUT connector to an acceptor (for example, a display).
7. Connect the HDBT OUT connector to an acceptor (for example, Kramer TP-580R
receiver that is connected to a projector).
8. Connect the S/PDIF OUT RCA connector to a digital audio acceptor (for example,
an audio power amplifier).
9. Connect the SPEAKER 4-pin terminal block connector to speakers (for example,
Kramer Yarden 6-O speakers).
10. Connect the RS-232 DATA 9-pin D-sub connector to the RS-232 port on the display
to control it.
11. Connect the RS-232 CTRL 9-pin D-sub connector to the RS-232 port on a controller
(for example, a laptop) to control the VP-551X.
12. Connect the ETHERNET RJ-45 port to the Ethernet.