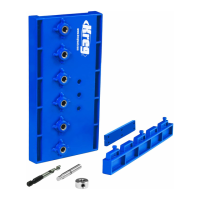
ASSEMBLE
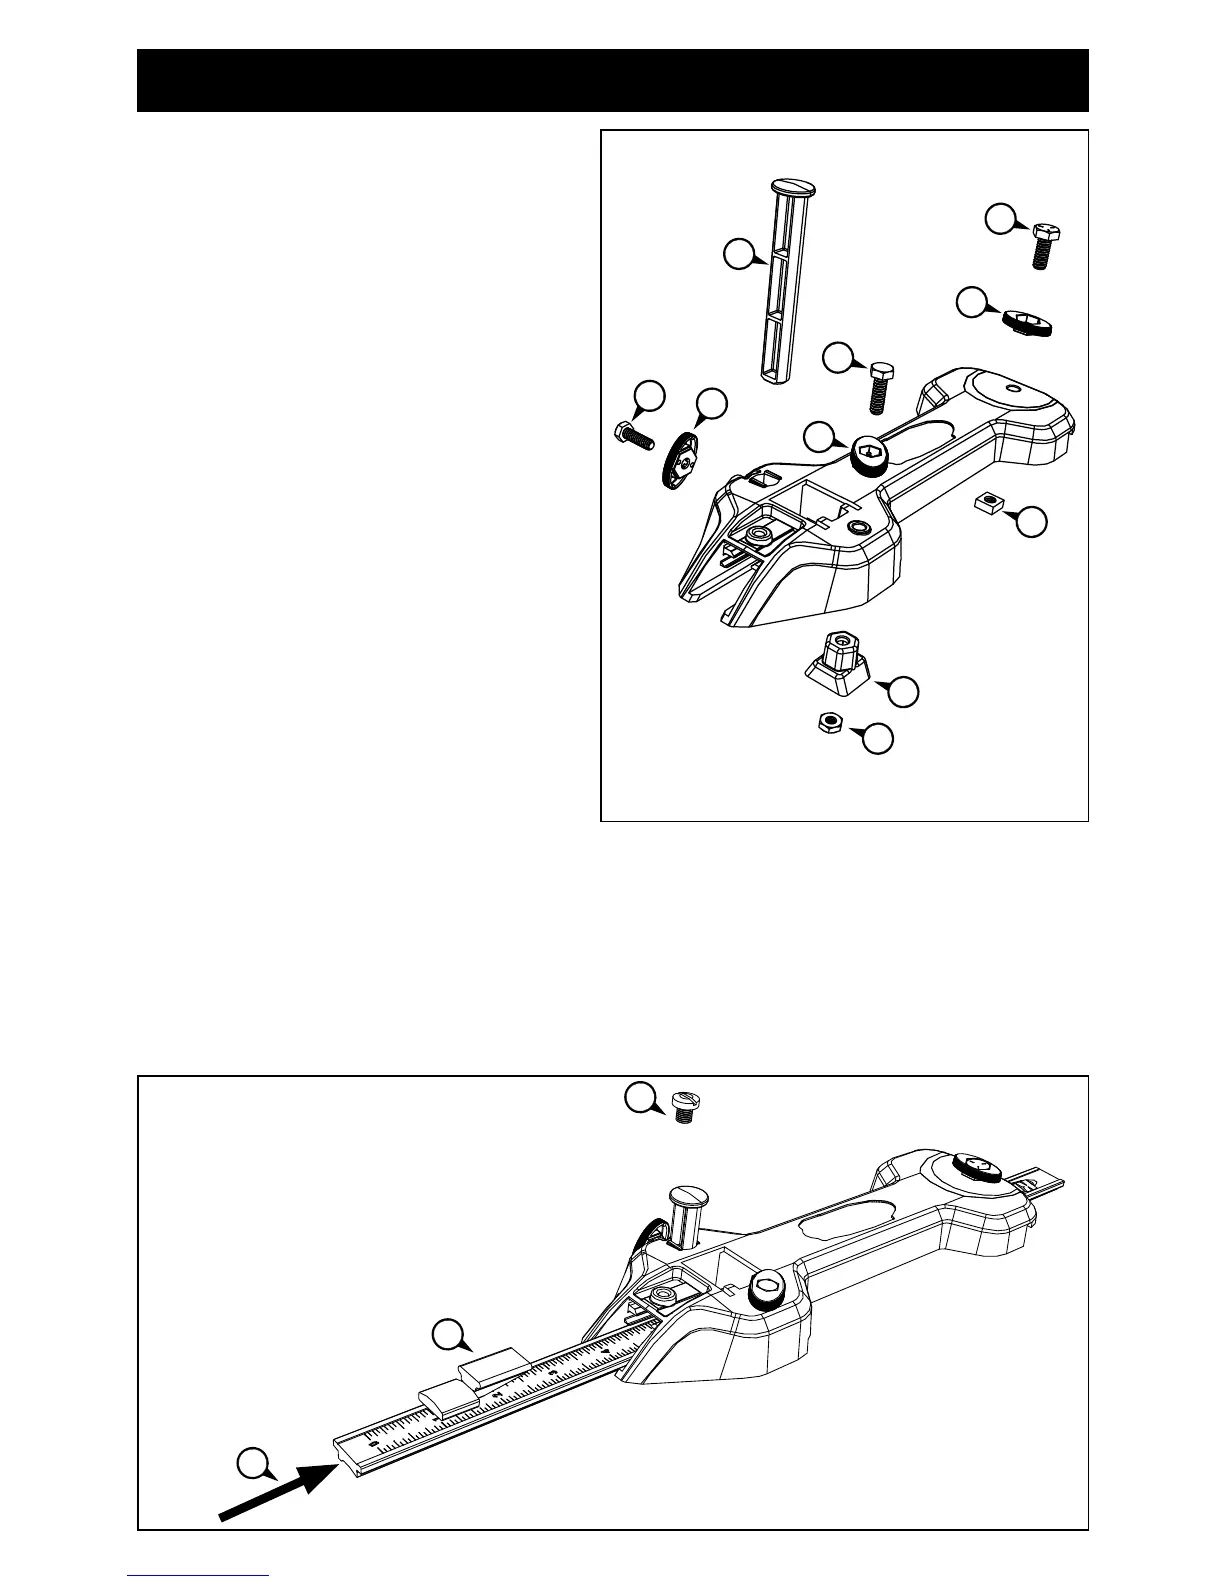
(1) Install the large bolt, handle,
and square nut in the guide
body. Tighten the assembly
to draw the bolt head into the
handle. Loosen the assembly
½-1 turn so the nut will slide
into the guide-track T-slot.
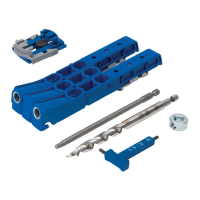
(2) Install a small bolt, handle,
wedge, and hex nut in the
guide body. Tighten the assembly
to draw the bolt head into the
handle and the nut into the
wedge. Loosen the assembly
to accept the stop bar.
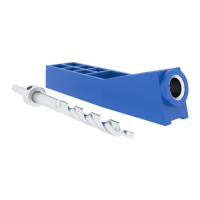
(3) Assemble the remaining small
bolt and handle and thread it
all the way into the guide body
to draw the bolt head into
the handle.
(4) Loosen the assembly and
install the leveling foot.
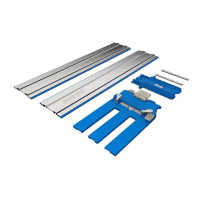
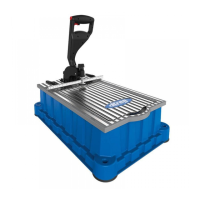
(5) Slide the stop bar into the guide body so the zero-mark end is visible at the
leveling-foot end of the body.
(6) Install the lens and lens screw. Repeat these steps to assemble
the second Rip Guide.
1
1
2
2
4
2
2
1
3
3
6
6
5